Leather car seats are an investment that can last decades when properly maintained. Regular cleaning and conditioning prevents cracking, fading, and premature wear while keeping your interior looking and feeling luxurious.
Understanding Your Leather Type

Modern vehicles typically use coated leather, which has a protective polyurethane layer that makes it more durable and stain-resistant. This coating means you’ll need gentler cleaning products compared to traditional aniline leather, which absorbs liquids directly into the hide.
Most BMW, Mercedes, Audi, and Lexus models from 2010 onward use coated leather. You can test your leather type by placing a small drop of water in an inconspicuous area. If the water beads up and stays on the surface, you have coated leather. If it soaks in quickly, you’re dealing with aniline or semi-aniline leather.
Coated leather requires pH-balanced cleaners and lighter conditioning since the protective layer limits product absorption. Aniline leather needs more frequent conditioning but can handle stronger cleaning products when necessary.
Essential Supplies for Leather Care
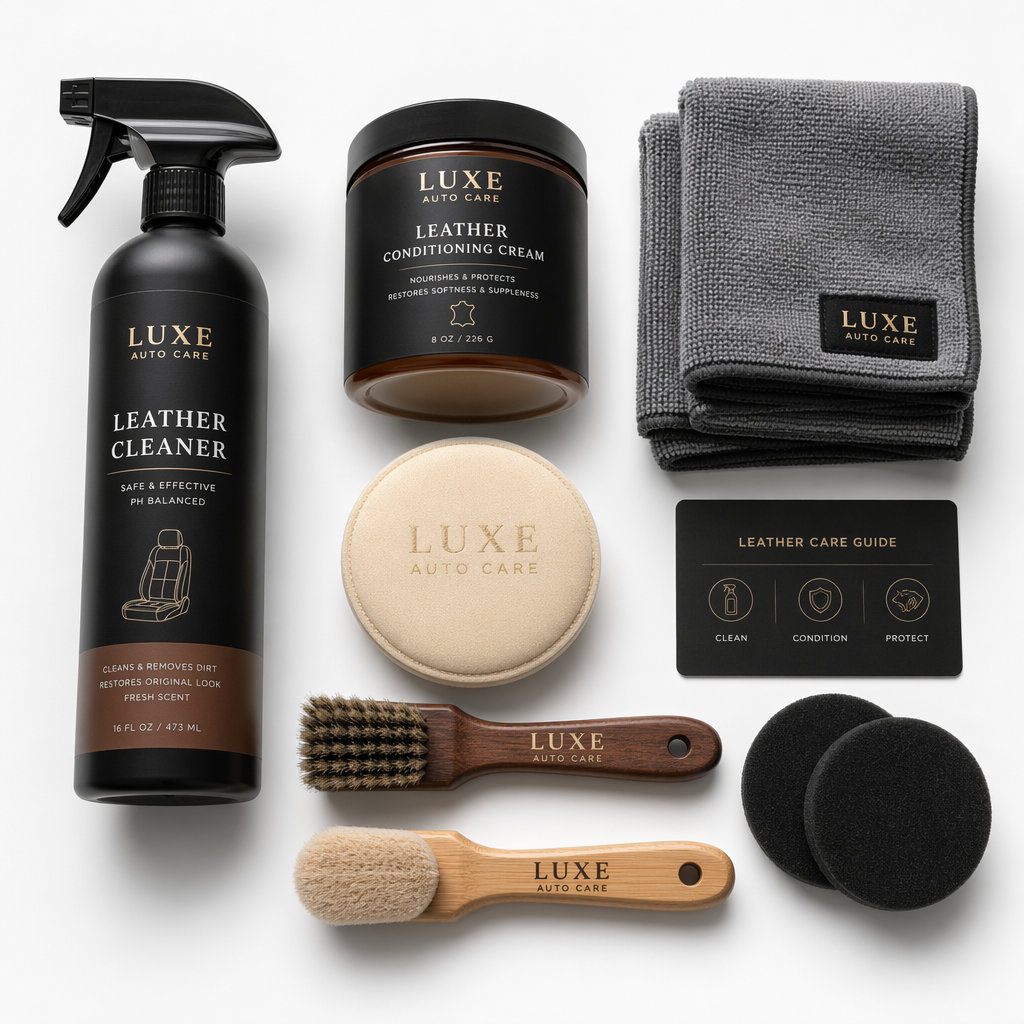
You’ll need specific products designed for automotive leather care. Regular household cleaners or furniture leather products can damage car seats because they’re formulated for different leather types and usage patterns.
Start with a pH-balanced leather cleaner that won’t strip the protective coating or natural oils. Follow up with a conditioner that contains UV protectants to prevent sun damage. Microfiber cloths work best for both cleaning and conditioning since they won’t scratch the surface.
Avoid products containing silicones, petroleum distillates, or harsh detergents. These ingredients can build up over time and actually accelerate cracking by preventing proper conditioning in future applications.
Step-by-Step Cleaning Process
Always clean leather before conditioning. Applying conditioner over dirt and oils traps contaminants against the leather surface, potentially causing long-term damage.
Start by vacuuming the seats thoroughly, including crevices and seams where dirt accumulates. Use a soft brush attachment to avoid scratching the leather surface. Pay special attention to areas where you sit most often, as body oils and sweat concentrate in these spots.
Applying the Cleaner
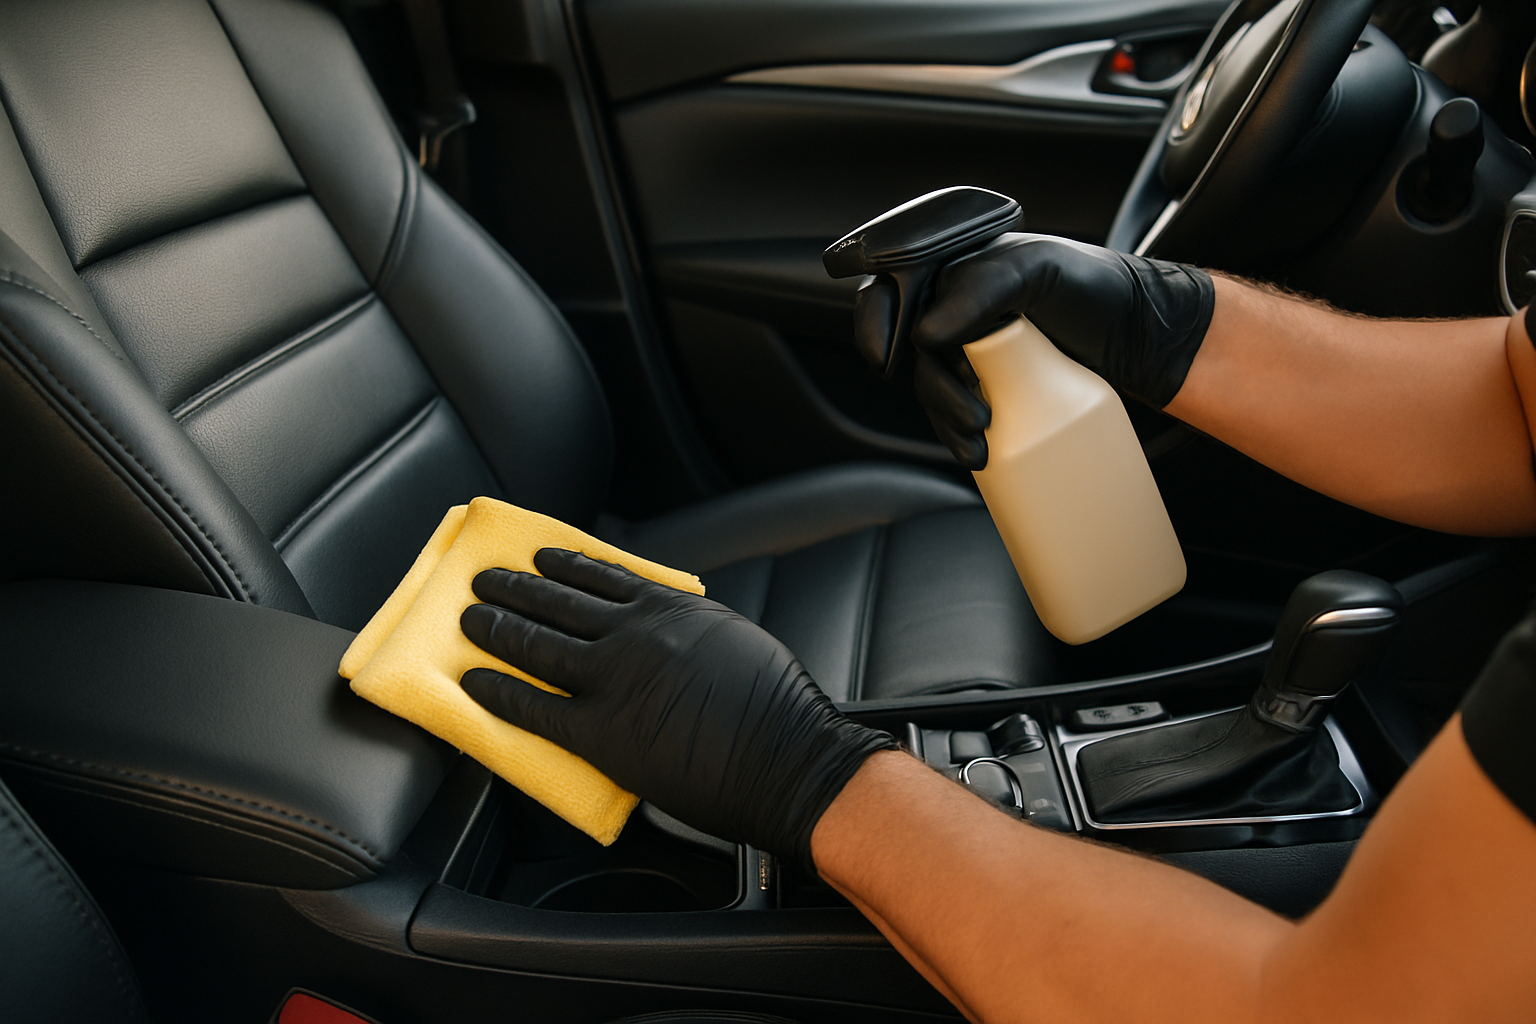
Spray the leather cleaner onto a microfiber cloth rather than directly onto the seat. This prevents oversaturation and gives you better control over product application. Work on one section at a time, typically about 2×2 feet.
Gently agitate the surface with circular motions, applying light pressure. Don’t scrub aggressively, especially on coated leather where you could damage the protective layer. For stubborn stains, let the cleaner sit for 30-60 seconds before wiping.
Use a separate clean, damp microfiber cloth to remove cleaner residue. Make sure to extract all cleaning product since leftover residue can interfere with conditioning and attract more dirt.
Conditioning for Protection and Flexibility
Wait 15-20 minutes after cleaning before applying conditioner. The leather should be completely dry to ensure proper absorption and bonding of the conditioning agents.
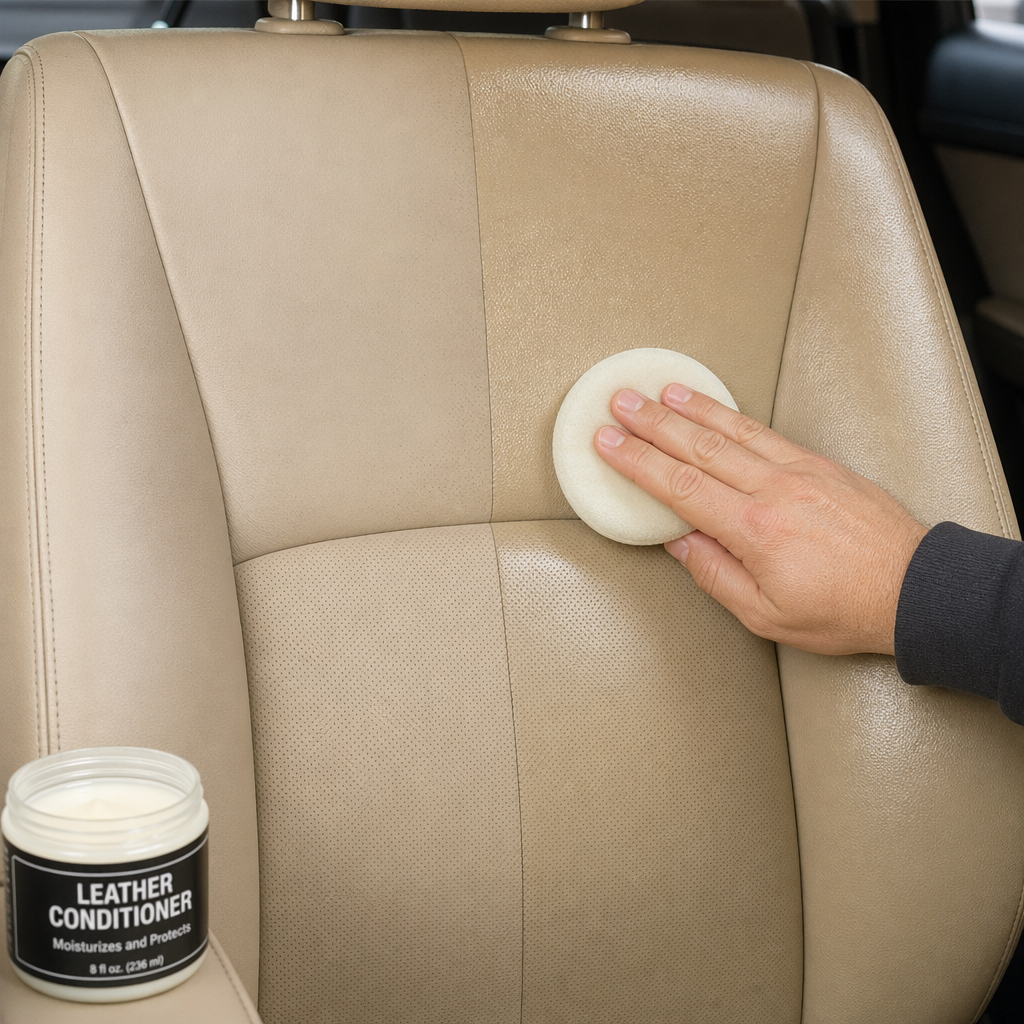
Apply conditioner sparingly using a clean microfiber cloth. Less is more with modern leather seats, especially coated varieties. A thin, even layer works better than heavy application, which can leave sticky residue or cause premature dirt attraction.
Work the conditioner into the leather using gentle circular motions. Focus on high-wear areas like seat bolsters, armrests, and headrest contact points. These areas experience the most stress and benefit from extra attention.
UV Protection Benefits
Quality leather conditioners include UV inhibitors that prevent sun damage, which is the leading cause of leather cracking and fading. Even with tinted windows, UV rays penetrate your vehicle’s interior and gradually break down leather fibers.
The conditioning process should take 10-15 minutes per seat. Don’t rush this step since proper absorption ensures long-lasting protection. Allow 30 minutes before sitting on treated seats to prevent product transfer to clothing.
Maintenance Schedule and Frequency
Clean and condition leather seats every three months for optimal protection. This schedule prevents dirt buildup while maintaining proper moisture levels in the leather.
Vehicles parked outdoors or in hot climates may need more frequent conditioning, possibly every 6-8 weeks during summer months. Cold weather also affects leather flexibility, so don’t skip winter treatments.
Between full cleanings, wipe seats weekly with a barely damp microfiber cloth to remove surface dust and oils. This simple step extends the time between deep cleaning sessions and keeps your leather looking fresh.
Professional-Grade Product Recommendations
For the best results, invest in quality leather cleaner and conditioner products specifically designed for automotive applications. These formulations are tested for durability and compatibility with various leather types used in vehicles.
Chemical Guys and Meguiar’s offer excellent pH-balanced leather cleaners that effectively remove dirt without damaging protective coatings. Their corresponding conditioners provide UV protection while maintaining the leather’s natural appearance.
Lexol is another trusted brand that offers separate cleaner and conditioner products. Their two-step system ensures you’re using the right product for each phase of the maintenance process.
Common Mistakes to Avoid
Never use household products like dish soap, baby wipes, or furniture polish on car leather. These products contain ingredients that can strip protective coatings or leave residues that attract dirt.
Avoid over-conditioning, which is just as harmful as neglecting your leather entirely. Excessive conditioner application can clog leather pores and create a sticky surface that collects more dirt and debris.
Don’t skip the cleaning step before conditioning. This mistake traps contaminants against the leather surface and can accelerate wear in high-contact areas.
Heat and Direct Sunlight
Never clean or condition leather in direct sunlight or when seats are hot to the touch. High temperatures cause products to evaporate too quickly, preventing proper absorption and potentially leaving streaks or residue.
Park in shade or work in your garage during midday heat. Early morning or evening treatments work best during summer months when ambient temperatures are more moderate.
Signs Your Leather Needs Attention
Cracking typically starts as fine lines in high-stress areas like seat bolsters and armrests. Address these early signs immediately with thorough cleaning and conditioning to prevent further damage.
Fading or color changes indicate UV damage that requires immediate attention. While you can’t reverse severe fading, proper conditioning can prevent additional deterioration.
Stiffness or rough texture suggests the leather is drying out and losing its natural oils. This condition responds well to proper conditioning but may require several treatments to restore flexibility.
Dealing with Specific Stains
Ink stains require immediate attention before they set permanently. Blot gently with a clean cloth, then apply leather cleaner and work carefully from the outside of the stain inward.
Grease and oil stains often respond to talcum powder or cornstarch applied immediately after the spill. Let the powder absorb the oil for several hours before vacuuming and cleaning normally.
For water stains or rings, clean the entire seat section to ensure even appearance. Spot-treating water marks often leaves the treated area looking different from surrounding leather.
Climate Considerations
Humidity levels significantly affect leather care requirements. High humidity areas may need less frequent conditioning since moisture in the air helps maintain leather flexibility.
Desert climates and high-altitude locations require more aggressive conditioning schedules. The dry air accelerates moisture loss from leather, increasing cracking risk.
Winter heating systems also dry out vehicle interiors. Consider using a small humidifier in your garage if you store vehicles in extremely dry conditions.
Long-Term Preservation Tips
Use seat covers during long trips or when carrying items that might damage leather. Remove covers regularly to allow air circulation and prevent moisture buildup underneath.
Park in covered areas whenever possible to minimize UV exposure. Even short-term sun exposure during daily parking adds up over months and years.
Address spills and stains immediately rather than letting them set. Most leather damage occurs gradually through neglect rather than single incidents.
Frequently Asked Questions
Can I use the same products on different colored leather?
Yes, pH-balanced cleaners and conditioners work on all leather colors. However, always test products in an inconspicuous area first to ensure compatibility with your specific leather finish.
How do I know if my leather is beyond saving?
Deep cracks that go through the entire leather thickness, extensive peeling of the protective coating, or areas where the leather has worn completely through typically require professional restoration or replacement.
Should I condition brand new leather seats?
New leather benefits from conditioning after the first month of ownership. This establishes a protection routine and helps the leather develop proper flexibility as it breaks in.
What temperature is best for leather care?
Work in temperatures between 60-80°F for optimal product performance. Avoid extremely hot or cold conditions that affect how cleaners and conditioners penetrate and cure.
This article contains affiliate links. If you purchase through these links, we may earn a small commission at no extra cost to you.

Leave a Reply