
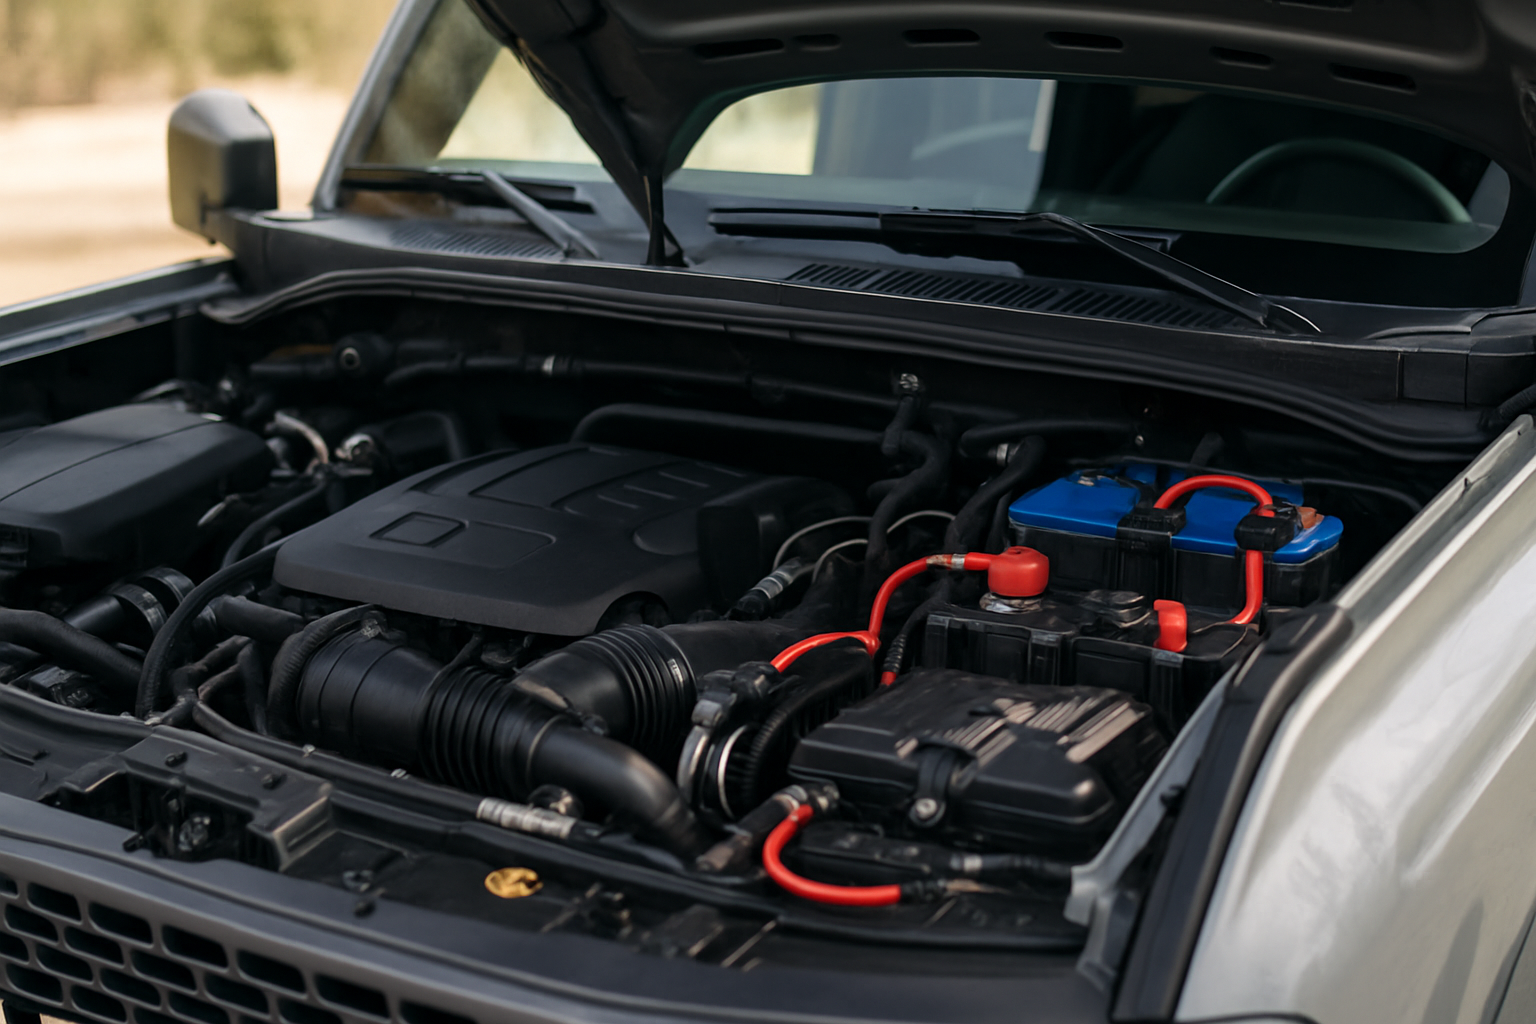
The Ford Bronco’s factory dual battery system and auxiliary switches transform your off-road capabilities by providing reliable power for accessories without draining your main battery. These factory-installed features eliminate the guesswork and wiring complications that typically come with aftermarket electrical modifications.
Whether you’re planning weekend camping trips or serious trail adventures, understanding how to properly use these systems will maximize your Bronco’s potential while protecting your electrical components.
Understanding the Ford Bronco’s Dual Battery System
The dual battery system comes standard on Badlands trim levels and serves as an intelligent power management solution. This system includes a primary starting battery and a secondary auxiliary battery, both managed by Ford’s Battery Management System (BMS).
The auxiliary battery powers your accessories while preserving the main battery’s charge for starting the engine. When the engine runs, both batteries charge simultaneously through the alternator.
Ford’s BMS automatically isolates the auxiliary battery when the main battery’s voltage drops below a safe threshold. This prevents you from getting stranded with a dead starting battery, even if you’ve been running accessories for extended periods.
Factory Upfitter Switches Explained
The Bronco offers up to six factory upfitter switches, depending on your configuration. These switches mount in the overhead console and connect to a pre-wired harness in the engine bay.
Each switch can handle different amperage loads, with most rated for 10-15 amps continuous draw. The switches include built-in LED indicators that show when circuits are active, and they maintain their on/off state when you restart the vehicle.
The factory wiring harness terminates near the battery box under the hood, making accessory connections clean and professional. Ford provides detailed wiring diagrams in the owner’s manual supplement that show exact wire colors and amperage ratings for each circuit.
Locating the Auxiliary Switch Wiring
Open your hood and locate the auxiliary switch connector bundle on the driver’s side near the battery. The connectors are wrapped in protective covering and clearly labeled with switch numbers.
Each connector includes a positive feed wire, a switched positive wire, and a ground connection. The constant positive provides power when the switch is on, while the switched positive only provides power when the ignition is in the run position.
Ford includes weather-resistant Deutsch connectors that mate with most quality aftermarket accessories. You can also splice directly into the wires using proper automotive connectors and heat shrink tubing.
Installing Light Bars and LED Lighting
LED light bars are among the most popular accessories to connect through the upfitter switches. Calculate your total amperage draw before installation to ensure you don’t exceed the switch rating.
Most 20-inch LED light bars draw 8-12 amps, well within the capacity of a single upfitter circuit. For larger 40-50 inch bars drawing 15-20 amps, you’ll need to use the upfitter switch to trigger a relay rather than direct connection.
Connect your light bar’s positive wire to the switched positive feed and the negative to the provided ground. Use marine-grade wire with proper gauge rating for your accessory’s amperage draw.
Popular LED light bars for Ford Bronco include offerings from Rigid Industries, KC HiLites, and Baja Designs, all of which integrate well with the factory upfitter system.
Connecting Winches to the Dual Battery System
Electric winches require significant power and benefit greatly from the dual battery setup. However, winches typically draw 300-400 amps during heavy pulls, far exceeding what the upfitter switches can handle directly.
Wire your winch directly to the auxiliary battery using heavy gauge cable (typically 2 AWG or larger). Use the upfitter switch to control a high-amperage relay that activates the winch’s control circuit.
Install an appropriate circuit breaker or fuse near the auxiliary battery connection. Most winch manufacturers recommend 300-400 amp breakers depending on winch specifications.
The dual battery system provides extended winching time compared to single battery setups. You can typically perform multiple recovery operations without risking your starting battery.
Air Compressor Integration
Onboard air compressors connect easily through the upfitter system and pair perfectly with the auxiliary battery. Most 12V compressors designed for tire inflation draw 10-25 amps, requiring careful switch selection.
For compressors drawing more than 15 amps, use the upfitter switch to control a relay rather than direct connection. This protects the factory switch from excessive current and heat buildup.
Consider installing a pressure switch that automatically cycles the compressor to maintain tank pressure. This allows you to run air tools and inflation equipment without manually managing the system.
Position your compressor in a well-ventilated area and secure all mounting hardware with thread locker. Vibration can cause connections to loosen and components to fail prematurely.
Power Management and Battery Monitoring
The factory Battery Management System provides basic protection, but aftermarket battery monitors give you detailed information about both batteries’ state of charge and current draw.
Install a dual battery monitor that shows voltage and amperage for both the main and auxiliary batteries. This helps you track accessory usage and avoid over-discharging either battery.
Popular monitoring systems include products from REDARC, National Luna, and Blue Sea Systems. These units often include programmable low voltage disconnects for additional protection.
Set your low voltage disconnect to trigger around 12.2 volts to preserve battery life while providing maximum usable capacity. This prevents deep discharge damage that can permanently reduce battery performance.
Wiring Best Practices and Safety
Use marine-grade wire with proper insulation ratings for all connections. Automotive environments subject wiring to temperature extremes, vibration, and moisture that can degrade inferior materials.
Install appropriate fusing or circuit protection for every accessory circuit. Fuses should be rated at 125-150% of the accessory’s continuous draw rating to prevent nuisance blowing while providing adequate protection.
Secure all wiring away from hot exhaust components and sharp edges. Use protective conduit or loom where wires pass through metal panels or near moving parts.
Apply dielectric grease to all electrical connections to prevent corrosion. Pay special attention to ground connections, as poor grounds cause more electrical problems than any other issue.
Troubleshooting Common Issues
If your accessories aren’t receiving power, first check that the corresponding upfitter switch is properly seated and functioning. The LED indicator should illuminate when the switch is active.
Verify proper fuse installation and condition at both the accessory and in the vehicle’s fuse panel. Many upfitter circuits have dedicated fuses in the under-hood fuse box.
Test voltage at the accessory end of the circuit with a digital multimeter. You should see battery voltage when the switch is on and the ignition is in the run position.
Check ground connections if you’re getting proper voltage but accessories aren’t functioning correctly. Clean ground connections and apply dielectric grease to prevent future corrosion.
Maximizing System Performance
Keep both batteries properly maintained with regular charging and terminal cleaning. The auxiliary battery works harder than typical automotive batteries and requires more attention.
Consider upgrading to AGM or lithium batteries for improved performance and longer life. These technologies handle deep discharge cycles better than conventional flooded batteries.
Plan your electrical loads to avoid exceeding the alternator’s charging capacity. Running multiple high-draw accessories simultaneously can overwhelm the charging system and lead to battery discharge.
Monitor your system’s performance during extended off-road trips. Carry a portable jump starter or battery charger as backup insurance for remote adventures.
Frequently Asked Questions
Can I add more upfitter switches beyond the factory six?
Yes, you can install additional switches using the same 12V power sources that feed the factory switches. However, you won’t have the factory integration and will need to provide your own wiring and fusing.
Will adding accessories void my warranty?
Properly installed accessories using the factory upfitter system typically won’t void your warranty. However, modifications that cause damage may not be covered, and dealerships vary in their interpretation of warranty terms.
How long can I run accessories with the engine off?
Runtime depends on your accessories’ power draw and battery capacity. A typical auxiliary battery provides 2-4 hours of operation for moderate loads like LED lighting before reaching the low voltage cutoff.
Do I need special tools for installation?
Basic hand tools handle most installations, including wire strippers, crimpers, and electrical connectors. A digital multimeter helps with troubleshooting and voltage verification during and after installation.




Leave a Reply