A burnt-out headlight is one of those car problems you can’t ignore. Driving with a dead bulb puts you at risk for accidents and traffic tickets, but the good news is that most headlight bulb replacements are surprisingly simple DIY jobs.
With the right approach and a few basic tools, you can swap out that dead bulb in your driveway and get back on the road safely. Let’s walk through everything you need to know to tackle this repair quickly and correctly.
Understanding Your Headlight Bulb Type
Before you start yanking on anything under your hood, you need to figure out what type of bulb your car uses. Most vehicles use one of several common bulb sizes like H11, 9005, 9006, H4, or H7. You’ll find this information in your owner’s manual, or you can check the base of your current bulb once you remove it.
Traditional halogen bulbs have been the standard for decades. They’re cheap, widely available, and work with your car’s existing electrical system without any modifications. The downside is they don’t last as long and produce a yellowish light that’s not as bright as newer options.
LED headlight bulbs offer significant improvements in brightness, longevity, and energy efficiency. They produce a crisp white light that’s much closer to daylight, making it easier to see road signs and hazards. However, not all LED bulbs are created equal, and some cheap options can cause problems with your car’s computer systems or fail to fit properly.
Why You Should Always Replace Bulbs in Pairs
When one headlight burns out, the other isn’t far behind. Headlight bulbs typically have similar lifespans, so if one fails after three or four years, its partner is living on borrowed time.
Replacing both bulbs at once ensures even light output and color matching. Nothing looks worse than one bright white LED next to a dim yellow halogen bulb. You’ll also save yourself from having to repeat this job in a few weeks when the second bulb inevitably fails.
This is especially important if you’re upgrading to LED bulbs. The difference in light output and color between old halogen and new LED is dramatic enough that other drivers might think you have a burnt-out bulb on one side.
Essential Tools and Safety Tips
Most headlight bulb swaps require minimal tools. You’ll typically need a pair of work gloves, a clean rag or paper towels, and possibly a screwdriver or socket wrench depending on your car’s design. A headlamp or flashlight makes the job much easier since you’ll be working in tight, dark spaces.
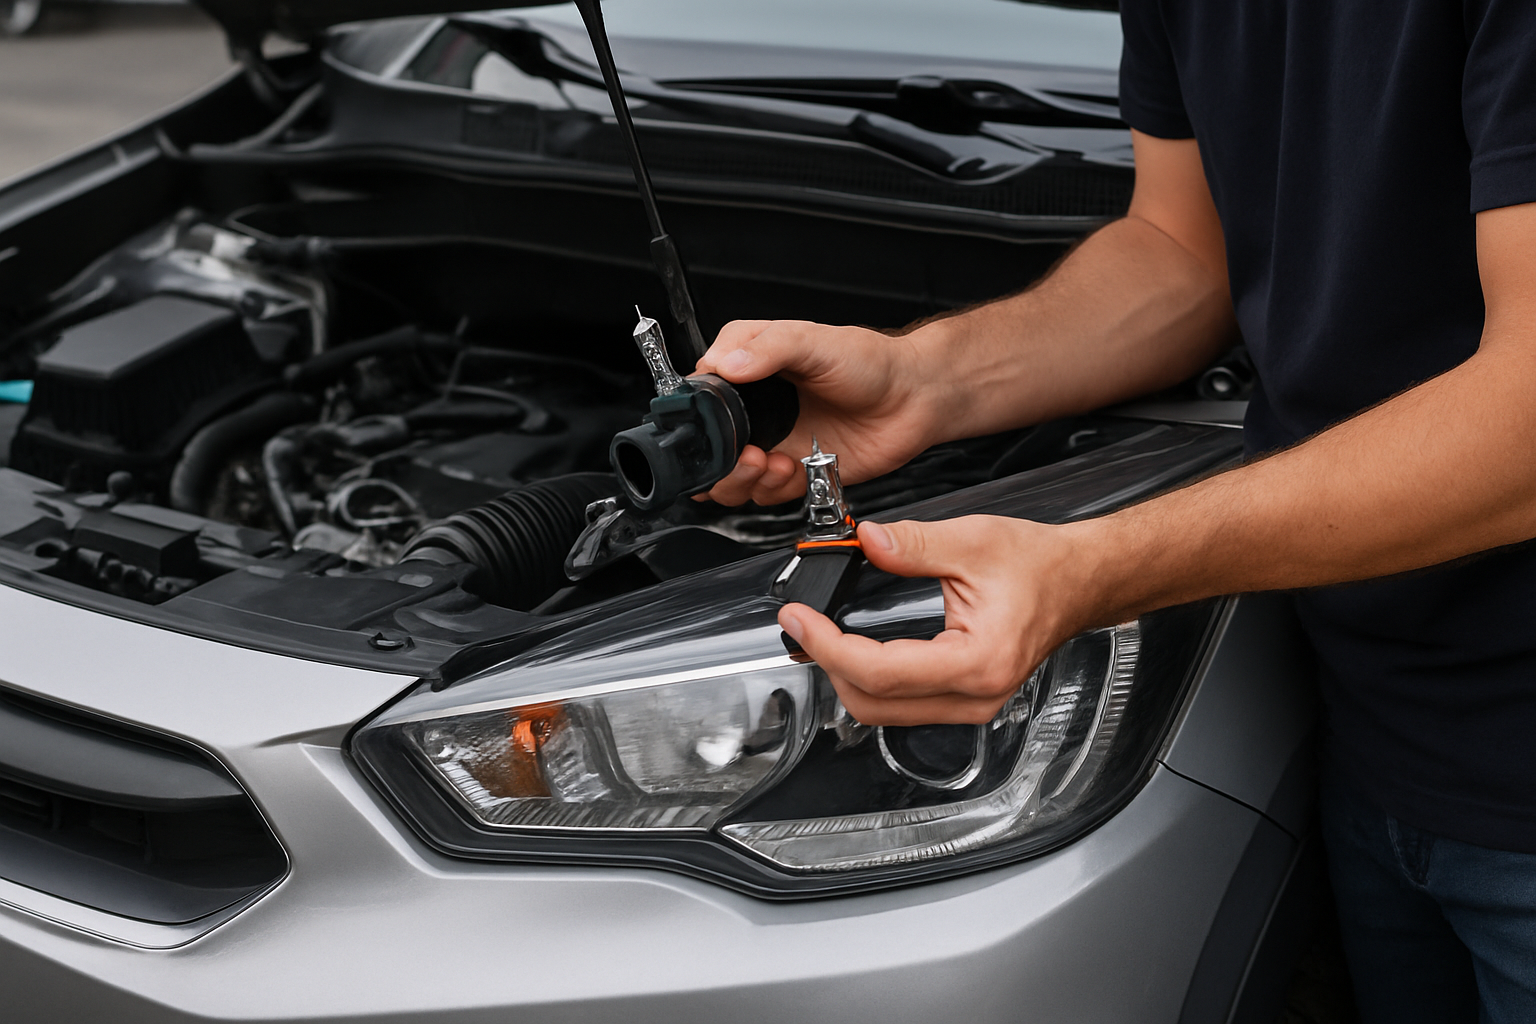
Here’s the most important rule: never touch the glass portion of a new halogen bulb with your bare fingers. The oils from your skin create hot spots that can cause the bulb to fail prematurely or even shatter. Always handle new bulbs by their plastic base, and use a clean cloth if you need to touch the glass.
If you accidentally touch the glass, clean it with rubbing alcohol before installation. LED bulbs are generally more forgiving, but it’s still good practice to avoid touching the components.
Step-by-Step Bulb Replacement Process
Start by parking on level ground and turning off your engine. Give the headlights time to cool down if they were recently on, as halogen bulbs get extremely hot during operation.
Pop your hood and locate the back of the headlight assembly. You’ll see a power connector plugged into the back of the bulb, along with either a twist-lock ring or a wire bail that holds the bulb in place.
Disconnect the power connector first by pressing the release tab and pulling it straight back. Don’t yank on the wires themselves. Next, remove the bulb retention mechanism. Twist-lock rings turn counterclockwise, while wire bails flip up and out of the way.
Pull the old bulb straight out and note how it’s oriented. Most bulbs have alignment tabs that prevent incorrect installation, but it’s still worth paying attention to the positioning.
Install your new bulb by reversing the process. Make sure it seats fully and the alignment tabs are properly positioned. Secure the retention mechanism, then plug in the power connector until it clicks into place.
Test your work by turning on the headlights before closing the hood. If one bulb doesn’t light up, check that all connections are secure and the bulb is properly seated.
Vehicles That Make This Job Difficult
While most cars allow easy access to headlight bulbs from the engine bay, some manufacturers have made this simple job unnecessarily complicated. Several models require partial or complete bumper removal to access the headlight assemblies.
Many Audi and Volkswagen models from the mid-2000s onward require bumper removal or significant disassembly to reach the headlight bulbs. The Audi A4, A6, and Q7, along with VW Passat and Jetta models, are notorious for this design flaw.
Some BMW models, particularly the 3 Series and X3, require removing the air intake or other components to access certain bulbs. The low beam might be easy to reach, but the high beam could require major disassembly.
Chrysler 300 and Dodge Charger models often require removing the front wheel and wheel well liner to access the headlight bulbs from underneath. This turns a 10-minute job into an hour-long project.
If you drive one of these vehicles, consider having the work done professionally or budget extra time for the job. You might also want to invest in higher-quality, longer-lasting bulbs to minimize how often you need to repeat this process.
Choosing Between Halogen and LED Upgrades
Sticking with halogen bulbs is the safe, straightforward choice. They’re inexpensive, readily available at any auto parts store, and guaranteed to work with your car’s electrical system. Quality halogen bulbs from brands like Sylvania, Philips, or GE typically last 500-1000 hours.
LED upgrades offer compelling benefits but require more careful selection. Good LED headlight bulbs can last 25,000+ hours, produce significantly more light, and draw less power from your alternator. They also generate less heat, which is easier on your headlight housings.
When shopping for LED headlight bulbs, stick with reputable brands and avoid the cheapest options. Quality LED bulbs from companies like Philips, Sylvania, or Fahren typically cost $30-60 per pair but offer much better performance and reliability than $15 knockoffs.
Some LED bulbs include built-in fans or heat sinks to manage temperatures. Make sure these components will fit in your headlight housing without interfering with dust covers or other components.
Troubleshooting Common Issues
If your new bulb doesn’t light up after installation, don’t panic. Check that the power connector is fully seated and locked in place. Make sure the bulb is properly oriented and pushed all the way into its socket.
Some LED bulbs may require a brief “learning” period where your car’s computer adjusts to the different electrical characteristics. Turn the headlights on and off a few times, or try driving for a few minutes before concluding there’s a problem.
Flickering LED bulbs usually indicate compatibility issues with your car’s electrical system. Some vehicles require load resistors or warning cancelers to work properly with LED bulbs. Check with the bulb manufacturer or your car’s forums for model-specific solutions.
If you’re getting dashboard warning lights after installing LED bulbs, your car’s computer system is detecting the different power draw. Load resistors or error cancelers can usually solve this problem.
When to Call a Professional
Most drivers can handle basic headlight bulb replacement, but some situations call for professional help. If your car requires significant disassembly to access the bulbs, the labor cost might justify having a shop do the work.
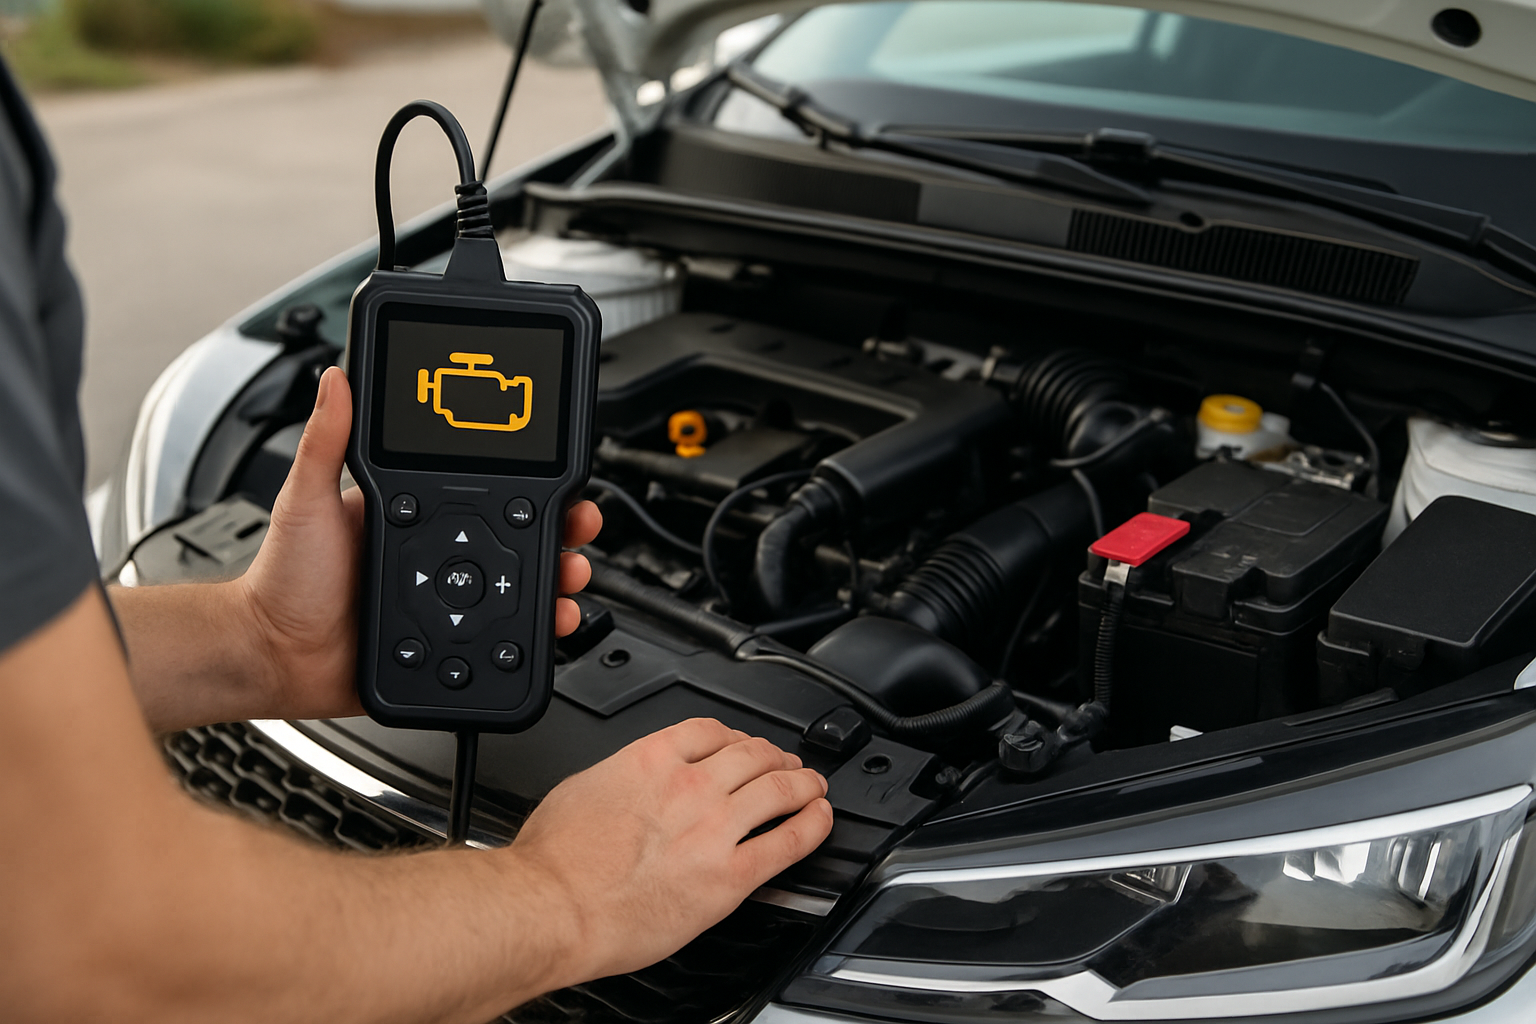
Complex electrical issues, damaged headlight housings, or problems with adaptive headlight systems are best left to qualified technicians. These systems involve expensive components that can be easily damaged by inexperienced hands.
If you’ve tried multiple bulbs and they keep failing quickly, there might be an underlying electrical problem causing premature burnout. A qualified mechanic can diagnose voltage irregularities or other issues that could damage new bulbs.
Frequently Asked Questions
How long should headlight bulbs last?
Halogen bulbs typically last 500-1000 hours of use, which translates to about 2-4 years for most drivers. LED bulbs can last 25,000+ hours, potentially outlasting your car. Frequent on/off cycling and electrical problems can reduce bulb life significantly.
Can I install LED bulbs in any car?
Most cars can accept LED headlight bulbs, but some may require additional components like load resistors or warning cancelers to function properly. Check your car’s manual and research model-specific compatibility before purchasing LED upgrades.
Why did my new bulb burn out so quickly?
Premature bulb failure usually results from touching the glass with bare fingers, electrical problems like voltage spikes, or poor-quality bulbs. Always handle bulbs by their base and consider having your charging system checked if you experience repeated failures.
Do I need to aim my headlights after replacing bulbs?
Simply replacing bulbs shouldn’t change your headlight aim, but it’s worth checking if you notice the light pattern looks different. LED bulbs sometimes require minor adjustments since their light distribution can differ from halogen bulbs.
This article contains affiliate links. If you purchase through these links, we may earn a small commission at no extra cost to you.

Leave a Reply