There’s nothing worse than successfully replacing your car battery only to discover that all your carefully programmed radio stations have vanished. Fortunately, with the right preparation and technique, you can keep your radio presets, clock settings, and other electronic memory intact during a battery replacement.
Why Car Electronics Lose Memory During Battery Changes
Modern vehicles rely on constant power to maintain settings stored in volatile memory. When you disconnect the battery, components like your radio, clock, and power windows lose their programmed settings within seconds. Some cars even require you to re-enter anti-theft codes or go through relearning procedures for the transmission and idle control systems.
The key to avoiding this frustration lies in providing continuous power to your vehicle’s electrical system while you swap out the old battery. This process, known as “keeping the car alive,” maintains power to critical systems without interruption.
Essential Tools for Memory Preservation
You’ll need specific equipment to maintain power during your battery replacement. The most reliable method involves using an OBD2 memory saver device, which plugs into your car’s diagnostic port and provides backup power from an external source.
Professional mechanics often use dedicated memory saver tools, but you can achieve the same results with more affordable options. A basic 9V battery backup method also works for many vehicles, though it’s less reliable than OBD2 devices.
Method 1: Using an OBD2 Memory Saver Device
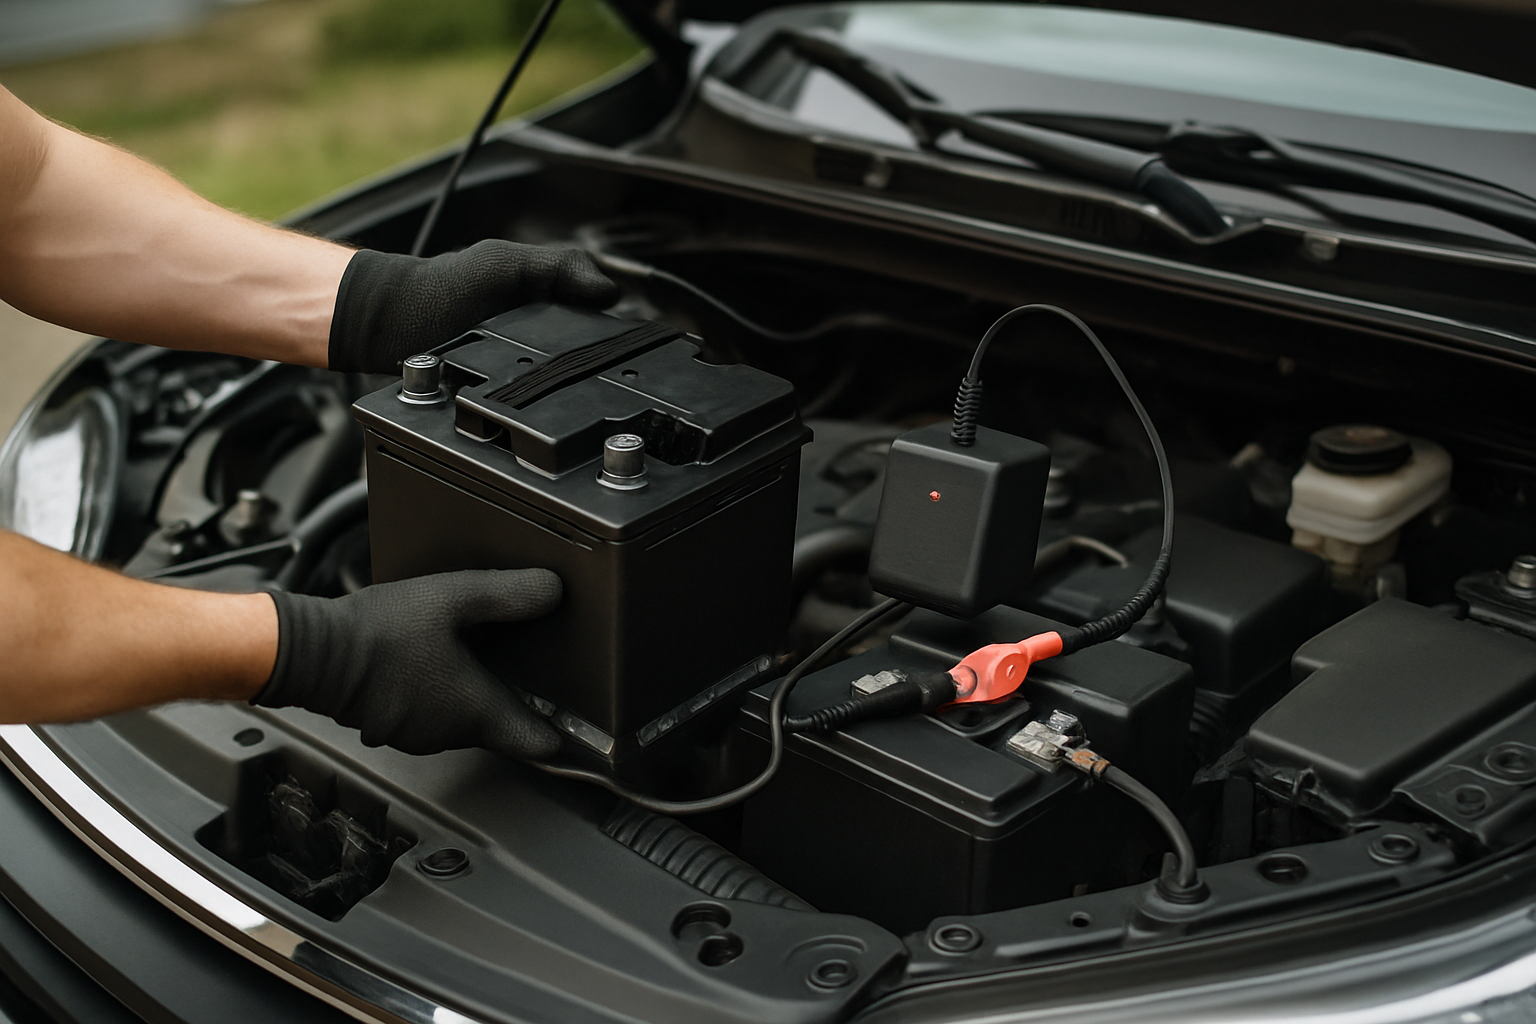
OBD2 memory savers are the most foolproof option for maintaining your car’s electronic settings. These devices plug into the diagnostic port (usually located under the dashboard near your left knee) and connect to either a 9V battery or 12V power source.
Start by locating your OBD2 port and ensuring your memory saver device fits properly. Connect the device according to the manufacturer’s instructions, typically involving a 9V battery or connection to another 12V source like a portable jump starter.
Once connected, the device will maintain power to your vehicle’s computers and memory systems. You can then proceed with the battery replacement without losing any stored settings.
Memory Saver Device Recommendations
Several reliable car battery memory saver OBD2 devices are available that make this process simple. These plug-and-play tools connect to your diagnostic port and use either 9V batteries or 12V power sources to maintain electrical continuity.
Professional-grade memory savers often include additional features like voltage monitoring and automatic shutoff protection. While basic models work fine for most DIY battery replacements, investing in a quality device pays off if you plan to work on multiple vehicles.
Method 2: The 9V Battery Backup Technique
If you don’t have an OBD2 memory saver, you can create a simple backup power system using a 9V battery and some basic wiring. This method requires connecting the 9V battery to your vehicle’s 12V system through the cigarette lighter or a direct connection to the battery terminals.
Create a simple adapter using a cigarette lighter plug connected to a 9V battery snap connector. The positive terminal connects to the center contact of the plug, while the negative connects to the side contacts. Insert this into your cigarette lighter socket before beginning the battery replacement.
This method provides enough current to maintain memory systems but won’t power high-draw components. Keep the 9V battery connected throughout the entire replacement process for best results.
Proper Battery Removal and Installation Procedure
Once your memory saver is in place and active, you can begin the actual battery replacement. Always remove the negative terminal first, followed by the positive terminal. This sequence prevents accidental short circuits if your wrench contacts the vehicle’s frame.
Remove any hold-down brackets or clamps securing the battery in place. Batteries are heavy, typically weighing 30-50 pounds, so lift with your legs and get help if needed. Clean the battery tray and terminals with a wire brush and baking soda solution if you notice corrosion.
Install the new battery by reversing the removal process. Secure it with the hold-down hardware, then connect the positive terminal first, followed by the negative. This installation sequence is opposite to removal and helps prevent electrical issues.
Post-Installation System Checks
After completing the battery installation, disconnect your memory saver device and start the engine. Check that your radio presets, clock time, and seat positions are still programmed correctly. Most systems should retain their settings if the memory saver worked properly.
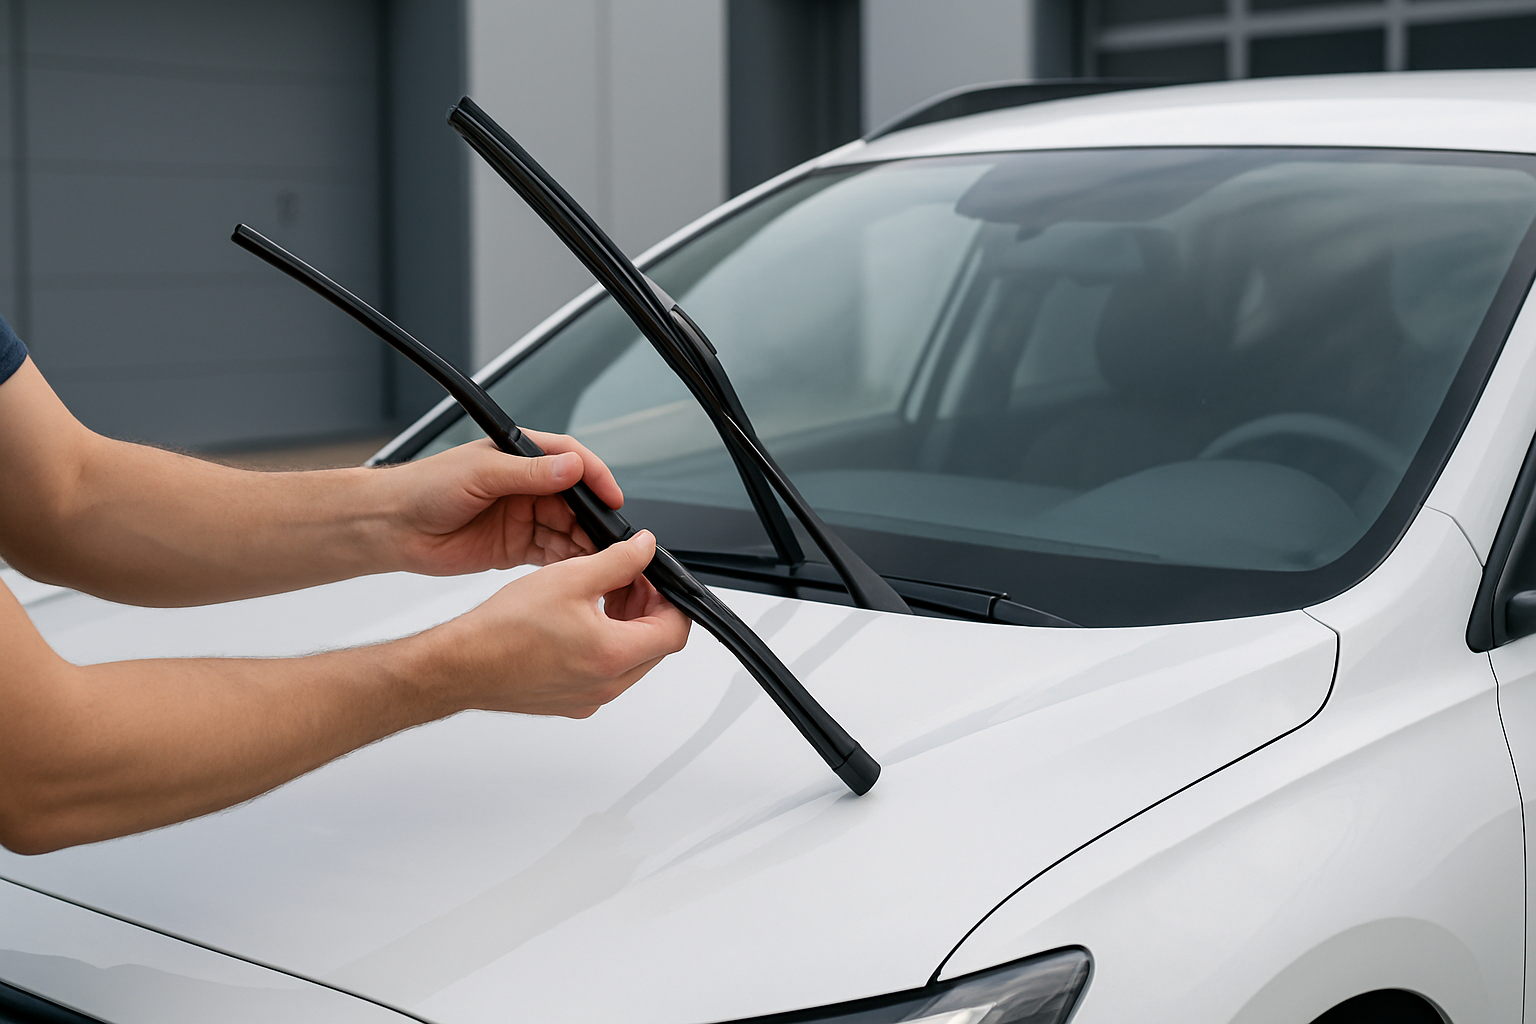
Some vehicles may require additional steps even with a memory saver in place. Power windows often need to relearn their auto-up and auto-down positions. This typically involves rolling each window fully down, then fully up while holding the switch for several seconds in each direction.
The engine computer might also need a brief relearning period for idle speed and transmission shift points. Don’t worry if the car runs slightly rough for the first few miles after battery replacement, this is normal as the systems recalibrate.
Troubleshooting Common Issues
If your radio is asking for an anti-theft code despite using a memory saver, the backup power may not have reached the radio module. Some vehicles have multiple fuse boxes, and the radio might be on a circuit that your memory saver didn’t protect.
Check your owner’s manual for the radio code, which is often printed on a card in the glove box or written on the radio itself. If you can’t locate the code, your dealership can provide it using your vehicle identification number and proof of ownership.
For power windows that aren’t working properly, perform the relearn procedure on each window individually. Roll the window fully down, hold the switch down for 5 seconds, then roll it fully up and hold the switch up for 5 seconds. This reprograms the window’s position sensors.
When Memory Savers Don’t Work
Some newer vehicles with advanced electrical systems may lose certain settings even with a memory saver connected. This typically affects adaptive systems like transmission learning, throttle position, and steering angle sensors rather than basic presets.
European luxury vehicles often have the most sensitive electrical systems and may require professional-grade memory savers with higher current capacity. If you’re working on a BMW, Mercedes, or Audi, consider having the battery replaced at a shop with proper equipment.
Hybrid and electric vehicles require special procedures that go beyond simple memory savers. These high-voltage systems should only be serviced by qualified technicians with appropriate safety equipment and training.
Frequently Asked Questions
How long do I have to replace the battery before losing settings?
Most vehicles will begin losing memory within 5-10 minutes of battery disconnection. Critical systems like radio presets and clock settings typically disappear within the first few minutes, while engine computer adaptive settings may persist slightly longer.
Can I use a regular battery charger as a memory saver?
While some people attempt this method, it’s not recommended. Battery chargers can produce voltage spikes that damage sensitive electronics. Dedicated memory saver devices are designed specifically for this application and include protection circuits that chargers lack.
Do I need to reprogram anything after using a memory saver?
If your memory saver worked correctly, most settings should be preserved. However, some adaptive systems may still require relearning procedures. Power windows, sunroofs, and transmission shift points commonly need reprogramming regardless of memory saver use.
Will disconnecting the battery affect my car’s warranty?
Simply replacing a battery won’t void your warranty, as this is considered normal maintenance. However, if you damage electrical systems during the process or fail to follow proper procedures, related repairs might not be covered. When in doubt, consult your dealership for battery replacement.
This article contains affiliate links. If you purchase through these links, we may earn a small commission at no extra cost to you.


Leave a Reply