
If you’re seeing the dreaded “Service Suspension System” message on your Grand Cherokee’s dash, you’ve probably got an air leak somewhere in the Quadra-Lift system. It’s one of the most common complaints on 2011-2021 WK2 models equipped with this fancy air suspension setup. The truck might sit low on one corner, refuse to adjust ride height, or you’ll hear the compressor running constantly as it tries to maintain pressure in a system that’s bleeding air faster than it can pump it in.
The Quadra-Lift system uses air springs at all four corners instead of traditional coil springs, controlled by a central valve block and fed by an onboard compressor. When it works, it’s brilliant for adjusting ground clearance and improving ride quality. When it doesn’t, you’re looking at a repair that can get expensive fast if you take it to a dealer. But here’s some relief: most air suspension leaks on these Jeeps are fixable at home with basic tools and some patience.
Common Causes
Air suspension leaks don’t just appear randomly. These systems are under constant pressure, and certain components wear out predictably over time.
Cracked or deteriorated air springs are the number one culprit. The rubber bellows that actually hold the air develop cracks from age, road salt, and UV exposure. The rear air springs tend to fail first because they carry more weight and get flexed more during normal driving. You’ll often see the cracks forming near the top or bottom mounting points where the rubber folds during compression.
Air line fittings and connections are another weak point. The system uses push-to-connect fittings throughout, and these can develop leaks at the O-rings or crack at the plastic collars. Temperature cycling makes the plastic brittle over time. The valve block under the vehicle has multiple air line connections, and any one of them can start weeping air.
The valve block itself contains solenoids and internal seals that can fail. This black plastic unit mounted under the vehicle near the spare tire area controls which air spring gets filled or vented. Internal seal failure is less common than air spring or line problems, but it happens, especially on higher-mileage vehicles.
Air dryer cartridge inside the compressor assembly can also cause issues. When this filter clogs or fails, moisture gets into the system and accelerates corrosion and seal deterioration throughout. The compressor might run constantly trying to compensate for pressure loss.
How to Diagnose the Problem
Finding an air leak requires some detective work, but it’s not rocket science. Start with the easiest checks first.
Visual inspection comes first. Get the Jeep on level ground and crawl underneath with a flashlight. Look at each air spring closely, especially the rubber bellows section. Fresh cracks will often show up as darker lines in the rubber. Check where the air springs mount to the frame and axle. Look for any obvious tears or splits.
Use soapy water to find leaks. Mix up some dish soap and water in a spray bottle. With the suspension aired up (you might need to start the engine and let the system pressurize), spray the soapy water on every air line connection, fitting, and air spring surface you can reach. Bubbles will form wherever air is escaping. This works better than just listening for leaks because some leaks are too small to hear but still big enough to cause problems.
Check the valve block connections. The valve block is mounted under the vehicle, usually on the driver’s side near where the spare tire would be (if equipped). It’s got five or six air lines connected to it. Spray each connection point with soapy water. The plastic fittings here are notorious for developing hairline cracks.
Listen to the compressor. Start the vehicle and listen. The compressor should run for maybe 30 seconds to a minute when you first start up, then shut off once system pressure is reached. If it cycles on and off repeatedly every few minutes, or runs constantly, you’ve got a leak somewhere that’s preventing the system from holding pressure.
Watch for uneven stance. Park on flat ground and look at the vehicle from all four corners. If one corner sits noticeably lower than the others, that’s usually the air spring that’s leaking. Sometimes the leak is slow enough that the compressor can keep up while driving, but overnight the corner will sag down.
This video shows an effective leak detection method:
How to Fix It
Fixing Quadra-Lift leaks ranges from simple to moderately complex, depending on what’s actually leaking. Most owners can handle these repairs in a home garage.
Replacing air springs is the most common repair. If you’ve found a cracked or torn air spring, you’ll need to replace it. You can buy OEM replacements or aftermarket units. The aftermarket Arnott or Suncore springs work fine and cost less than dealer parts.
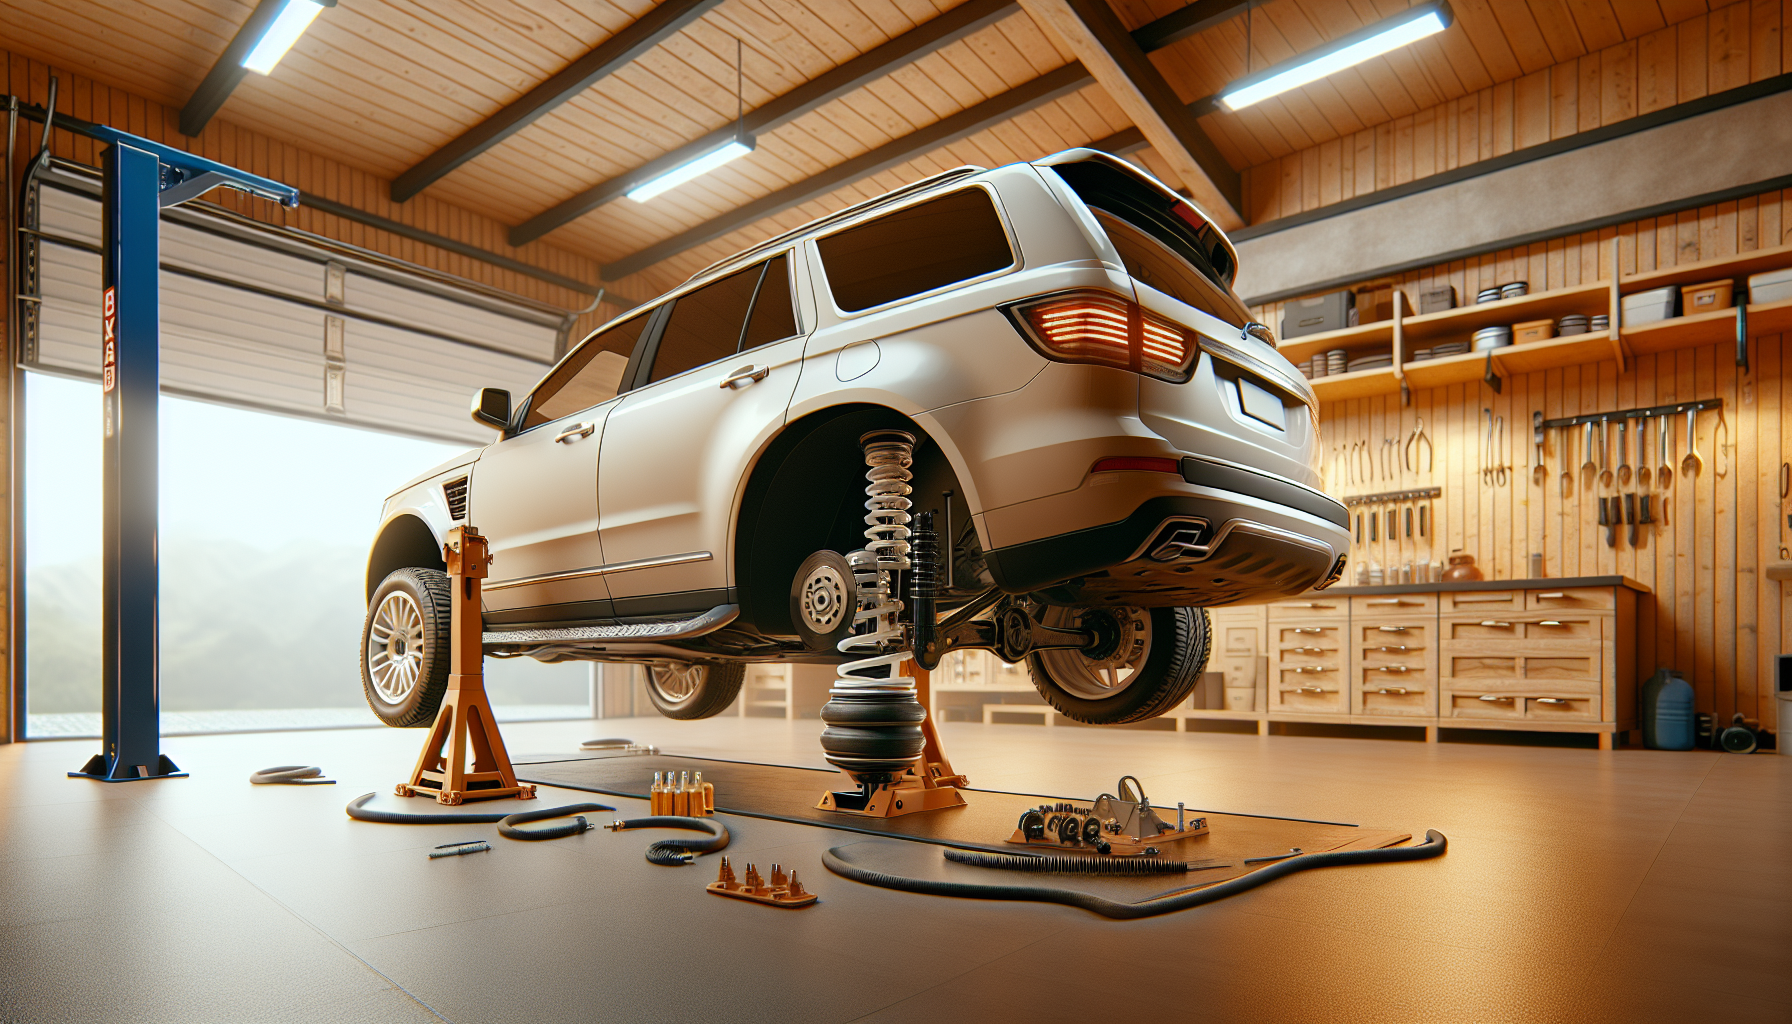
Here’s the process: First, you’ll need to vent the air from that corner’s spring. There’s a Schrader valve at the top of each air spring (looks like a tire valve). You can press the center pin to release air, but you’ll lose the nitrogen charge. Some people just disconnect the air line at the valve block instead. Jack up the vehicle and support it on jack stands at the frame. Remove the wheel for easier access. Disconnect the air line from the top of the spring (press the collar and pull the line). Unbolt the top mount (usually three bolts through the spring tower), then the bottom mount bolt. The spring pulls out. Installation is reverse, but make sure the new spring is properly seated before bolting everything down.
Fixing air line connections is usually even simpler. If you found bubbles at a push-connect fitting, you can often fix it by disconnecting and reconnecting the line. Push the collar in, pull the line out, inspect the line end for damage, then push it back in firmly until it clicks. If the fitting collar itself is cracked, you can buy replacement fittings and splice them in with fresh air line. Use proper nylon air line rated for automotive use, not generic hardware store tubing.
Replacing the valve block is more involved but still doable at home. You’ll need to disconnect all the air lines (mark them first or take photos so you know where they reconnect), unbolt the valve block from its mounting bracket, disconnect the electrical connector, then reverse the process with the new unit. The tricky part is getting all six air lines reconnected to the right ports. The system won’t work correctly if lines are swapped.
This video demonstrates the air spring replacement process while retaining the nitrogen charge:
Recharging the system after repairs is important. Each air spring contains a nitrogen charge separate from the air suspension system. If you vented the nitrogen, the spring will still work but ride quality suffers. You can have a shop recharge the nitrogen, or just live with slightly firmer ride. The air suspension system itself will self-level once you start driving and the compressor does its job.
After any repair, clear the fault codes with a scan tool and test the system. Cycle through the different ride height settings using the dashboard controls to make sure everything adjusts properly. Go for a drive and check that all corners are level.
When to See a Mechanic
Some situations call for professional help rather than DIY repairs.
If the compressor itself has failed, that’s a bigger job requiring special tools to evacuate and recharge the system properly. Compressor replacement involves working with high-pressure air systems and electrical components that are best left to someone with experience.
When you’ve got multiple leaks in different areas, or the system has been neglected for so long that corrosion has damaged hard lines and fittings throughout, professional diagnosis makes sense. A shop can pressure test the entire system and identify every leak at once rather than playing whack-a-mole fixing one leak only to discover another.
If you’re not comfortable working under a raised vehicle or don’t have proper jack stands and safety equipment, pay someone else to do it. Air spring replacement requires supporting the vehicle safely while you work underneath, and that’s not worth risking your safety over.
Electrical issues with the suspension control module or height sensors are another area where professional diagnosis helps. These problems can mimic air leaks but won’t be fixed by replacing air springs. A good shop with proper scan tools can read the specific fault codes and pinpoint whether you’ve got a mechanical leak or an electrical gremlin.
Estimated Repair Costs
| Repair | DIY Parts Cost | Shop Cost (Parts + Labor) |
|---|---|---|
| Single air spring replacement | Parts vary by brand | $400-$600 |
| All four air springs | Check pricing on parts | $1,200-$2,000 |
| Valve block replacement | Parts vary | $600-$900 |
| Air line repair/replacement | $10-$30 | $150-$300 |
| Compressor replacement | Check pricing | $800-$1,200 |
| Complete system conversion to coils | $400-$800 (conversion kit) | $1,000-$1,500 |
Labor rates vary by location, but most shops charge 1-2 hours labor per air spring. Valve block replacement typically runs 2-3 hours. Diagnosis time is usually billed separately at $100-$150.
Prevention Tips
You can’t prevent all air suspension problems, but a few habits will extend the life of your Quadra-Lift system.
Wash the undercarriage regularly, especially if you drive in areas where they salt the roads. Road salt accelerates corrosion on the valve block housing and air line fittings. A simple undercarriage rinse at the car wash every few weeks during winter makes a real difference.
Park in a garage when possible. UV exposure breaks down the rubber in air springs faster than almost anything else. If your Jeep lives outside year-round, expect air springs to last 6-8 years. Garage-kept vehicles often get 10+ years from the original springs.
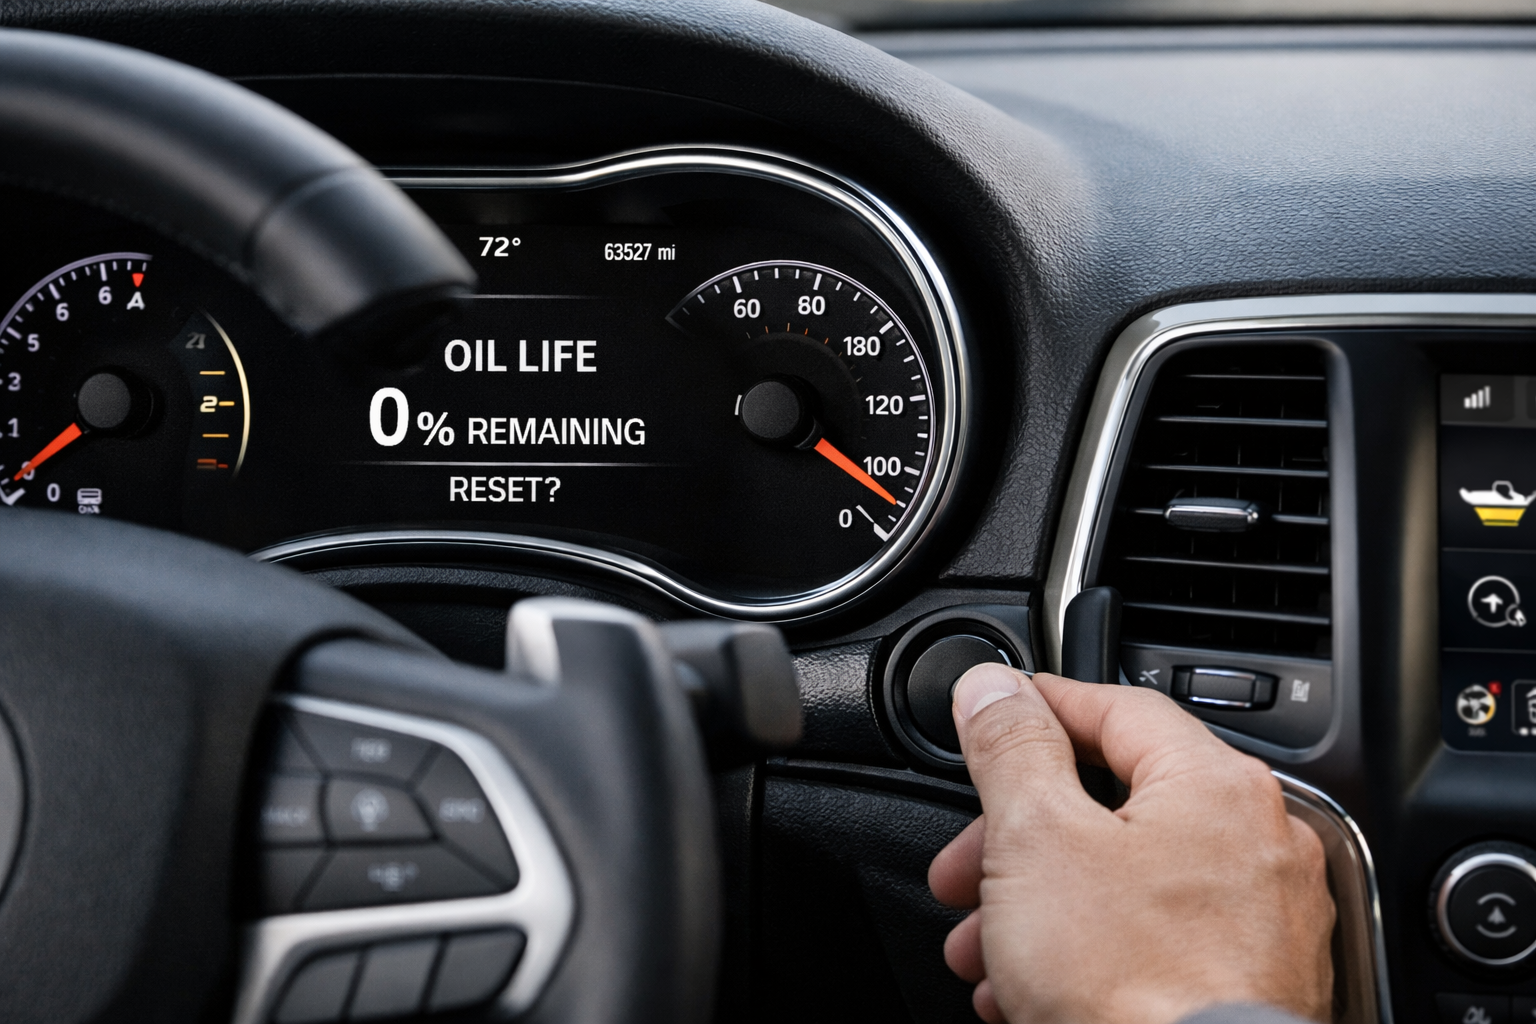
Don’t ignore warning messages. When you first see “Service Suspension System” on the dash, address it soon rather than driving on it for months. A small leak that the compressor can keep up with will eventually damage the compressor from overwork. Fix the leak early and save the compressor.
Avoid maxing out payload constantly. The Quadra-Lift system is designed for variable loads, but consistently running at maximum payload capacity stresses the air springs and accelerates wear. If you regularly haul heavy loads, you might consider switching to the coil spring suspension instead.
Check system operation seasonally. Test all the ride height settings a few times per year to make sure everything still works. Solenoids in the valve block can stick if they’re never used. Cycling through all the height modes keeps things moving and helps you catch problems before they become emergencies.
Is the Air Suspension Worth Keeping?
After dealing with a leak or two, some Grand Cherokee owners start questioning whether the Quadra-Lift system is worth the hassle. That’s a fair question.
The air suspension does offer real benefits. Adjustable ride height is genuinely useful for off-roading and makes loading cargo easier with the “Park” setting that drops the rear. The ride quality in “Comfort” mode is noticeably smoother than the standard coil suspension. If you tow regularly, the auto-leveling feature maintains proper geometry regardless of tongue weight.
But it’s also more complex than coil springs, which means more potential failure points. Replacement parts cost more. Some owners who don’t use the height adjustment features or do serious off-roading end up converting to conventional coil spring suspension using aftermarket conversion kits. This eliminates all the air suspension complexity permanently. You lose the adjustability but gain simplicity and lower long-term maintenance costs.
If your Quadra-Lift has been reliable and you use its features, fixing leaks as they occur makes sense. If you’re facing expensive repairs on an older vehicle and never adjust the ride height anyway, conversion to coils is worth considering. There’s no wrong answer—it depends on how you use your Jeep and what you value more: capability or simplicity.

Leave a Reply