
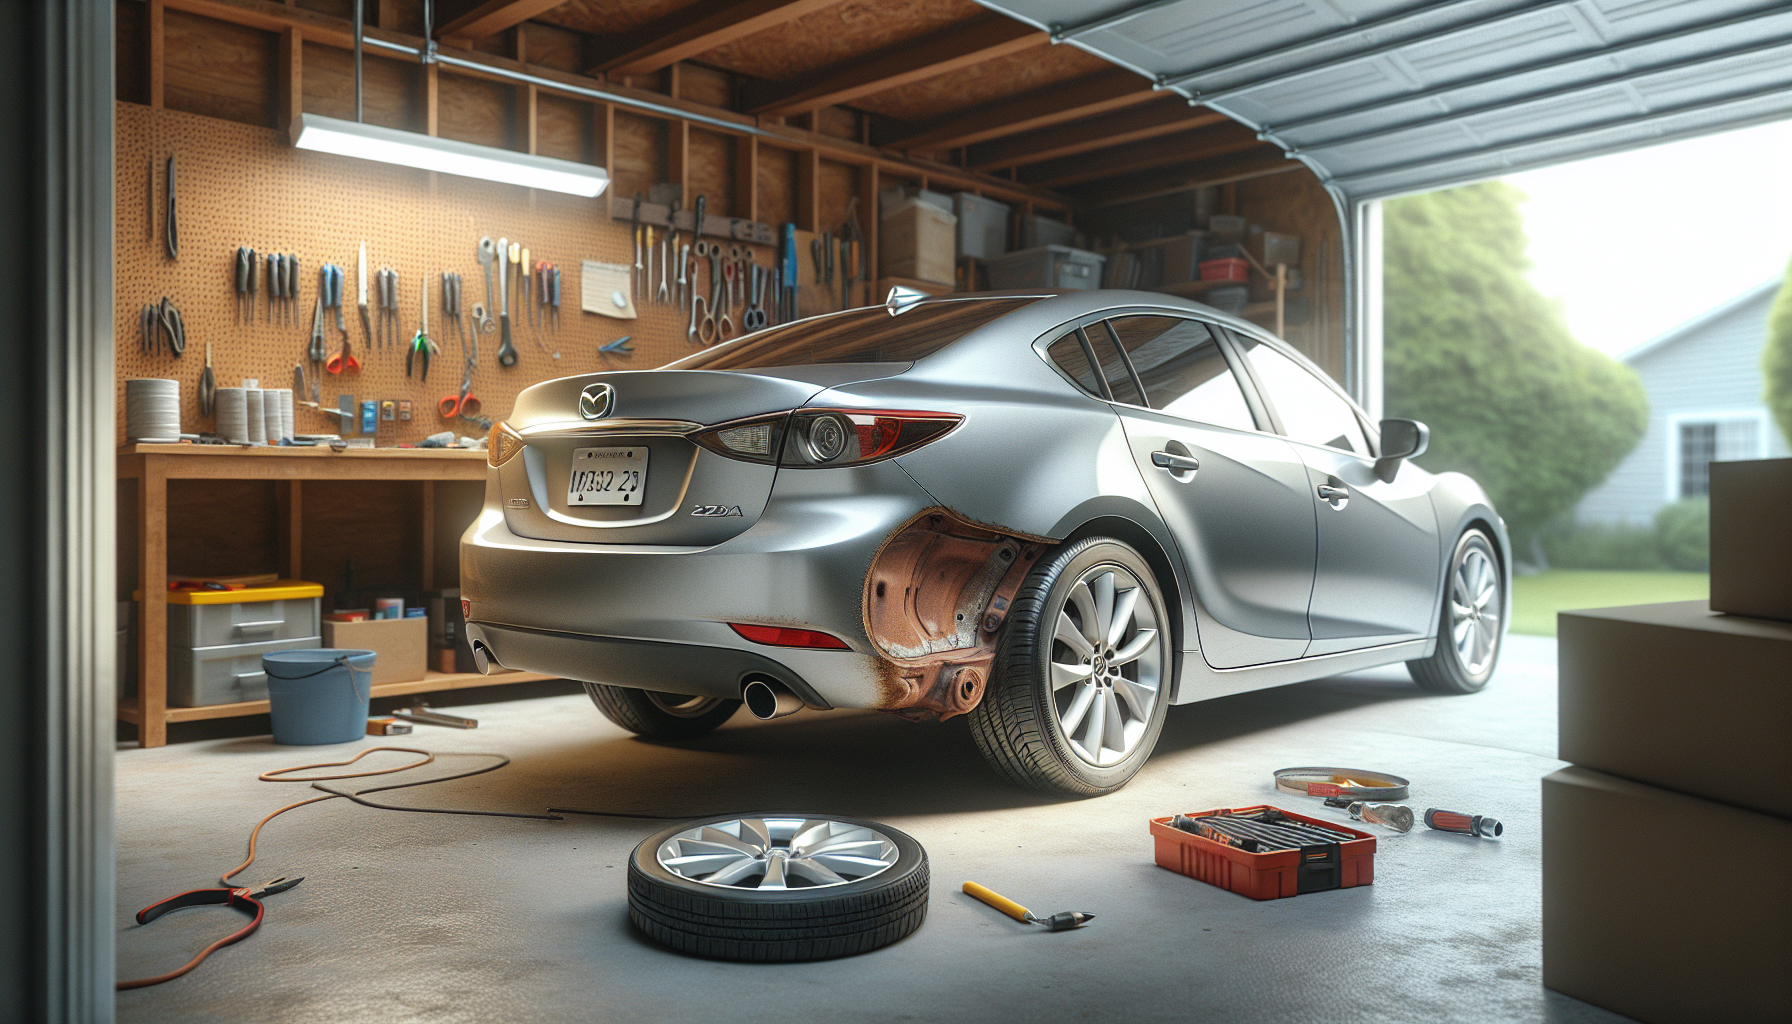
If you own a Mazda 6, especially one from the 2003-2013 generation, you’ve probably noticed something unsettling: rust bubbling up on the rear wheel arches. It’s one of those problems that starts small and grows fast if you ignore it. The rear arches on these cars are notorious for collecting moisture, road salt, and debris in spots where you can’t see it happening until the damage is already done.
The design of the wheel arch liner and the way water drains (or doesn’t drain) from behind the bumper creates a perfect environment for corrosion. Mazda used thinner metal in these areas compared to some competitors, and the factory undercoating doesn’t always hold up in harsh climates. Once rust starts, it spreads under the paint like a slow-burning fuse.
Common Causes
Rust on Mazda 6 rear wheel arches doesn’t happen randomly. There are specific reasons why these cars develop this problem faster than others.
The biggest culprit is trapped moisture behind the wheel arch liner. The plastic liner is held in place with clips, and over time, dirt and road grime build up in the gap between the liner and the body panel. Water seeps in there and has nowhere to go. In winter climates, road salt accelerates the process dramatically. Salt eats through paint and metal faster than plain water ever could.
Another issue is drainage. The Mazda 6’s rear quarter panel design includes drain holes that are supposed to let water escape, but these holes get clogged with dirt, leaves, and debris. When water can’t drain, it sits against bare or painted metal for extended periods. That’s when oxidation kicks in.
Paint chips and stone damage also play a role. Every time a rock kicks up from the road and chips the paint on your wheel arch, you’ve created an entry point for moisture. The bare metal underneath is exposed, and rust begins forming almost immediately if left untreated.
Finally, some Mazda 6 models came with inadequate factory rust protection in the wheel well area. The undercoating was either too thin or applied inconsistently, leaving vulnerable spots that corrode faster than protected areas.
How to Diagnose the Problem
Catching rust early makes all the difference between a simple fix and a major repair. Here’s how to check your Mazda 6’s rear wheel arches properly.
Start by washing the car thoroughly, including the wheel wells. You need to see the actual condition of the metal, not just layers of dirt. Once it’s clean, look closely at the bottom edge of the rear wheel arch where it meets the rocker panel. This is where rust typically begins on the Mazda 6.
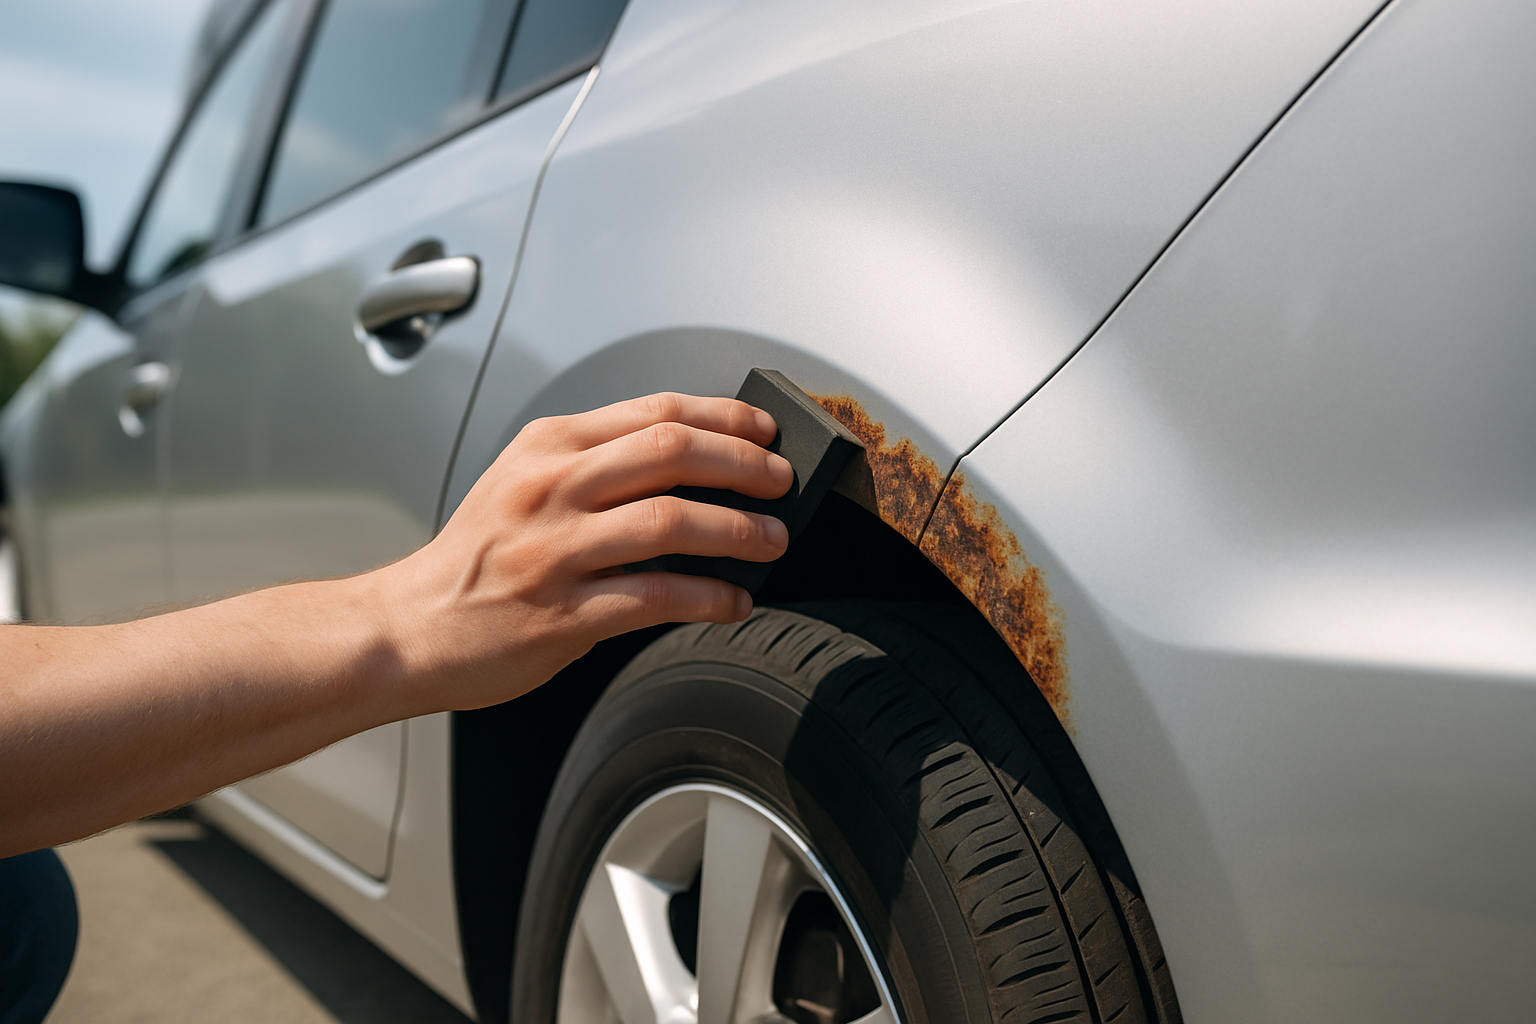
Run your hand along the painted surface. If you feel bubbling or roughness under the paint, that’s rust forming beneath the surface. Sometimes you’ll see small blisters in the paint before you see actual rust-colored metal. Those blisters are a dead giveaway.
Next, remove the rear wheel arch liner if possible. You’ll need to pop out the plastic clips holding it in place. Pull the liner away from the body panel and inspect the metal behind it. Look for surface rust (light orange discoloration), scale rust (flaking and bubbling), or penetrating rust (actual holes in the metal). Check the drain holes while you’re in there to see if they’re clogged.
Use a flathead screwdriver to gently probe any rust spots you find. If the screwdriver goes through the metal easily, you’ve got penetrating rust and the panel needs more serious repair. If the metal is solid but rusty on the surface, you caught it early enough for a DIY fix.
Don’t forget to check from inside the trunk. Pull back the trunk liner on both sides and look at the inner wheel well area. Sometimes rust starts from the inside out, especially if water has been leaking into the trunk.
How to Fix It
Fixing rust on your Mazda 6’s rear wheel arches isn’t rocket science, but it does require patience and the right materials. The approach depends on how far the rust has progressed.
For surface rust (the earliest stage), you can handle this in an afternoon. Start by sanding down the rusty area with 80-grit sandpaper until you reach bare, clean metal. You want to remove all traces of rust and any loose paint around it. Feather the edges of the good paint so the transition is smooth.
Once the metal is bare, wipe it down with a wax and grease remover or rubbing alcohol. Let it dry completely. Apply a rust converter or a rust-inhibiting primer designed for automotive use. This creates a protective barrier and prevents new rust from forming. After the primer dries (usually 24 hours), apply several coats of paint matched to your car’s color, then finish with clear coat.
For more advanced rust with bubbling and flaking, you’ll need to cut away the damaged metal. This is where it gets more involved. Use an angle grinder with a cutting disc to remove the rusted section completely. Grind back to solid metal on all sides of the damaged area.
You have two options for filling the hole: fiberglass repair kits or metal patch panels. Fiberglass is easier for DIYers and works well for smaller holes. Mix the resin according to the instructions, apply layers of fiberglass mat over the hole, and build it up until it’s slightly higher than the surrounding metal. Once it hardens (usually a few hours), sand it down flush with the body panel using progressively finer sandpaper (80-grit, then 180-grit, then 320-grit).
This video shows exactly how to tackle arch rust with fiberglass and body filler:
For larger repairs or if you want a stronger fix, welding in a metal patch is better. You can buy pre-cut repair panels specifically for Mazda 6 wheel arches online. If you don’t have welding skills, this is where you might need help from someone who does. Once the patch is welded in, grind the welds smooth, apply primer, paint, and clear coat.
After any repair, apply rubberized undercoating to the wheel well area for extra protection. Spray it on the inner wheel arch and behind the liner to create a moisture barrier. This step is critical for preventing the rust from coming back.
Here’s another helpful video on rust repair without welding:
Before reinstalling the wheel arch liner, clean out all the drain holes. Use a small wire or compressed air to make sure water can flow freely. Consider applying a thin layer of marine grease to the clips and mounting points to prevent future corrosion in those spots.
When to See a Mechanic
Some rust situations are beyond what you should tackle in your driveway, even if you’re handy with tools.
If the rust has spread to structural components like the rear subframe mounting points or the rocker panel’s load-bearing sections, stop. These areas affect the car’s safety and crash integrity. A professional body shop needs to assess whether the damage is repairable or if the car is approaching the end of its practical life.
Large sections of rust that span more than 6-8 inches across multiple panels also call for professional help. At that point, you’re looking at panel replacement rather than patch work, which requires specialized equipment and paint matching capabilities that most DIYers don’t have.
If you discover rust perforation (holes in the metal) in multiple areas on both sides of the car, get a professional inspection before investing in repairs. Sometimes the cost of fixing extensive rust damage exceeds the car’s value, and you need an honest assessment of whether it makes financial sense to proceed.
Welding repairs also require specific skills and equipment. If you’ve never welded before, now isn’t the time to learn on your car’s body panels. Bad welds create more problems than they solve, including warped metal and weak joints that fail.
Estimated Repair Costs
Rust repair costs vary wildly depending on how far the corrosion has progressed and whether you DIY or hire it out.
| Repair Type | DIY Cost | Professional Cost |
|---|---|---|
| Surface rust treatment (per wheel arch) | $30-$60 | $150-$300 |
| Moderate rust with fiberglass repair | $80-$150 | $400-$700 |
| Panel replacement with welding | $200-$400 | $800-$1,500 |
| Extensive rust repair (both arches, full respray) | Not recommended | $2,000-$4,000 |
| Preventive undercoating treatment | $40-$80 | $200-$400 |
These numbers assume you’re working with a reputable body shop that does quality work. Budget shops might charge less, but the results often reflect the price. Paint matching and blending is where professional shops earn their money, and corner-cutting shows up quickly in mismatched colors and poor durability.
For DIY repairs, the biggest expense is usually tools if you don’t already own them. An angle grinder, sandpaper assortment, and paint supplies add up quickly on your first repair, but you’ll have them for future projects.
Prevention Tips
Preventing rust is way easier and cheaper than fixing it. A little maintenance goes a long way on Mazda 6 wheel arches.
Wash your wheel wells regularly, especially if you live where they salt the roads in winter. At minimum, do this monthly during winter and every few months in warmer weather. Focus on getting the crud out from behind the wheel arch liner and around the drain holes. A pressure washer works great for this if you have access to one.
Check and clear the drain holes every few months. These tiny openings at the bottom of the quarter panel are your first line of defense against trapped water. Poke a wire through them to make sure they’re flowing freely.
Apply fresh undercoating every 2-3 years. The factory coating breaks down over time, and reapplying it maintains that protective barrier between the metal and moisture. Do this in late fall before winter hits for maximum protection.
Fix paint chips immediately. Carry touch-up paint in your car’s color code and dab it on any chips as soon as you notice them. A chip that sits exposed for weeks or months will rust, but one treated within days probably won’t.
Park in a garage if you can. Cars stored indoors experience dramatically less rust than those sitting outside in rain, snow, and humidity. If garage parking isn’t an option, at least try to park under cover when possible.
Consider annual rust-proofing treatments from a professional service. Places that specialize in this will spray protective oil into body cavities and crevices you can’t reach yourself. It’s not cheap (usually $100-$150 per year), but it’s effective insurance against rust on vulnerable cars like the Mazda 6.
Fixing rust on your Mazda 6’s rear wheel arches is one of those repairs where catching it early makes all the difference. Surface rust is an easy weekend project. Holes in the metal require more work but are still manageable for someone with basic body work skills. Wait too long, though, and you’re looking at professional repairs that cost more than the car might be worth. Check your wheel arches regularly, keep them clean, and address any rust spots as soon as they appear. Your Mazda 6 will thank you with years of additional service.
Leave a Reply