
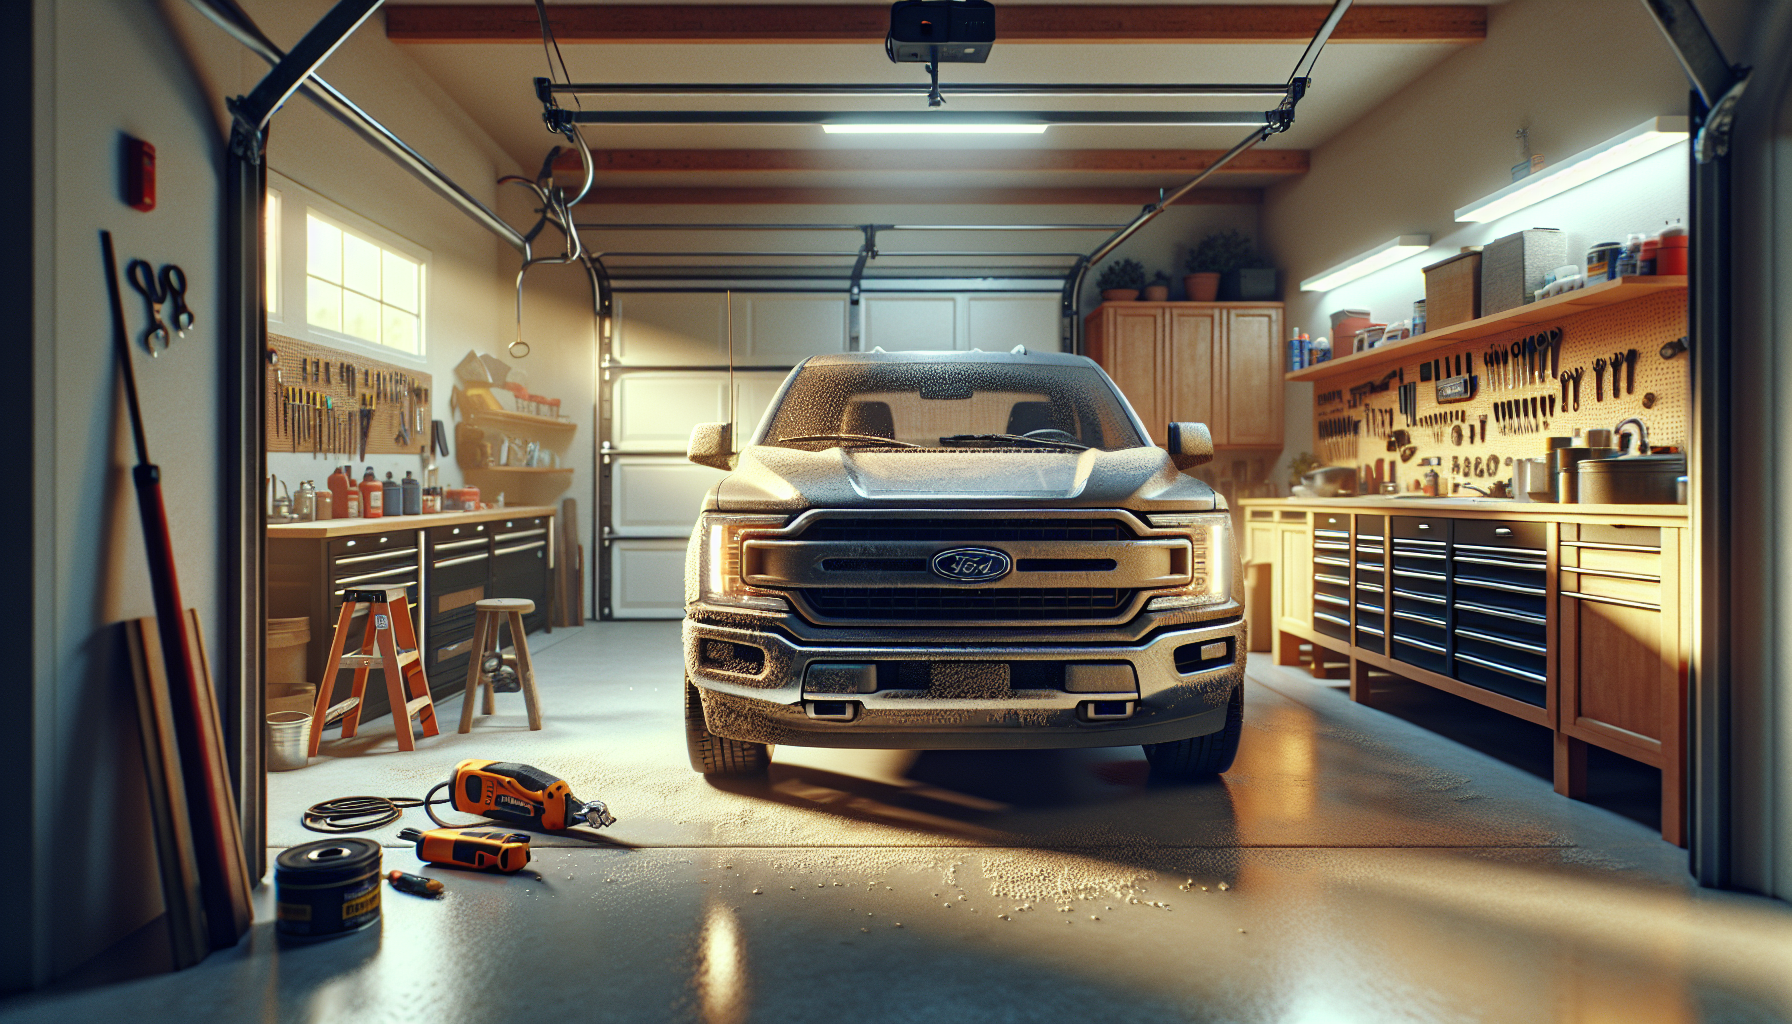
You walk out to your Silverado in the morning and notice your headlights look like they’ve been crying. Foggy, cloudy, and filled with moisture droplets, they make your truck look tired and neglected. Condensation inside headlights is one of those issues that catches Silverado owners off guard because it seems like something that shouldn’t happen on a sealed component.
But here’s the reality: headlight assemblies aren’t completely sealed. They have vents that allow air to circulate and heat to escape when the bulbs are on. When temperature changes happen quickly, especially between hot days and cool nights, moisture can get trapped inside. On Silverados, this is particularly common on models from 2014-2019, though it can happen on any generation.
The moisture itself won’t kill your headlight immediately, but over time it can corrode reflectors, damage bulb connections, and turn your once-bright beams into weak, yellowish glows. Let’s walk through what causes this, how to diagnose it properly, and how to fix it without dropping hundreds at the dealer.
Common Causes
Condensation in Silverado headlights happens for a few specific reasons, and understanding which one applies to your truck makes the fix much easier.
Failed Seals and Gaskets
The rubber gasket where the headlight housing meets the mounting point deteriorates over time. Road salt, temperature swings, and UV exposure all break down that seal. Once it fails, humid air rushes in during temperature changes and gets trapped when things cool down. On older Silverados, I’ve seen gaskets that were completely brittle and cracked.
Cracked Housing
Rock chips, minor accidents, or even over-tightening mounting bolts can crack the plastic housing. Sometimes these cracks are hairline thin and almost invisible. Water from car washes or rain gets in through these cracks and has nowhere to go.
Blocked Vent Tubes
Every headlight has small vent tubes that equalize pressure. Dirt, spider webs, and road debris can block these vents. When the vents are clogged, moisture that enters can’t escape through the normal evaporation cycle. The headlight becomes a terrarium.
Aftermarket Bulb Installation
If you or someone else recently changed bulbs and didn’t reseat the dust cap properly, that’s your culprit. Those rubber caps on the back of the housing need to fit snugly. A loose cap is an open invitation for moisture.
Temperature Cycling
Even with perfect seals, rapid temperature changes can cause temporary condensation. This is actually normal to some degree. If moisture appears after you park overnight and disappears after you drive for 20 minutes, your headlights are probably functioning as designed.
How to Diagnose the Problem
Before you start tearing things apart, figure out if you’re dealing with normal condensation or a genuine seal failure.
Park your truck outside overnight when temperatures are expected to drop. In the morning, inspect both headlights. Light condensation that covers just the bottom edge or appears as a thin mist is usually normal. It should clear up within 30 minutes of driving.
Heavy condensation with visible water droplets running down the inside of the lens, or fog that persists all day, indicates a seal problem. Take photos with your phone so you can track whether it’s getting worse.
Pop the hood and inspect the back of the headlight assembly. Check that all bulb access covers are seated properly. Wiggle them gently. If they move, they’re not sealed. Look for obvious cracks in the housing, paying special attention to areas around mounting brackets.
Find the vent tubes on the headlight assembly. They’re usually small rubber tubes pointing downward. Gently squeeze them and make sure air moves freely. If they’re stiff or feel blocked, that’s a problem.
Run your truck for 20 minutes, then turn it off and immediately check the headlights. If condensation appears within 5-10 minutes of shutting down, you’ve got a seal issue. The heat from the bulbs is creating humid air that condenses as things cool.
This video shows exactly what to look for during diagnosis:
How to Fix It
Most condensation problems can be fixed in your driveway with basic tools and about an hour of time. The approach depends on what’s causing the moisture.
Dry Out the Headlight
Start by removing as much existing moisture as possible. You can’t fix a seal when there’s still water inside. Pull the headlight assembly from the truck (usually 3-4 bolts and a wiring connector). Remove all bulbs and access covers from the back.
Place the assembly in direct sunlight or in front of a fan in a warm, dry room. Let it sit for 24 hours. For faster results, some people use silica gel packets inside the housing. Toss 4-5 packets inside, seal the bulb openings with tape, and let it sit overnight. The silica absorbs moisture incredibly well.
Reseal the Housing
Once dry, inspect every seal point. The main housing gasket, bulb access covers, and any seams in the assembly all need to be watertight. Clean old gasket material with isopropyl alcohol. Apply a thin bead of headlight sealant or butyl rubber sealant around the mounting flange.
For bulb access covers, replace the rubber seals if they look compressed or cracked. If you can’t find OEM replacements, a thin layer of dielectric grease on the existing seal can help it seat better.
Clear the Vent Tubes
Remove the vent tubes and blow compressed air through them. If they’re damaged or permanently clogged, replace them. Auto parts stores sell universal headlight vent tubes for a few bucks. Make sure the new vents point downward so water can’t run into them.
Repair Small Cracks
For hairline cracks in the housing, clean the area thoroughly with rubbing alcohol. Apply clear epoxy or plastic welding compound from the inside of the housing. Sand it smooth once cured. This works for minor damage, but larger cracks usually mean you need a new housing.
This video demonstrates the complete moisture removal and resealing process:
Prevent Future Buildup
After reinstalling the headlight, apply a light coat of anti-fog solution to the inside of the lens. This won’t stop major leaks, but it helps prevent condensation from forming during normal temperature cycles. Some people swear by this; others think it’s overkill. I’ve used it on my own vehicles and noticed less fogging during winter months.
When to See a Mechanic
Some condensation issues are beyond reasonable DIY repair, and that’s okay.
If your housing has major cracks, especially in the lens itself, replacement is the only real fix. You could try epoxy repairs, but they rarely last and can make the headlight look worse. Aftermarket Silverado headlight assemblies run $100-200 each, while dealer OEM units cost $300-500.
When condensation is accompanied by electrical issues like flickering bulbs or bulbs that burn out frequently, moisture has likely corroded the wiring harness connections. A mechanic can properly diagnose electrical problems and replace damaged connectors.
If you’ve resealed everything, cleared the vents, and moisture still returns within a few days, there’s a defect in the housing itself that you’re not seeing. Sometimes the plastic develops micro-cracks that are invisible to the naked eye. A shop can pressure-test the assembly to find these leaks.
For Silverados still under warranty, persistent headlight condensation is often covered, especially if it’s a known issue for your model year. Some 2014-2016 Silverados had a TSB (Technical Service Bulletin) related to headlight moisture. Check with your dealer before spending money on parts.
Estimated Repair Costs
| Repair Type | DIY Cost | Shop Cost |
|---|---|---|
| Reseal existing housing | $10-25 | $80-150 |
| Clear vents and dry out | $5-15 | $60-100 |
| Replace aftermarket headlight assembly | $100-200 | $250-400 |
| Replace OEM headlight assembly | $300-500 | $500-800 |
| Repair minor cracks | $15-30 | $100-180 |
Labor charges vary widely depending on location. Shops in urban areas tend to charge more. Headlight removal on Silverados is pretty simple, so you’re mostly paying for diagnostic time and expertise.
Prevention Tips
Once you’ve fixed the condensation problem, a few simple habits keep it from coming back.
When washing your truck, avoid spraying high-pressure water directly at the headlight seams and vent tubes. Water forced into these areas under pressure can overwhelm the vents and get trapped inside. A gentle rinse is fine; a pressure washer aimed at close range is not.
Check your headlight bulbs and access covers whenever you change oil or perform routine maintenance. A quick visual inspection takes 30 seconds and catches loose covers before they cause problems. If a cover feels loose, reseat it immediately.
Park in a garage when possible, especially during extreme temperature swings. Headlight assemblies that go from 90-degree heat to 50-degree nights experience the most condensation stress. Garage parking moderates these temperature changes.
Replace bulbs with quality units that match OEM specifications. Cheap bulbs can run hotter than spec, which increases internal humidity and stresses seals. Stick with known brands.
If you live in a humid climate, accept that minor condensation might appear occasionally even with perfect seals. As long as it clears quickly and doesn’t accumulate water, your headlights are fine. Don’t obsess over trace amounts of fog that disappear during your morning commute.
Final Thoughts
Condensation in Silverado headlights looks alarming, but it’s usually fixable without major expense or expertise. Most cases come down to failed seals or blocked vents, both of which you can address in an afternoon.
The key is catching it early. Light condensation that clears up quickly is no big deal. Standing water or persistent fog means you need to act before corrosion damages the reflector or electrical connections. Once you’ve properly dried and resealed the assembly, the problem typically stays gone for years.
If you’ve gone through the diagnostic steps and fixes outlined here and moisture keeps returning, don’t keep throwing parts at it. Sometimes a housing has internal defects that aren’t visible, and replacement becomes the cost-effective choice. But for most Silverado owners dealing with foggy headlights, a weekend DIY project gets things back to normal.


Leave a Reply