
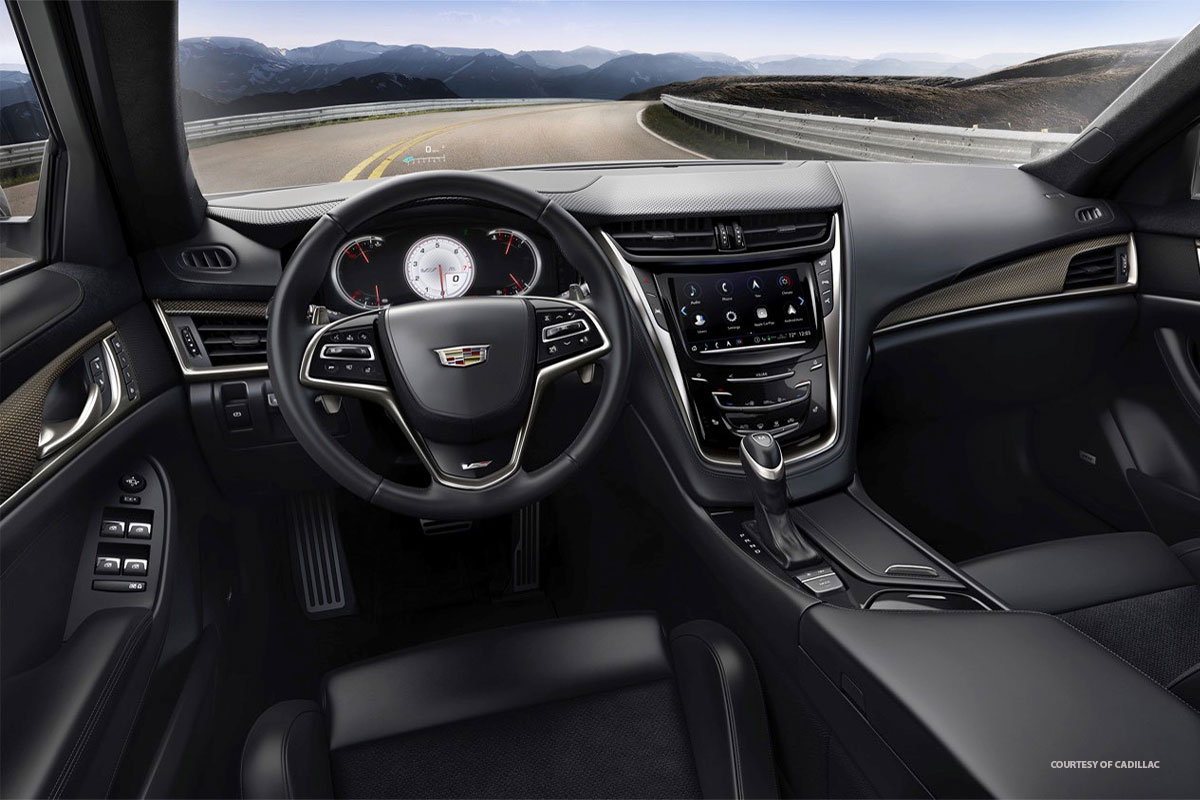
Cadillac’s CUE (Cadillac User Experience) infotainment system has been around since 2012. It’s available on a wide range of Cadillacs, and the latest models come with cutting-edge CUE features, like voice controls and built-in Wi-Fi hotspots.
When it works well, the CUE system is a fantastic addition to any Cadillac. Unfortunately, it sometimes encounters issues, like frozen or unresponsive screens. For some users, it’s even worse, with their CUE screens being cracked and almost impossible to use.
This guide will look at common CUE issues and how to fix them, step-by-step.
Common CUE Screen Problems
The software behind the CUE system is usually quite reliable. Unfortunately, the same can’t be said for the hardware, specifically the screen. Users have reported multiple issues with their CUE screens, with some even taking part in class-action lawsuits against Cadillac.
Typical issues include:
- Cracks: CUE screens may get cracked. This can lead to a spiderweb-like appearance, with lots of tiny cracks spreading all the way around the screen. It’s unpleasant to look at and also prevents the user from interacting with the system.
- Separating: Other users have found that the CUE screen’s glass and adhesive film layers gradually become separated over time. This creates a gap between the electrodes that power the CUE system’s screen, making it unresponsive.
- Bubbling: There have also been reports of CUE screens bubbling. As the name suggests, this is when little bubbles form around the screen, usually at the edges or along the bottom. Again, this makes the screen hard to interact with.
Fixing CUE Screens, Step-by-Step
If your screen is cracked, separated, bubbling, or has some other issue, usually there’s only one way to fix it: a new screen. That means you’ll have to remove the old one and install a fresh one.
Of course, if your car is still under warranty, you can usually get a Cadillac technician to do this for you. However, if the warranty has expired and you’d prefer to save some money, it may be worth doing it yourself.
Step 1 – Remove the Left and Top Trim Sections
First, you’ll need to gain access to the CUE system screen in order to remove it. To do that, you’ll need to remove the trim pieces to the left of and above the radio.
Fortunately, this is quite easily done with the aid of some plastic interior wedge tools. You can buy a full set of these tools online or from auto supply stores. They’re designed to help you remove interior car parts and trim sections without leaving scratches or marks.
So, take one of the wedges and try to slide it in behind the trim sections. Apply light pressure, without being too forceful, and the trim pieces should eventually come loose. Place them to the side somewhere safe before continuing.
Step 2 – Remove the Ignition Button Molding
Next, you’ll want to remove the molding around the ignition button. This is typically situated to the lower left of the radio. It should pull away quite easily, using just your hands, but you may want to try the wedge tools if you’re having any difficulty.
With the molding section pulled out, you can then unplug the ignition switch and place the molding to the side.
Step 3 – Remove the Right Trim and Molding
There are also sections of trim and molding to the right of the radio that need to be removed. The trim is the longest of the three sections, but should also come away quite easily with the aid of your wedges. The molding, meanwhile, should pull away just like the ignition molding does.
Step 4 – Remove the Bezel Trim
Finally, the last piece of trim to remove is the large chrome piece that curves around under the CUE system, radio, and other central buttons. This piece can be a little trickier to pry away, due to its size and shape. Use your wedge tools to gently pry parts of it loose until the whole thing pulls off.
Step 5 – Unscrew the DVD Player (If Present)
If your CUE system has a DVD player, you’ll need to unscrew that next. Use a 7mm socket to unscrew the player. It should have one screw on either side securing it in place. Remove the screws and then pull the player forward. You don’t need to remove it entirely, just rest it on the console.
Step 6 – Unscrew the Radio
The radio will also need to be unscrewed. It typically has six screws, three on either side. Use your 7mm socket to remove each one and place them somewhere safe. Then pull the radio unit, which also includes the CUE screen, forward and out. Remove the plugs on either side and at the back to free the unit and remove it entirely.
Step 7 – Remove the Black Screws
At this stage, it’s best to completely remove the unit from the car and work on the CUE system somewhere else, like a garage or workshop. This should make things easier, as you’ll be able to maneuver the system around comfortably and safely store all the pieces, ready for reassembly later.
In your new workspace, the first step is to remove the six black screws at the back of the unit. With those screws removed, you should be able to slide the side mount pieces off.
Step 8 – Remove the Backplate and Base Section
Next, more unscrewing. You’ll need to get rid of all the little silver screens fastening the backplate in position. There are several on the back and one on either side of the unit. Remove them and then pull the plate away.
With the plate away, you can get to work on the base section. There’s a little plug you can remove with the aid of a screwdriver. Then flip the unit on its side and loosen the screws there, before unscrewing the five screws that hold the base part of the unit in place. There are also two tabs to pull down before you slide the base away.
Step 9 – Remove the Ribbon
A little ribbon connects the screen to the circuitry. You’ll need to use a pair of tweezers to gently pull it free. After that, remove the screw just above the ribbon.
Step 10 – Replace the Screen
Get your new screen ready, as it’s nearly time to fit it. There are just a few last screws to remove. Specifically, there are four more behind the screen, two on each side. With those screws free, the screen should pull right off.
You can then fit your new one, reattach the ribbon, and then screw everything back in place. Work backward through everything you’ve done up to that point to fit your fixed CUE system back in place.
Leave It to the Pros If You’re Unsure
Repairing a faulty CUE screen is a pretty big task. It requires a lot of steps, and you’ll have to take lots of things apart in the process. If you forget where any of the screws go or make a mistake along the way, it could do more harm than good.
So, if you’re not sure, leave it to the pros. Otherwise, if you do decide to go it alone, take it slowly and make sure to keep the screws and trim sections organized to help when you reattach everything.
Leave a Reply