
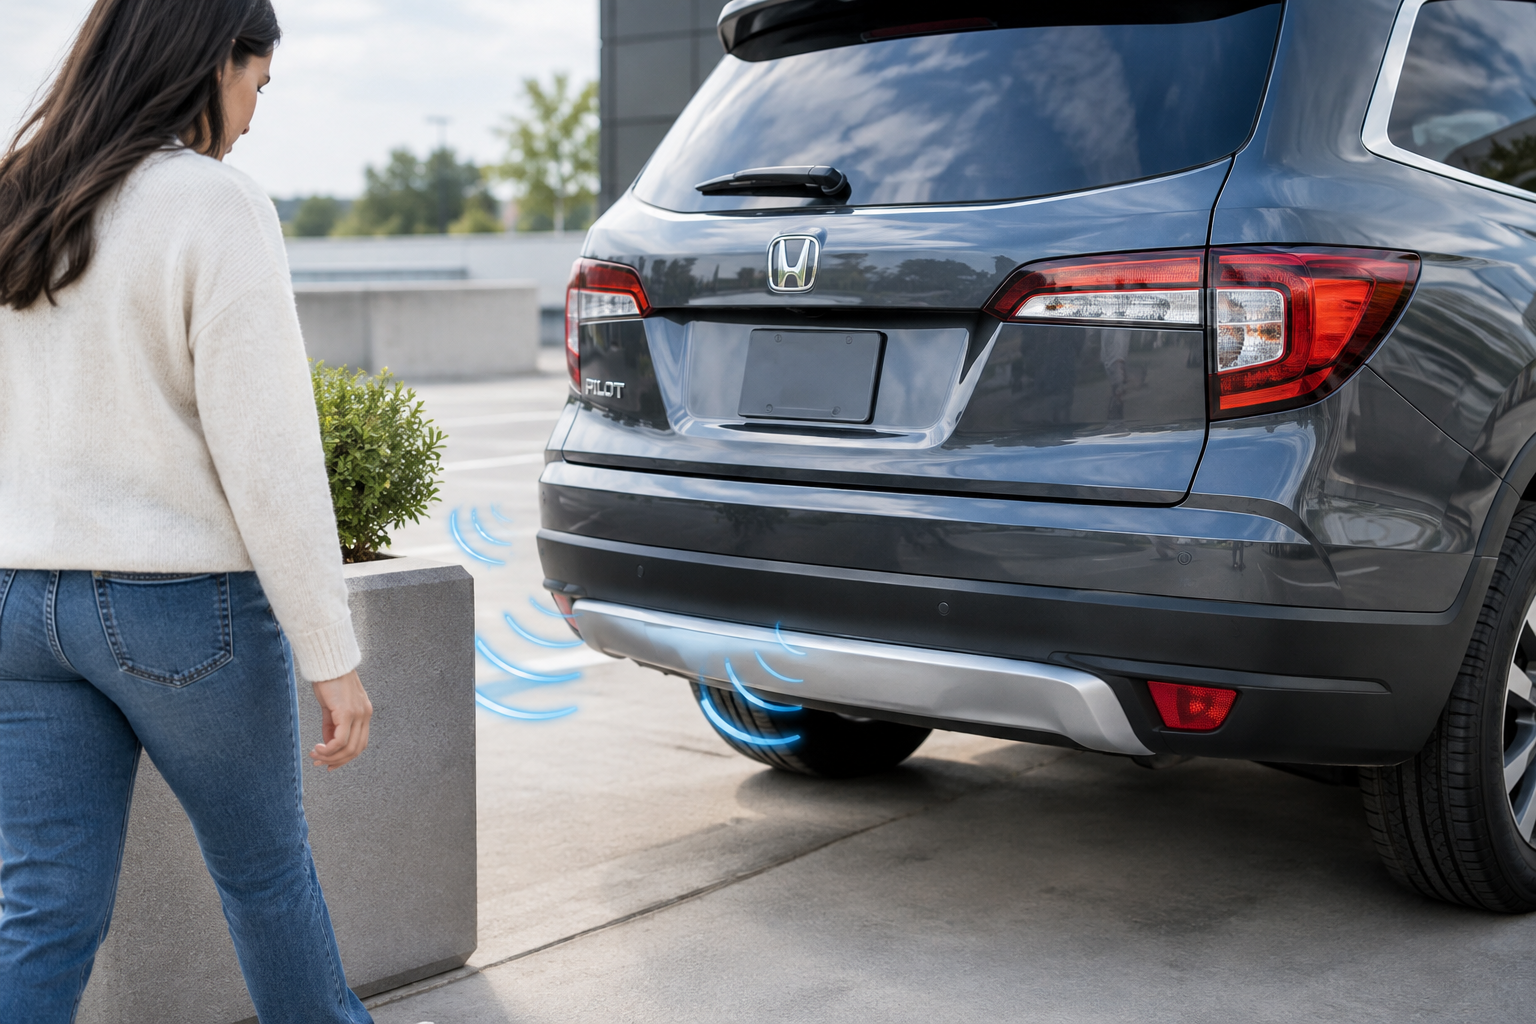
That constant beeping when you’re nowhere near a wall, or worse, complete silence when you’re backing toward a pole, makes Honda’s parking sensor system feel less like a safety net and more like a guessing game. Honda calls this feature Parking Sensor System on most Pilot trims, and when it acts up, the cause is usually something you can identify yourself before paying a shop to plug in a scan tool.
This guide walks through the most common reasons Pilot parking sensors misbehave, from simple dirt and road grime to bent brackets, wiring faults, and settings that got changed without you realizing it. We’ll also cover which trims and model years actually have front sensors versus rear-only setups, since that mix-up causes a lot of unnecessary confusion.
What Honda Actually Calls This Feature (And Why It Matters)
Honda’s marketing name for this system varies depending on the Pilot’s generation and trim, and that naming inconsistency trips up a lot of owners searching for answers. On third-generation Pilots (2016 to 2022), the base system is typically labeled “Parking Sensor System” in the owner’s manual, while higher trims like the Elite package this with the multi-view camera system.
Fourth-generation Pilots (2023 and newer) expand this further on TrailSport and Elite trims, sometimes bundling sensors with Honda Sensing features and blind spot monitoring under one umbrella. If your Pilot has front sensors, they typically only started appearing standard on Touring and Elite trims in later years, while EX-L and lower trims often came with rear sensors only.
Check your specific trim’s window sticker or the owner’s manual glovebox card to confirm exactly what you have. This matters because if you’re troubleshooting “front sensors that don’t work” on a Pilot that never had front sensors installed, you’re chasing a problem that doesn’t exist.
Dirty, Iced, or Obstructed Sensors
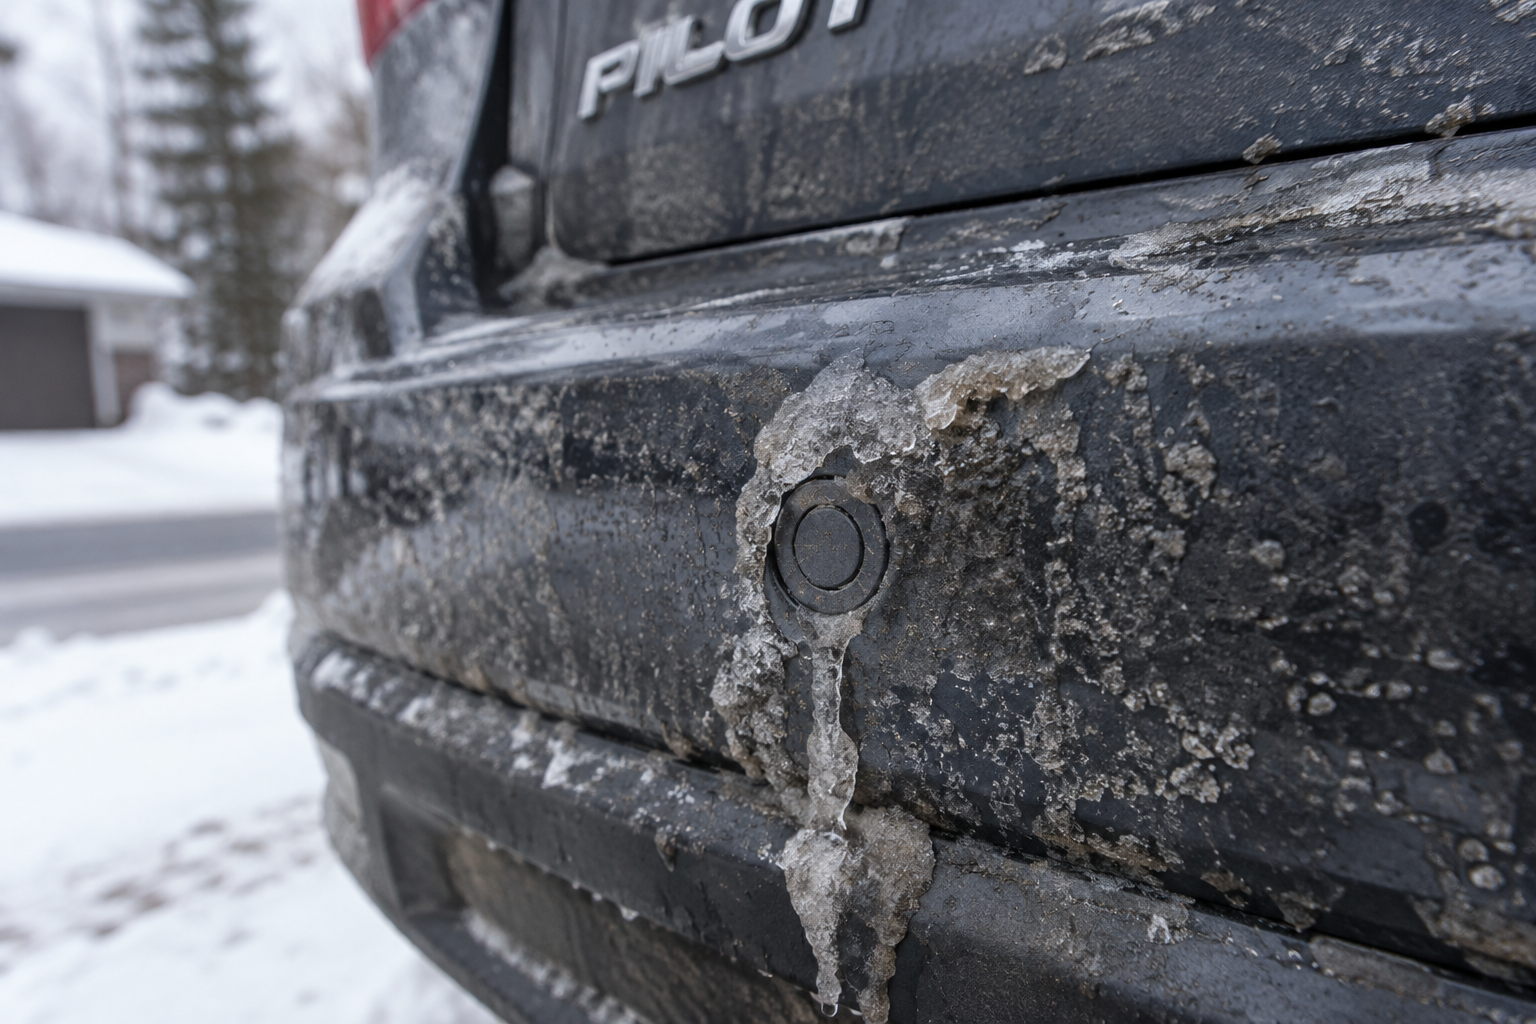
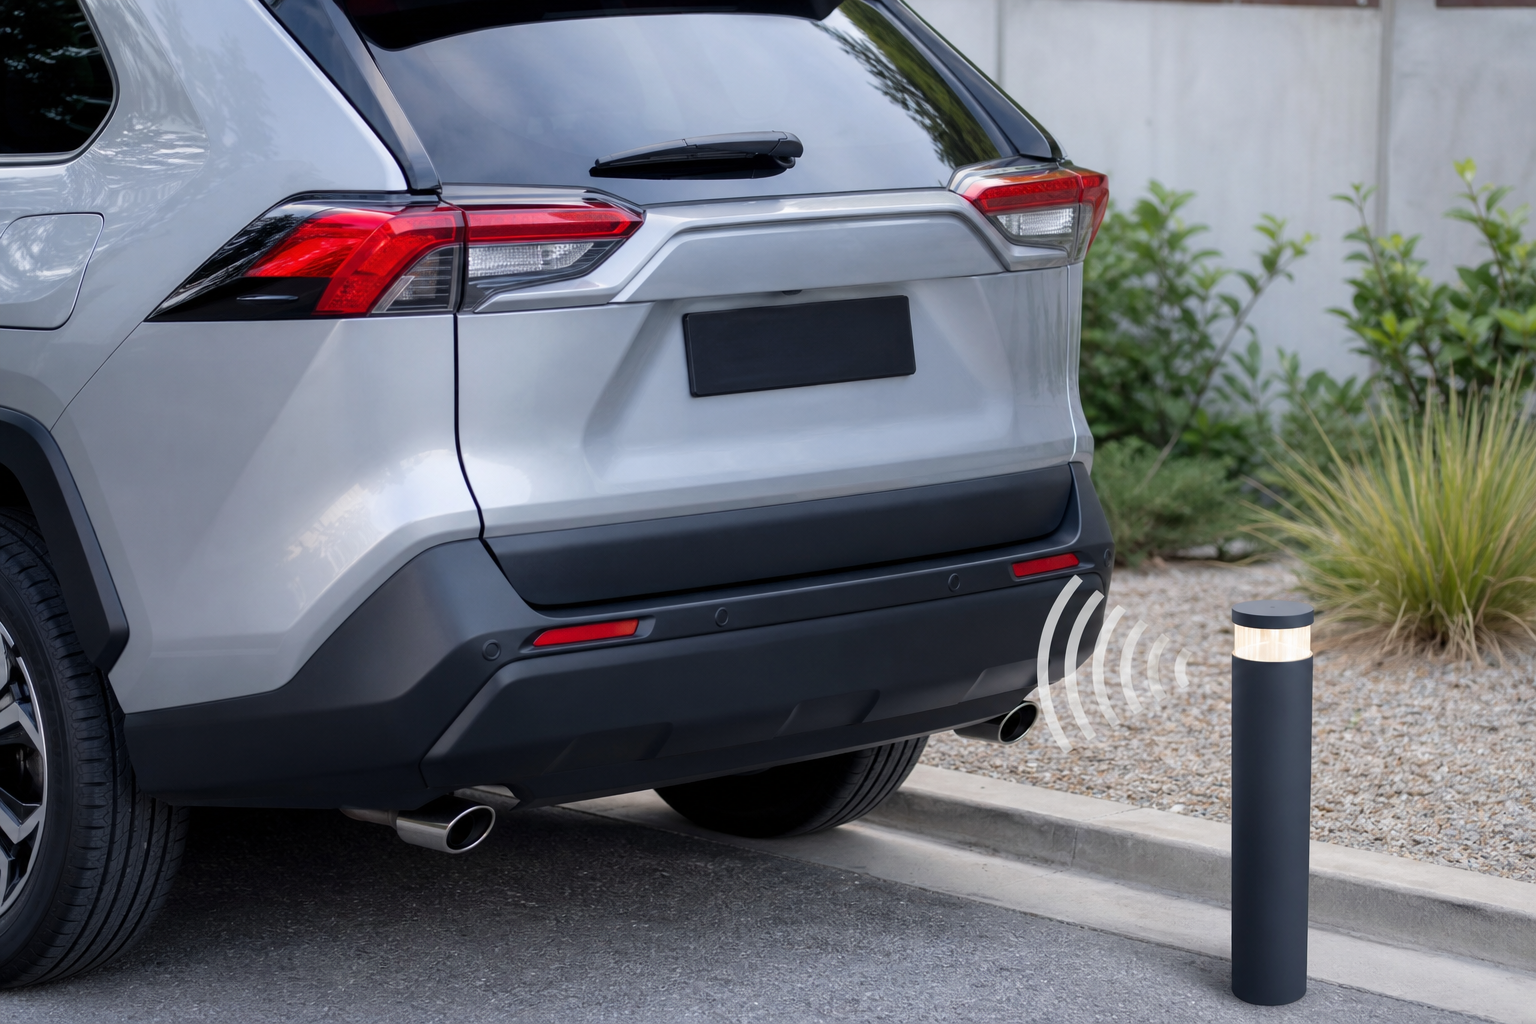
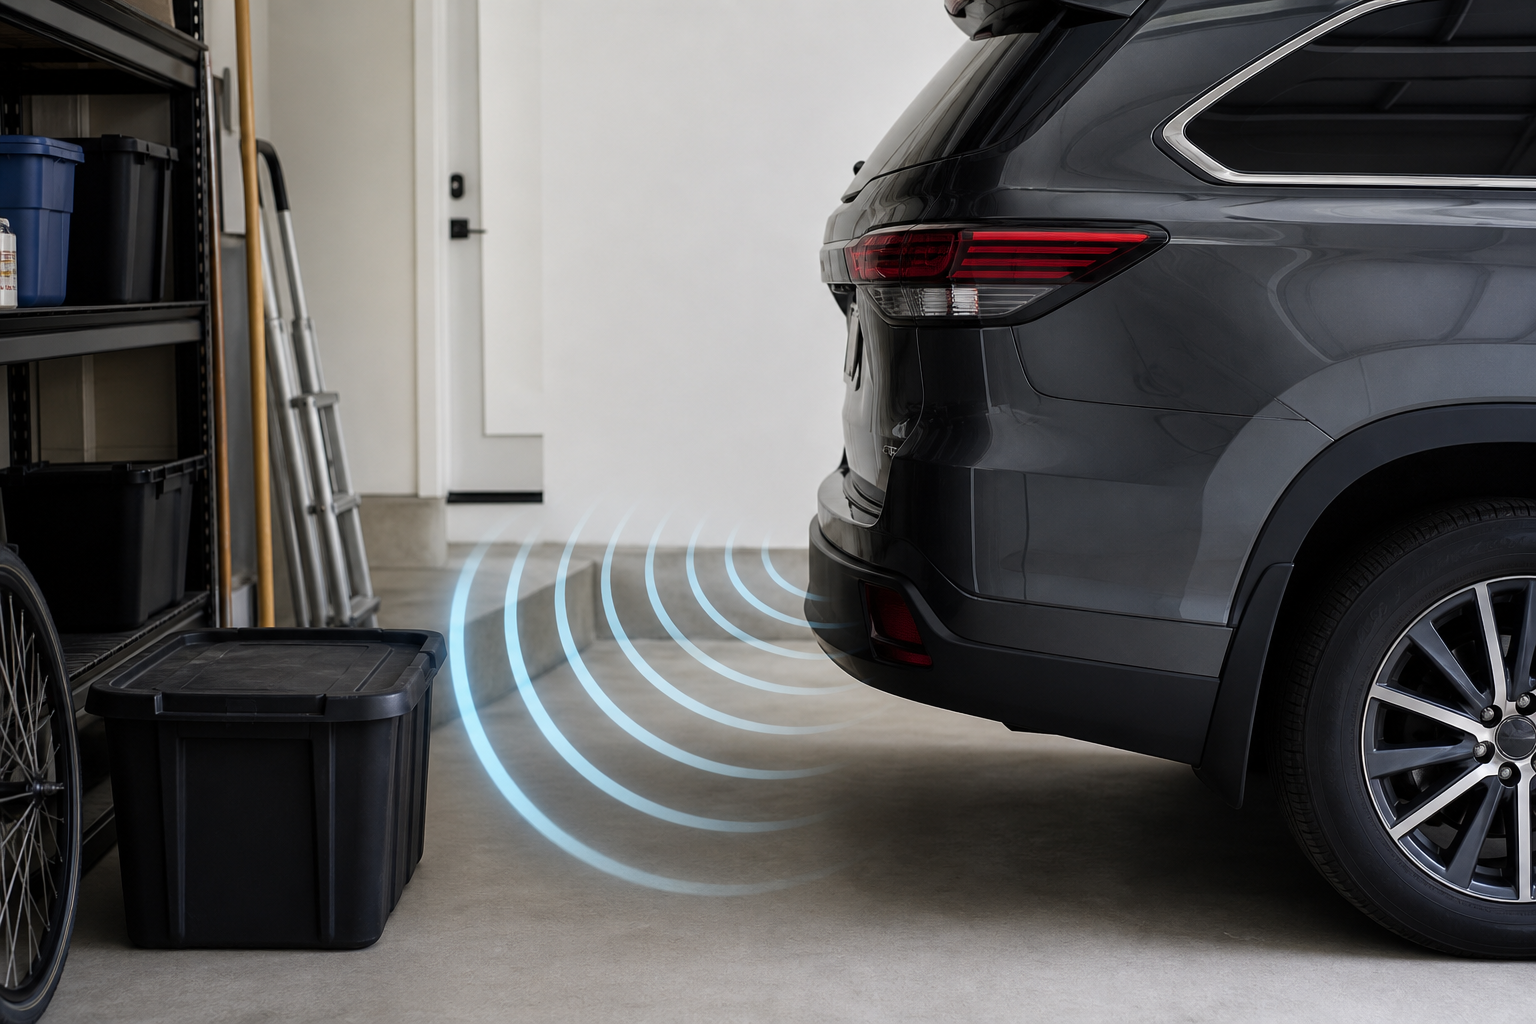
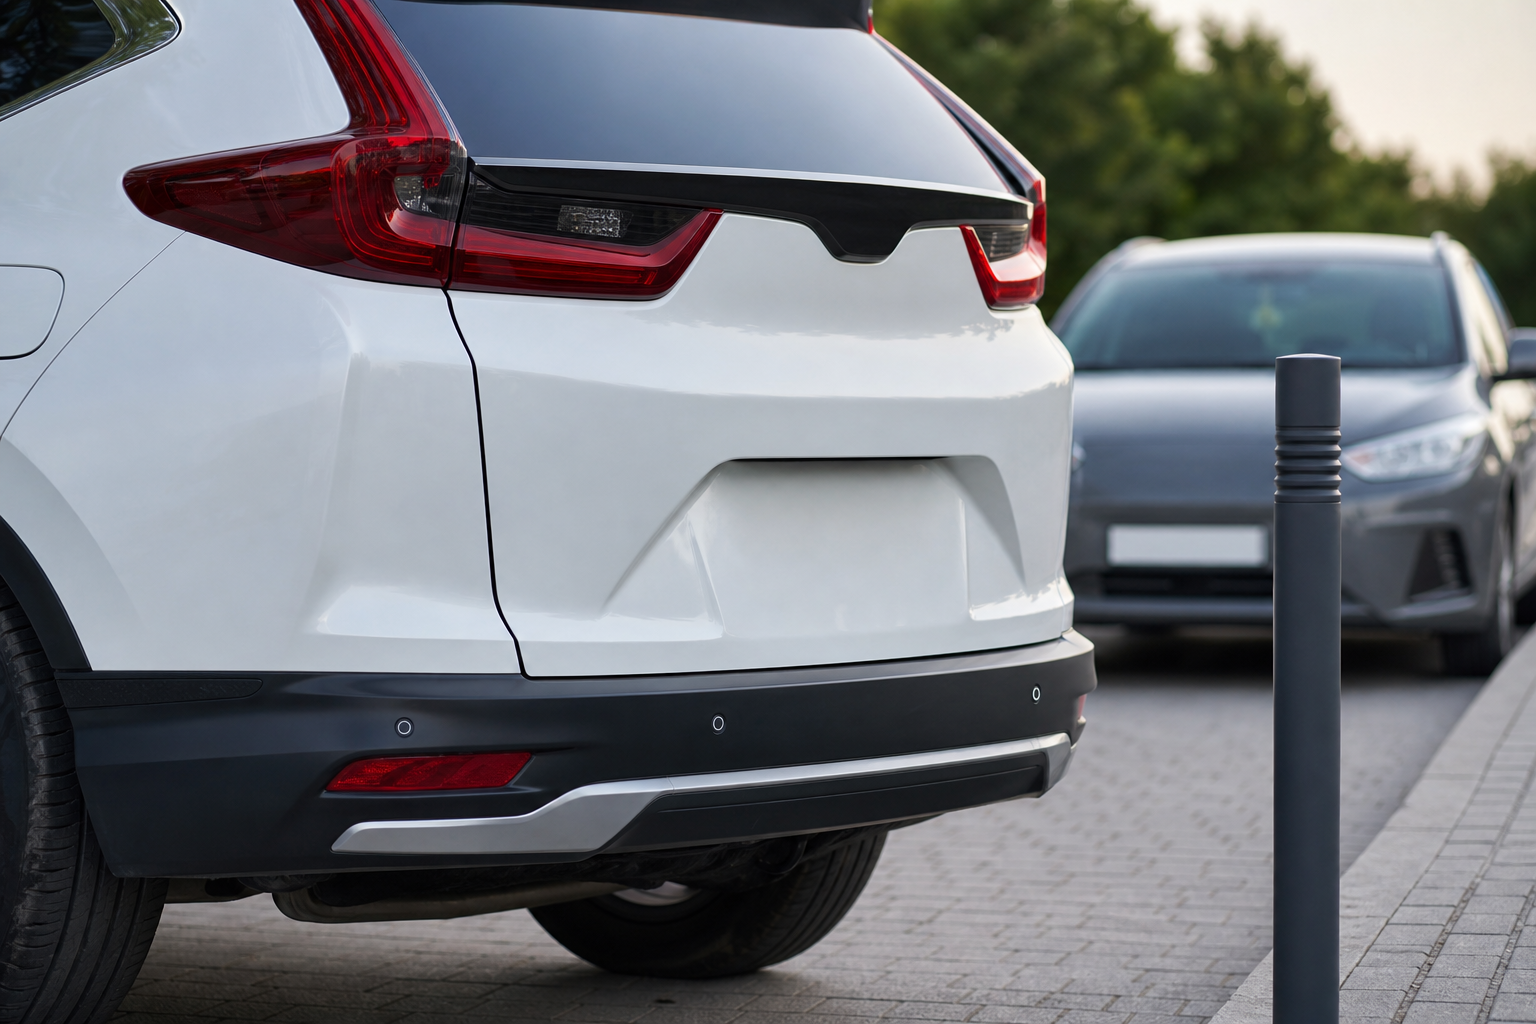
This is the single most common cause of parking sensor complaints, and it’s the first thing to rule out. The sensors themselves are small round discs embedded in your front and rear bumpers, and they rely on sending and receiving ultrasonic sound waves to judge distance.
Road salt, mud, dead bugs, and even a thick layer of pollen can muffle that signal enough to cause false readings or complete sensor dropout. In winter climates, a thin layer of ice or packed snow over a sensor face is one of the most frequent reasons Pilots throw a “Parking Sensor System Unavailable” message on cold mornings.
Wipe down every sensor with a clean microfiber cloth and mild soap and water, then dry them completely before driving. Avoid pressure washers pointed directly at the bumper sensors, since the force can occasionally work moisture into the sensor housing over time.
If you’re dealing with this in winter regularly, keeping a soft brush and a small bottle of de-icer spray in the garage saves you from scraping at frozen sensor faces with anything abrasive that could scratch the plastic housing.
Tow Hitches, Bike Racks, and Aftermarket Accessories
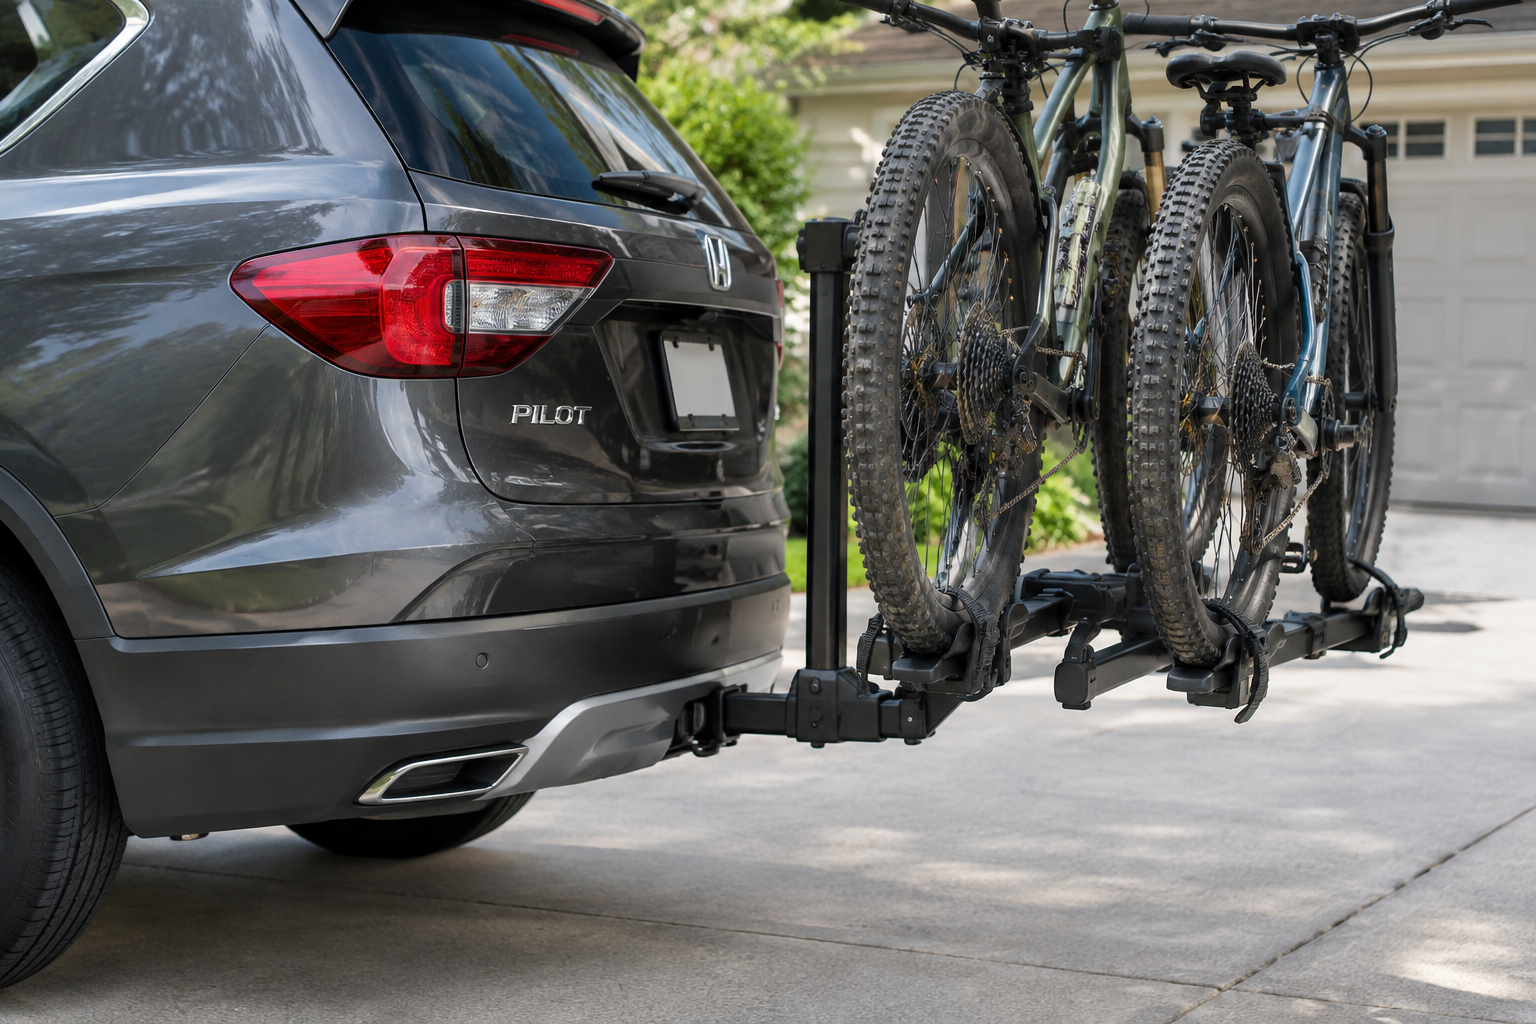
Honda’s parking sensors read the rear bumper’s shape as their baseline, so anything mounted behind or near that bumper throws the system off. A trailer hitch receiver, especially one with a ball mount or cargo carrier still attached, sits directly in the sensor’s detection zone and will trigger constant, useless beeping even when you’re parked in an empty driveway.
Bike racks, cargo boxes, and even some aftermarket trailer wiring harnesses mounted low on the bumper can cause the same issue. If your Pilot started beeping nonstop right after you installed a hitch or rack, that’s almost certainly your answer, not a failing sensor.
Most Pilot owners with a permanently installed hitch end up disabling rear parking sensors through the infotainment settings menu whenever the hitch or accessory is attached, then re-enabling it once removed. It’s not an elegant solution, but it’s the practical one Honda itself acknowledges in the owner’s manual.
Bumper Damage and Sensor Misalignment
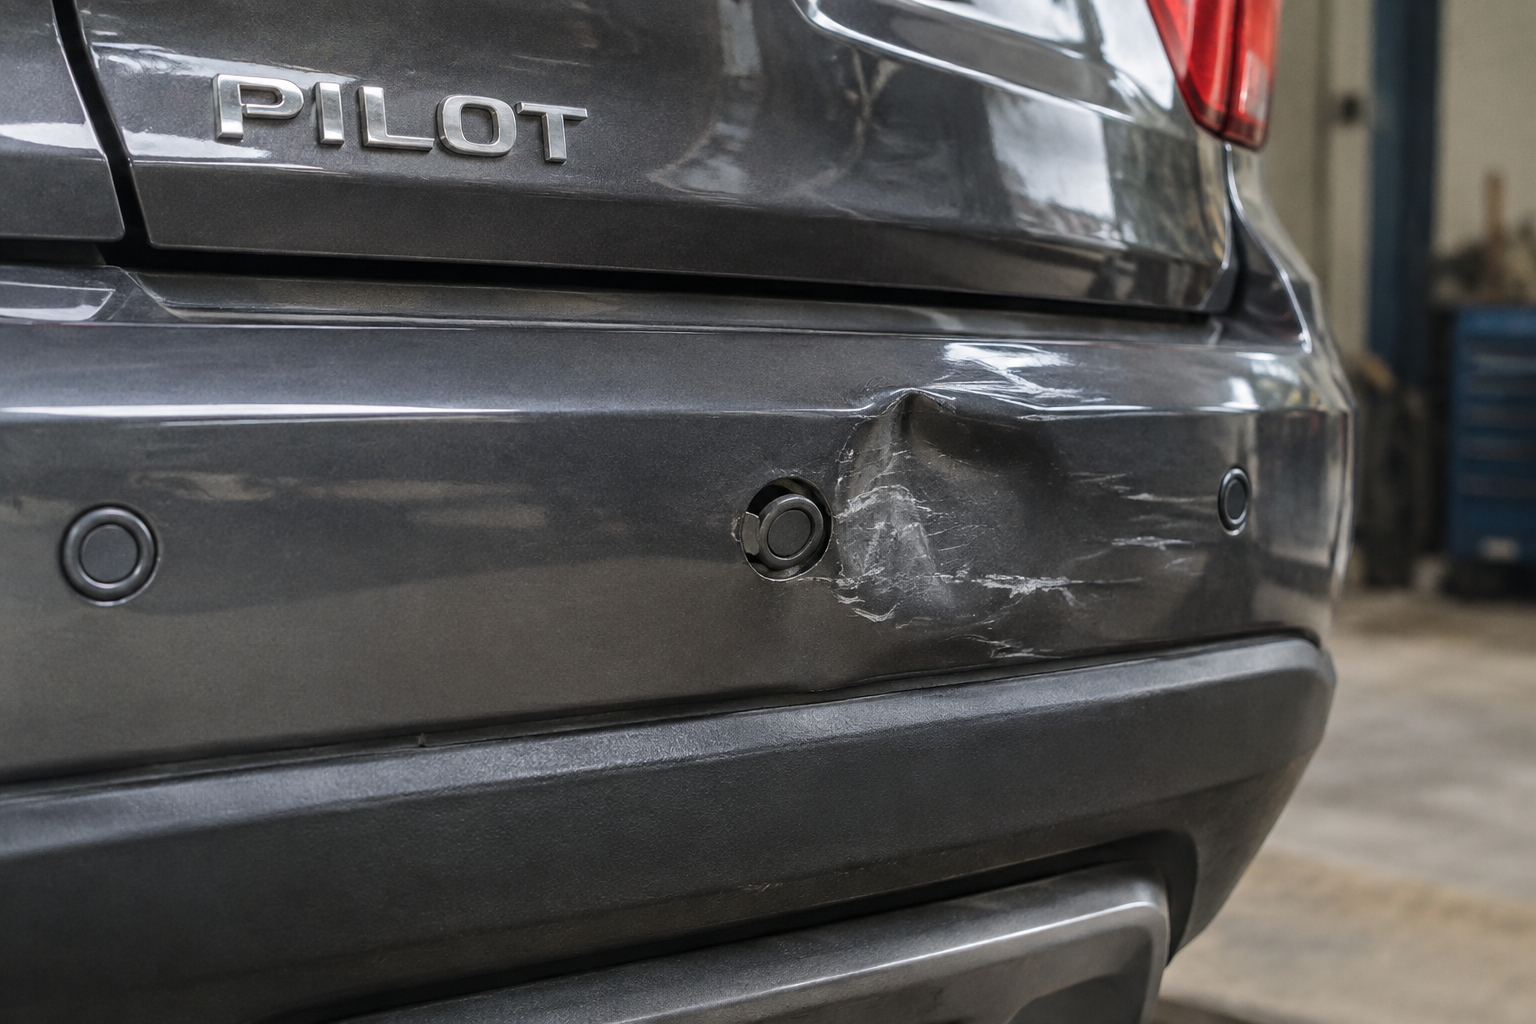
A sensor that’s still physically intact can still fail if the bumper around it has been bent, cracked, or pushed out of its original position. Even a low-speed parking lot bump that doesn’t look serious can shift a sensor’s angle by just a few degrees, which is enough to send its signal into the ground or up into the air instead of straight out toward an obstacle.
Run your hand along the bumper near each sensor and look for gaps, cracks in the paint, or a sensor that sits noticeably deeper or more angled than its neighbors. If you’ve had any bodywork done on the front or rear bumper, ask whether the shop recalibrated or at least reseated the sensors correctly, since this step gets skipped more often than it should.
Sensors that were removed and reinstalled without snapping fully back into their retaining clips are a surprisingly common source of intermittent problems. A sensor that looks fine but is loose in its mount can vibrate or shift while driving, causing sensors to work fine one day and drop out completely the next.
Settings and Speed Thresholds
Before assuming a hardware failure, check whether the system’s simply been turned off or set to a mode you didn’t expect. Honda’s parking sensors typically disable automatically above a certain speed, usually somewhere around 6 mph, so if you’re rolling faster than that through a garage or tight space, silence doesn’t mean the sensors are broken.
There’s also a manual on/off button for the parking sensor system on most Pilot trims, usually located near the gear selector or within the multi-information display settings. It’s easy to bump this button accidentally, especially if it’s positioned near other frequently used controls, and an unintentional toggle looks exactly like a system failure from the driver’s seat.
If you’ve recently had a low battery voltage event, a dead battery replacement, or disconnected the battery for other repairs, some settings can reset to factory defaults. Walk through the settings menu and confirm the sensor system is active before digging into anything more complicated.
Wiring Issues and Connector Corrosion
Each sensor connects back to a control module through a wiring harness that runs inside the bumper cover, and this wiring takes a beating from road debris, moisture, and years of vibration. A partially corroded connector or a wire that’s been rubbed thin against the bumper’s inner structure can cause a sensor to work intermittently, especially in wet weather or after driving through deep puddles.
This is harder to diagnose visually since the wiring is largely hidden behind the bumper cover, and it typically requires removing trim panels to inspect properly. If sensors fail in a pattern that correlates with weather, temperature swings, or rough roads rather than a specific sensor location, wiring is a reasonable suspect worth mentioning to a technician.
Owners who feel comfortable with basic electrical work sometimes keep a simple multimeter on hand to check for continuity issues at accessible connector points, though tracing a fault through a full wiring harness is generally beyond what most DIYers should attempt without a repair manual.
Amprobe Digital Multimeter
A reliable, easy-to-read multimeter for checking basic continuity and voltage before you commit to a full diagnostic scan.
Identifying a Suspect Sensor Without Guessing
You don’t need a shop visit to narrow down which sensor is causing trouble. Start by parking near a flat wall or large box at a safe, low speed and watching the multi-information display, which usually shows a visual representation of your Pilot with bars or zones lighting up as you approach an obstacle.
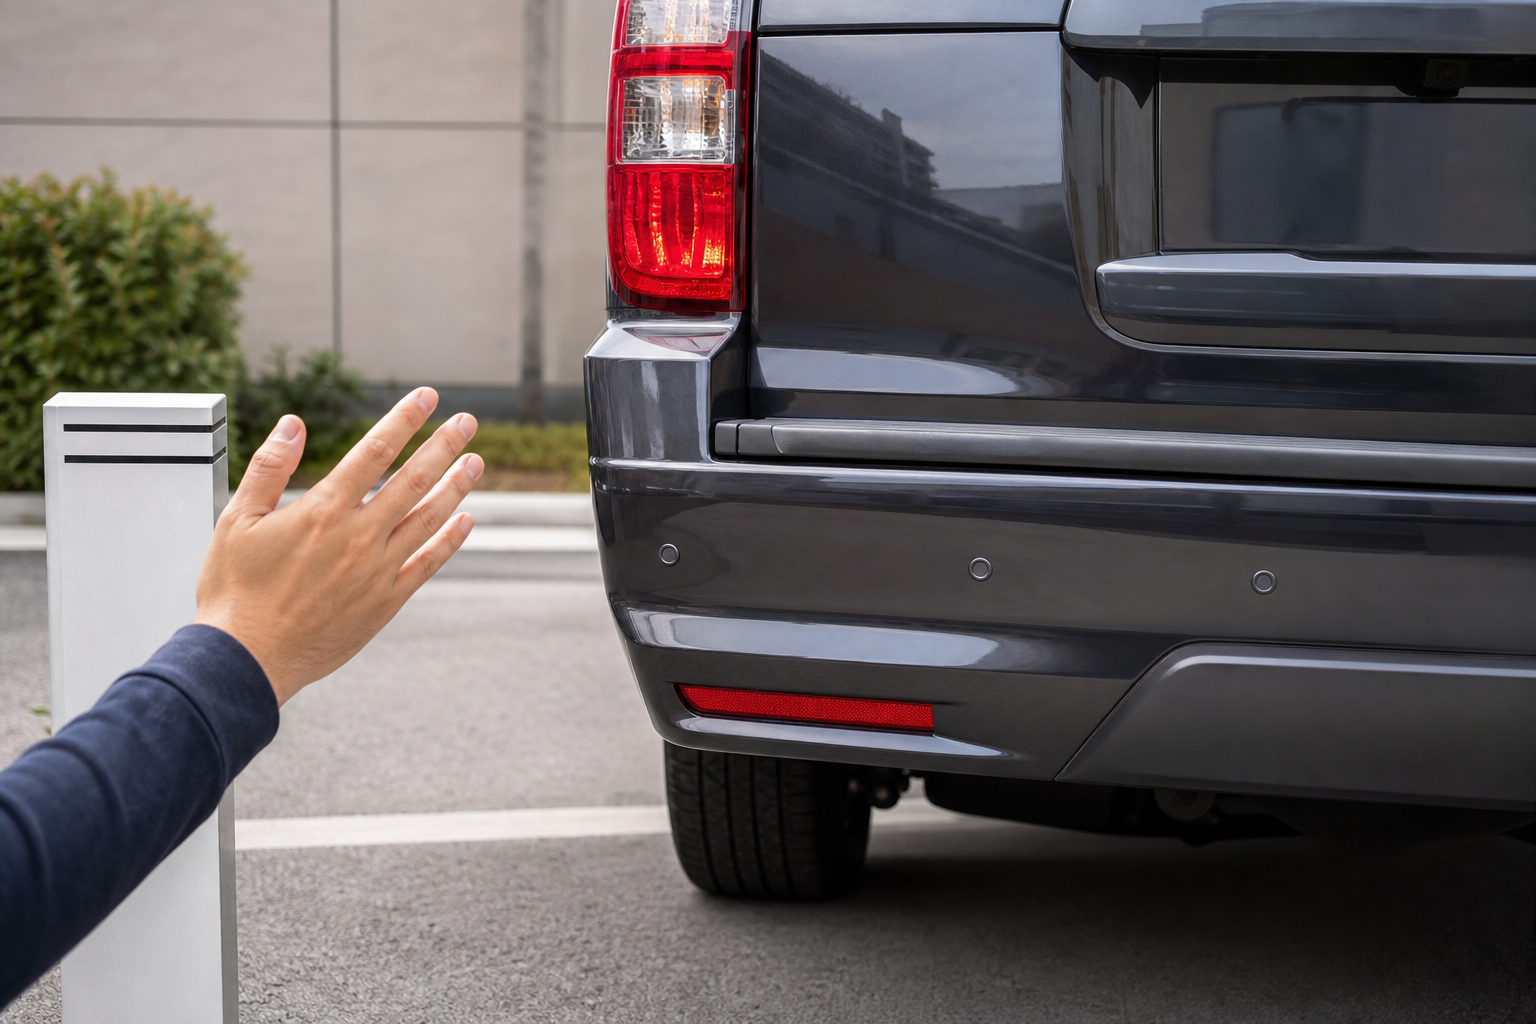
Walk around the vehicle with the engine running and the system active, moving your hand slowly in front of each sensor one at a time while a helper watches for the corresponding beep or display change. A sensor that doesn’t respond at all, or responds with a noticeably weaker signal than the others, is your likely culprit.
Take note of whether the problem sensor is consistently the same one or whether it shifts around, since a consistent single failure point suggests a bad sensor or connector, while an inconsistent, system-wide dropout points more toward wiring, a control module issue, or a software glitch. Write down which corner and how far from center the sensor sits, since this detail speeds up any conversation with a technician later.
If you want a portable diagnostic reader to check for stored codes yourself before heading to a shop, an OBD2 scanner compatible with Honda vehicles can pull parking sensor fault codes on many Pilot model years, giving you a head start on the conversation.
FIXD OBD2 Scanner
A budget-friendly scanner that pairs with your phone and can flag stored parking sensor and body control module codes.
When You Need Calibration or a Scan Tool
Not every parking sensor problem gets solved by cleaning a sensor or checking a setting. If your Pilot’s dash shows a persistent “Parking Sensor System Malfunction” message that doesn’t clear after a battery disconnect and reset, that’s a sign the system has detected a fault it can’t self-correct, and it needs a proper diagnostic scan.
Honda’s dealer-level diagnostic software can read specific fault codes tied to individual sensor circuits, which narrows the problem down far more precisely than visual inspection alone. This is also the point where sensor replacement, if needed, should go through a technician familiar with Honda’s specific bumper trim removal and reinstallation process, since forcing a sensor out of its mount incorrectly can crack the surrounding plastic.
Any time a sensor’s been replaced, most Honda service departments recommend a quick calibration check to confirm the new unit is reading distances accurately compared to its neighbors. Skipping this step is how you end up back at square one with a system that beeps at the wrong times all over again.
If your Pilot’s parking sensors are tied into a broader driver assist package that includes lane departure alerts or automatic braking cues, it’s worth reviewing how those systems interact, similar to how lane assist settings on the Honda Pilot reset or hold depending on the drive cycle.
Frequently Asked Questions
Why do my Honda Pilot’s parking sensors beep constantly even when nothing is nearby?
This is almost always caused by an obstruction on the sensor face like mud, ice, or road grime, or by an aftermarket accessory such as a hitch or bike rack sitting in the detection zone. Clean the sensors first, then check for anything mounted near the rear bumper before assuming a hardware fault.
Does every Honda Pilot trim have front parking sensors?
No. Front sensors are generally limited to higher trims like Touring and Elite on most model years, while lower trims such as EX-L often come with rear sensors only. Check your owner’s manual or window sticker to confirm what your specific trim and year include.
Can cold weather really cause the parking sensors to stop working?
Yes. A layer of ice, packed snow, or even heavy frost over the sensor face can block the ultrasonic signal enough to trigger a “system unavailable” message. Clearing the sensors with a soft brush or de-icer spray usually resolves this immediately.
Do I need to visit a dealer if one sensor seems weaker than the others?
Not necessarily at first. You can often confirm a weak or dead sensor yourself by walking around the vehicle and testing each one’s response, but if the issue persists after cleaning and checking settings, a scan tool diagnosis is the next reasonable step to confirm whether it’s the sensor, wiring, or control module.
Leave a Reply