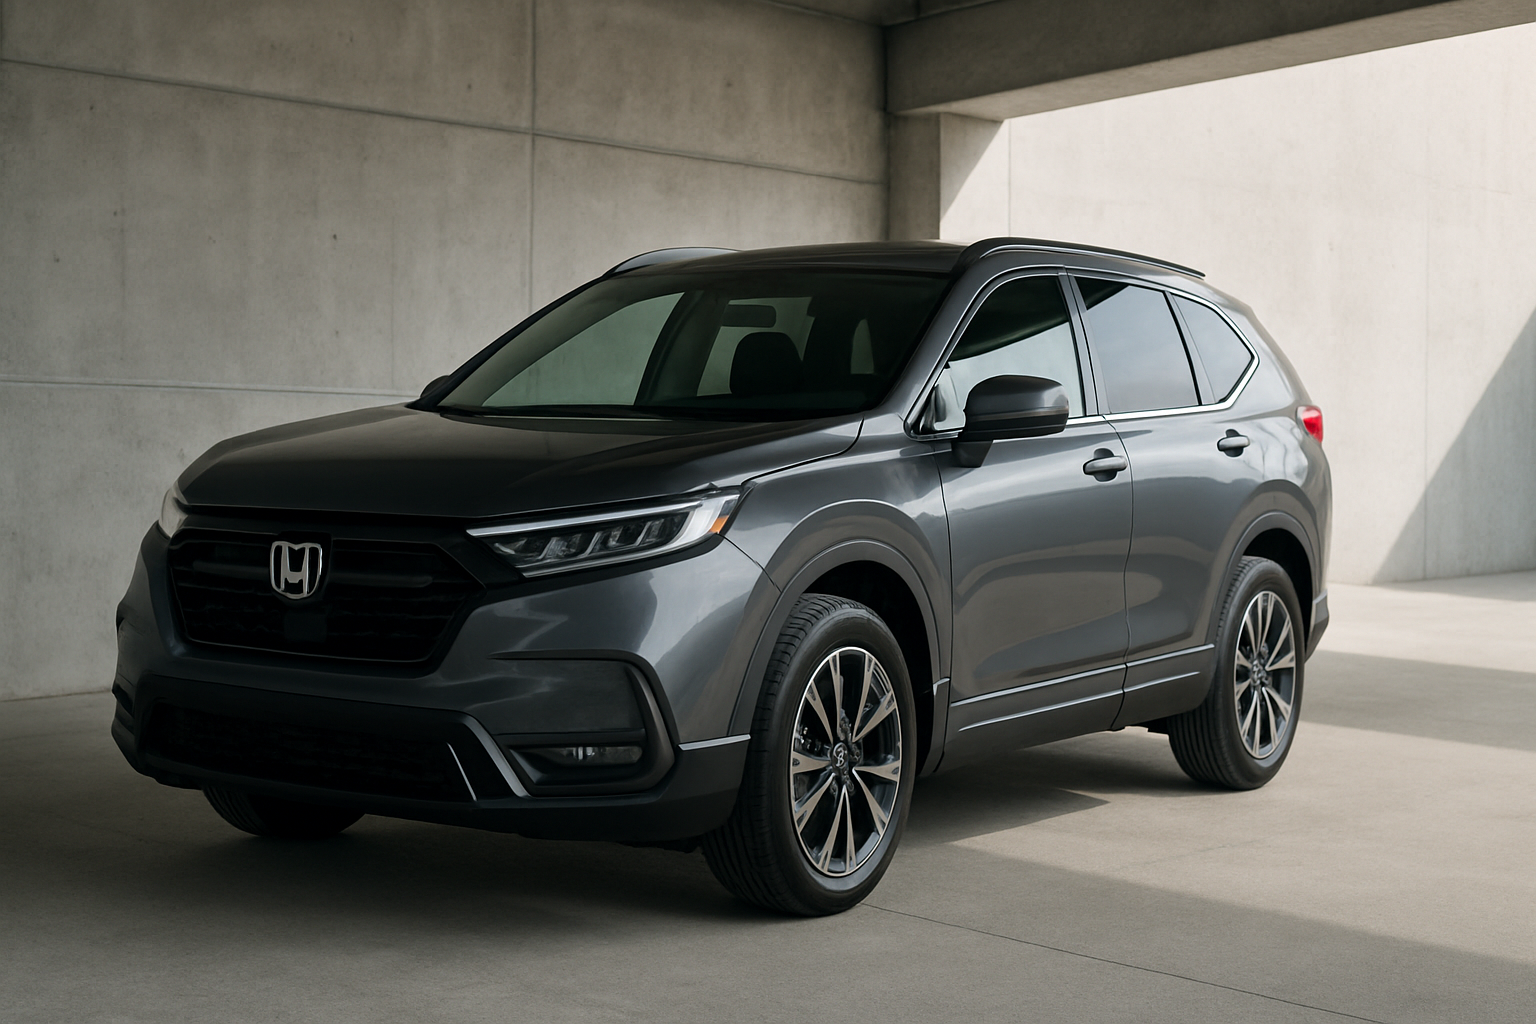
You’re cruising down the highway in your Honda CR-V, everything feels smooth, and then you tap the brakes. Suddenly, there’s a vibration that pulses through the steering wheel or the entire vehicle. It’s unsettling, and if you’re like most drivers, your first thought is probably something expensive is about to break.
The truth? This vibration is almost always related to your brake rotors. When rotors develop uneven surfaces or warp from heat, they create that pulsing sensation you feel at higher speeds. Sometimes it’s the wheels themselves, but nine times out of ten, we’re looking at a brake issue that needs attention sooner rather than later.
Common Causes
Warped brake rotors top the list. Modern rotors are thinner than they used to be, which makes them lighter and more fuel-efficient but also more prone to warping. When you brake hard from highway speeds, especially repeatedly, the intense heat can cause the metal to deform slightly. Even a few thousandths of an inch of variation creates that shaking feeling.
Worn brake pads contribute to the problem too. When pads wear unevenly or develop hard spots from overheating, they transfer that uneven contact to the rotors. I’ve seen plenty of CR-Vs where someone ignored squeaking brakes for months, and by the time they addressed it, both pads and rotors needed replacement.
Seized caliper slide pins are sneakier. These pins allow the caliper to move freely and apply even pressure across the brake pad. When they corrode or the lubricant dries out, one side of the pad wears faster than the other. This creates uneven rotor wear, and bam, you’ve got vibration.
Wheel balance issues can mimic brake problems. If you lost a wheel weight or picked up mud caked inside the rim, the vibration might only seem worse when braking because you’re paying more attention to the vehicle’s behavior. But true wheel imbalance usually shows up during normal driving too, not just when stopping.
Out-of-round rotors happen even on relatively new vehicles. Sometimes a rotor just wasn’t manufactured perfectly, or it got installed incorrectly with debris between the rotor and hub. That tiny gap creates wobble, which translates to vibration.
How to Diagnose the Problem
Start with a test drive, but do it safely. Find a stretch of road where you can brake from 60-65 mph down to about 30. Pay attention to where you feel the vibration. If it’s primarily in the steering wheel, your front brakes are the culprit. If the whole car shakes or you feel it through the seat, look at the rear brakes first.
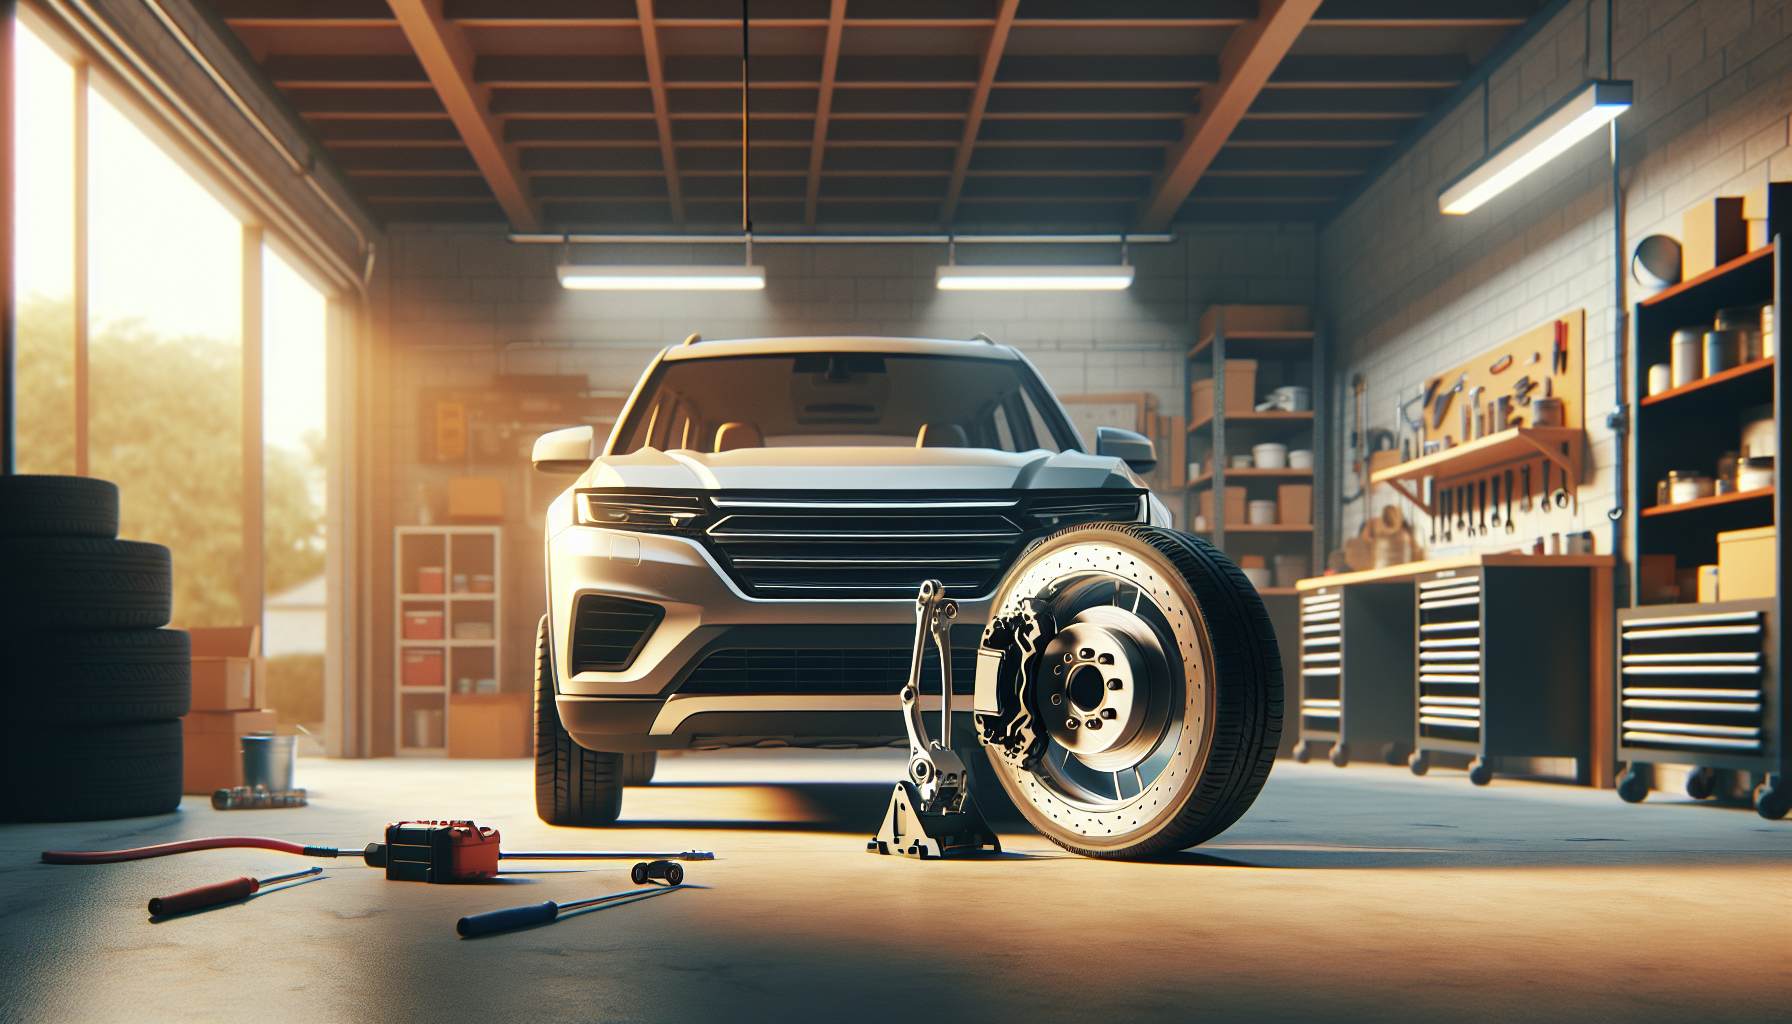
Pop the wheels off and inspect the rotors visually. Run your hand across the rotor surface (make sure it’s cool first). A properly functioning rotor should feel smooth. If you detect grooves, ridges, or heat spots that look discolored blue or purple, those rotors have seen better days.
Check the rotor thickness with a micrometer if you have one. Every rotor has a minimum thickness stamped on it, usually on the outer edge or the hat section. If your rotors are at or near that minimum, replacement is the only option. You can’t resurface them safely.
Inspect the brake pads while you’re in there. Look for uneven wear patterns. One side shouldn’t be significantly more worn than the other. Also check that the pads move freely in their brackets. Corroded hardware can prevent proper pad movement.
Grab the caliper and try to wiggle it. The slide pins should allow smooth movement, but there shouldn’t be excessive play. Remove the pins and inspect them. They should be shiny, not crusty or dry. If the rubber boots are torn, moisture got in and those pins are probably seized.
This video walks through common brake vibration causes and diagnostics:
Spin each wheel by hand with the car safely lifted. Listen for grinding or scraping sounds. Feel for resistance or rough spots as it rotates. Any irregularity points to rotor or bearing problems.
How to Fix It
Replacing brake rotors and pads solves most highway-speed vibration issues. For a Honda CR-V, this is a manageable DIY job if you’re comfortable with basic tools. You’ll need a jack, jack stands, a lug wrench, and a C-clamp or brake caliper tool to compress the piston.
Remove the wheel, then take out the two bolts holding the caliper to the bracket. Lift the caliper off and hang it from the suspension with a wire or bungee cord. Never let it dangle by the brake hose. Remove the old pads and note how they came out so you can install the new ones correctly.
The rotor usually just slides off once you remove a small retaining screw (if equipped). Sometimes they’re stuck from corrosion. A few taps with a rubber mallet on the backside usually breaks them free. Clean the hub surface thoroughly with a wire brush before installing new rotors. Any rust or debris creates the same problem you just fixed.
Install the new rotor and make sure it sits flat against the hub. Tighten that retaining screw if your model has one. Compress the caliper piston back into its bore using your C-clamp. Put the new pads in place, reinstall the caliper, and torque those bolts to spec (usually around 80 lb-ft for CR-Vs, but check your manual).
If your rotors are still thick enough and just have minor imperfections, you can have them resurfaced at most auto parts stores for $15-20 per rotor. But honestly? New rotors are so affordable now that I usually recommend replacement unless the rotors are nearly brand new.
Service those caliper slide pins while you’re doing brakes. Pull them out, clean off the old grease, inspect the rubber boots, and relubricate with high-temp synthetic brake grease. This five-minute step prevents future uneven wear and potential vibration.
Don’t forget to pump the brake pedal several times before driving. The first few pumps will feel soft because the caliper piston needs to move back against the new pads. Keep pumping until the pedal feels firm.
When to See a Mechanic
If you’ve replaced the brakes and still feel vibration, something else is going on. A bent wheel, damaged suspension component, or failing wheel bearing can all cause similar symptoms. These problems require proper diagnostic equipment to pinpoint.
Brake fluid leaks are another stop-work situation. If you see fluid dripping from anywhere in the brake system or the pedal feels spongy, don’t drive the vehicle. A mechanic needs to identify the leak source and repair it properly. Brakes aren’t something to gamble with.
Seized calipers sometimes refuse to budge even after servicing the slide pins. If a piston is frozen in the caliper bore, you need a replacement caliper. While technically a DIY job, it involves brake fluid and bleeding, which some folks prefer to leave to professionals.
ABS-related vibration is different from rotor warp. If your vibration feels like rapid pulsing only during hard stops and the ABS light comes on, there might be a sensor or module issue. Modern ABS systems need scan tools to diagnose properly.
Estimated Repair Costs
| Repair Type | DIY Cost | Shop Cost |
|---|---|---|
| Front brake pads only | $35-70 | $150-250 |
| Front brake pads and rotors | $120-200 | $300-450 |
| All four brakes (pads and rotors) | $250-400 | $600-800 |
| Caliper replacement (per wheel) | $50-100 | $200-350 |
| Wheel balancing (all four) | N/A | $60-100 |
| Brake service (clean and lube) | $10-20 | $100-150 |
These are ballpark figures for a Honda CR-V. Prices vary based on your location and whether you choose OEM or aftermarket parts. I’ve had good luck with mid-tier aftermarket brake parts like Akebono or Wagner. The cheapest parts often squeal or wear faster, while expensive OEM parts don’t always perform better than quality aftermarket alternatives.
Prevention Tips
Avoid riding your brakes on long downhill stretches. Constant brake application generates tremendous heat, which is the enemy of rotors. Downshift instead and let engine braking do some of the work. Your transmission is designed for this.
Leave plenty of following distance on the highway. This simple habit means you can brake more gradually instead of doing repeated hard stops. Gentle, progressive braking keeps rotor temperatures more stable and extends their life significantly.
Get your brakes inspected annually even if they feel fine. Catching problems early means you might only need pads instead of pads and rotors. Once rotors get damaged, there’s no going back.
Clean your wheels regularly, especially if you drive in areas with road salt. Corrosion on the hub surface or caliper components accelerates wear and can cause the uneven contact that leads to vibration. A simple rinse after winter driving makes a difference.
Use quality brake parts when the time comes to replace them. I know it’s tempting to buy the cheapest option, but brake components directly affect your safety. Spending an extra $30 on better rotors beats dealing with the same vibration problem six months later.
Break in new brakes properly. For the first 200-300 miles, avoid hard stops when possible. This allows the pads and rotors to mate together properly and establishes an even contact surface. Most vibration problems I’ve seen on nearly-new brakes came from someone doing repeated panic stops right after installation.
That shaking when you brake isn’t something to ignore or just live with. It’s your CR-V telling you the brakes need attention. The fix is usually simpler than you think, and catching it early saves money and keeps you safe on the road.
Leave a Reply