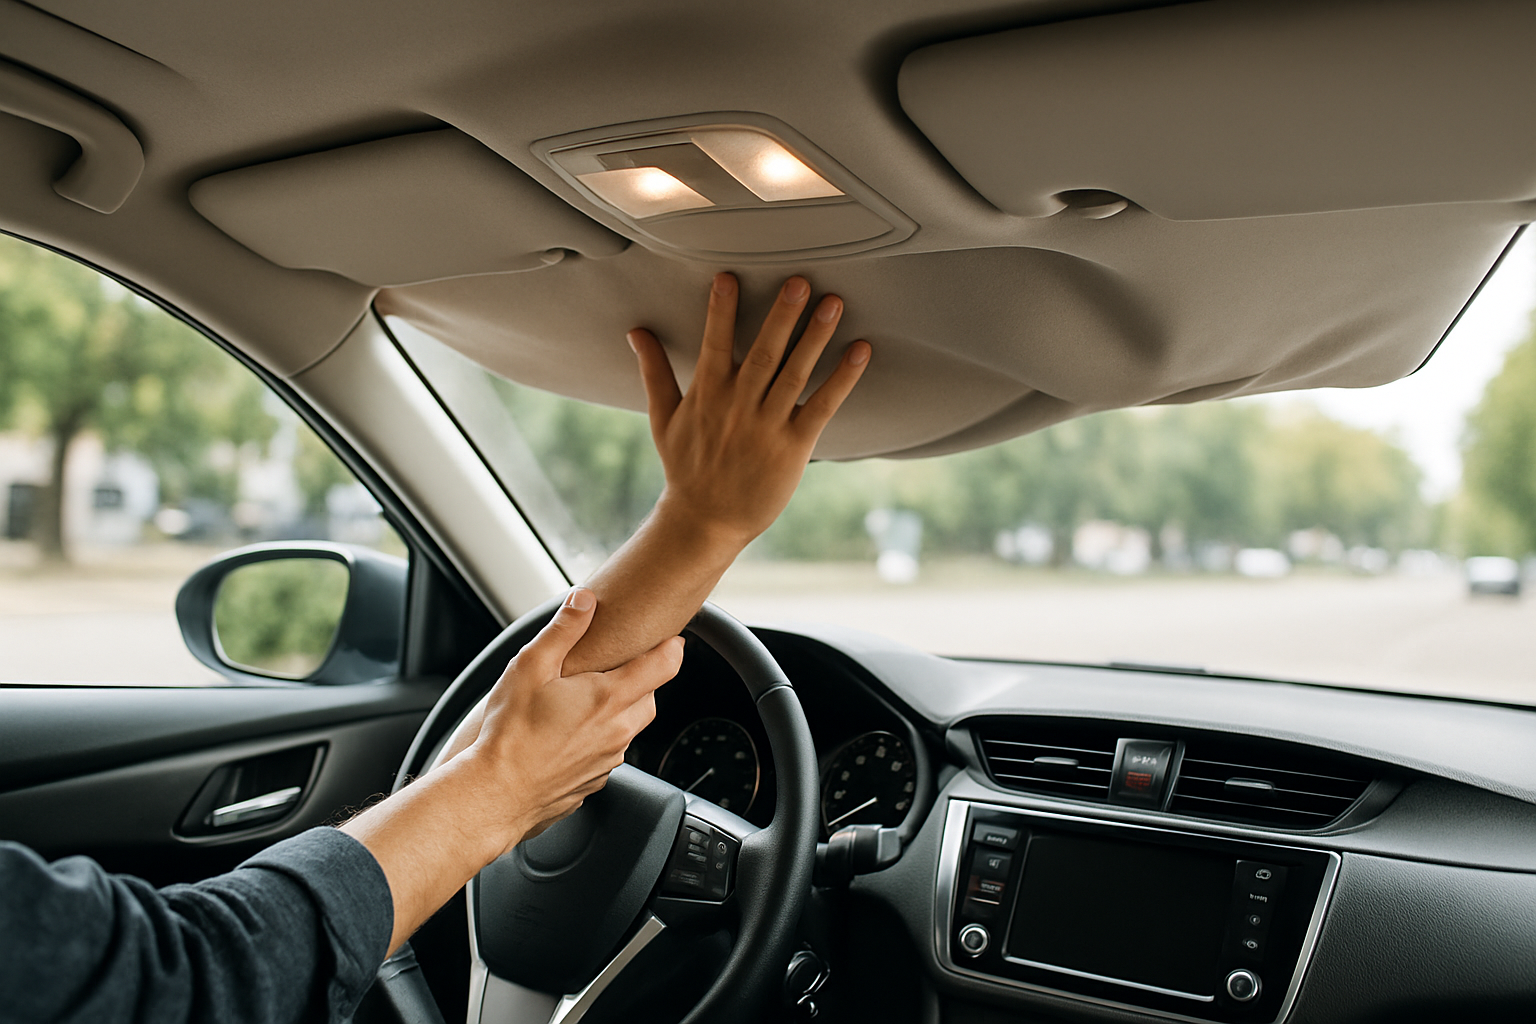
Nothing ruins the clean interior look of your car quite like a sagging headliner. If your car’s roof fabric is starting to droop and you’re dreading the expensive trip to an upholstery shop, you’re not alone. The good news is that you can fix this annoying problem yourself without completely removing the headliner.
Why Headliners Start to Sag
Your headliner isn’t just fabric stretched across the roof of your car. It’s actually a multi-layer system with foam backing that bonds the fabric to the underlying board or frame. Over time, heat and humidity cause this foam backing to deteriorate and lose its adhesive properties.
This problem becomes especially common on cars that are 10+ years old, though it can happen sooner in areas with extreme temperatures or high humidity. Once the foam starts breaking down, you’ll notice the fabric beginning to sag, usually starting at the edges and working its way toward the center.
The deterioration process is irreversible, but you can definitely stop it from getting worse and restore the headliner’s appearance without a complete replacement.
Assessing the Damage
Before you start any repair, take a good look at how much of your headliner is affected. If only small sections are sagging (less than 25% of the total area), you’re a perfect candidate for a partial repair. If more than half of the headliner is drooping, you might want to consider whether a complete replacement would be more cost-effective.
Check for any tears or holes in the fabric itself. Small tears can be worked around, but large rips will require additional patching steps.
Quick Temporary Fix with Pins
If you need an immediate solution while you gather supplies for a proper repair, decorative pins can hold sagging sections temporarily. Use pins with large, flat heads that won’t tear through the fabric.
Push the pins through the sagging fabric and into the backing board above. Space them about 2-3 inches apart along the sagging edge. This method works best for minor sagging along the perimeter of the headliner.
Keep in mind this is purely temporary. The pins can create permanent holes, and they won’t address the underlying adhesive failure.
The Spray Adhesive Method
For a more permanent solution that doesn’t require removing the entire headliner, spray adhesive offers the best balance of effectiveness and simplicity. You’ll need a high-quality automotive headliner adhesive, not just any craft store spray glue.
What You’ll Need
- Automotive headliner spray adhesive
- Plastic trim removal tools or putty knives
- Clean rags or microfiber cloths
- Denatured alcohol or adhesive cleaner
- Drop cloths or newspaper
- Well-ventilated workspace
Step-by-Step Process
Start by protecting your car’s interior with drop cloths, especially the seats and dashboard. Headliner adhesive is extremely sticky and difficult to remove from surfaces once it dries.
Carefully pull down the sagging section of fabric to expose the backing board underneath. Don’t pull too hard or you might tear the fabric. Use your fingers or a plastic trim tool to gently separate the fabric from the old foam residue.
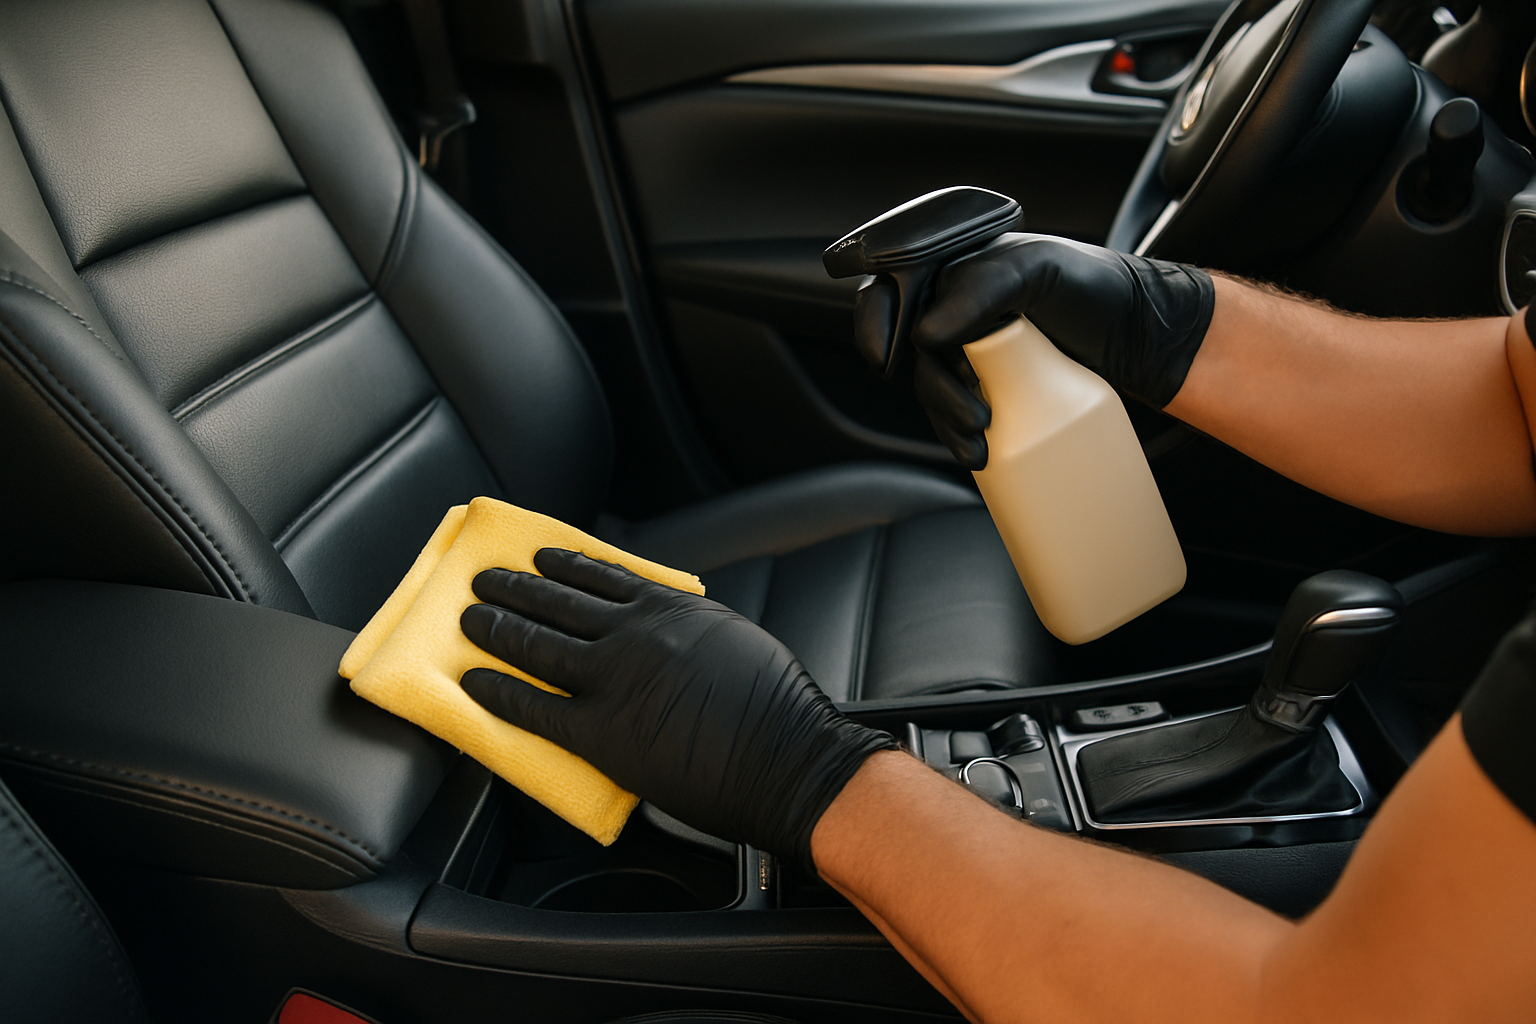
Clean both surfaces thoroughly with denatured alcohol. Remove all the old foam particles and adhesive residue from the backing board, and clean any debris from the back of the fabric. Both surfaces need to be completely clean for the new adhesive to bond properly.
Following the adhesive manufacturer’s instructions, spray a light, even coat on both the backing board and the back of the fabric. Most adhesives require you to wait 30-60 seconds before pressing the surfaces together.
Starting from one end, carefully press the fabric back into place. Work slowly and smooth out any air bubbles or wrinkles as you go. Once you press the fabric down, you won’t get a second chance to reposition it.
Apply firm, even pressure across the entire repaired area for at least 60 seconds. Some mechanics recommend using a clean roller or your palm to ensure complete contact.
Professional Regluing Technique
For larger areas or when you want professional-level results, consider the complete regluing method. This approach involves working on larger sections of the headliner systematically.
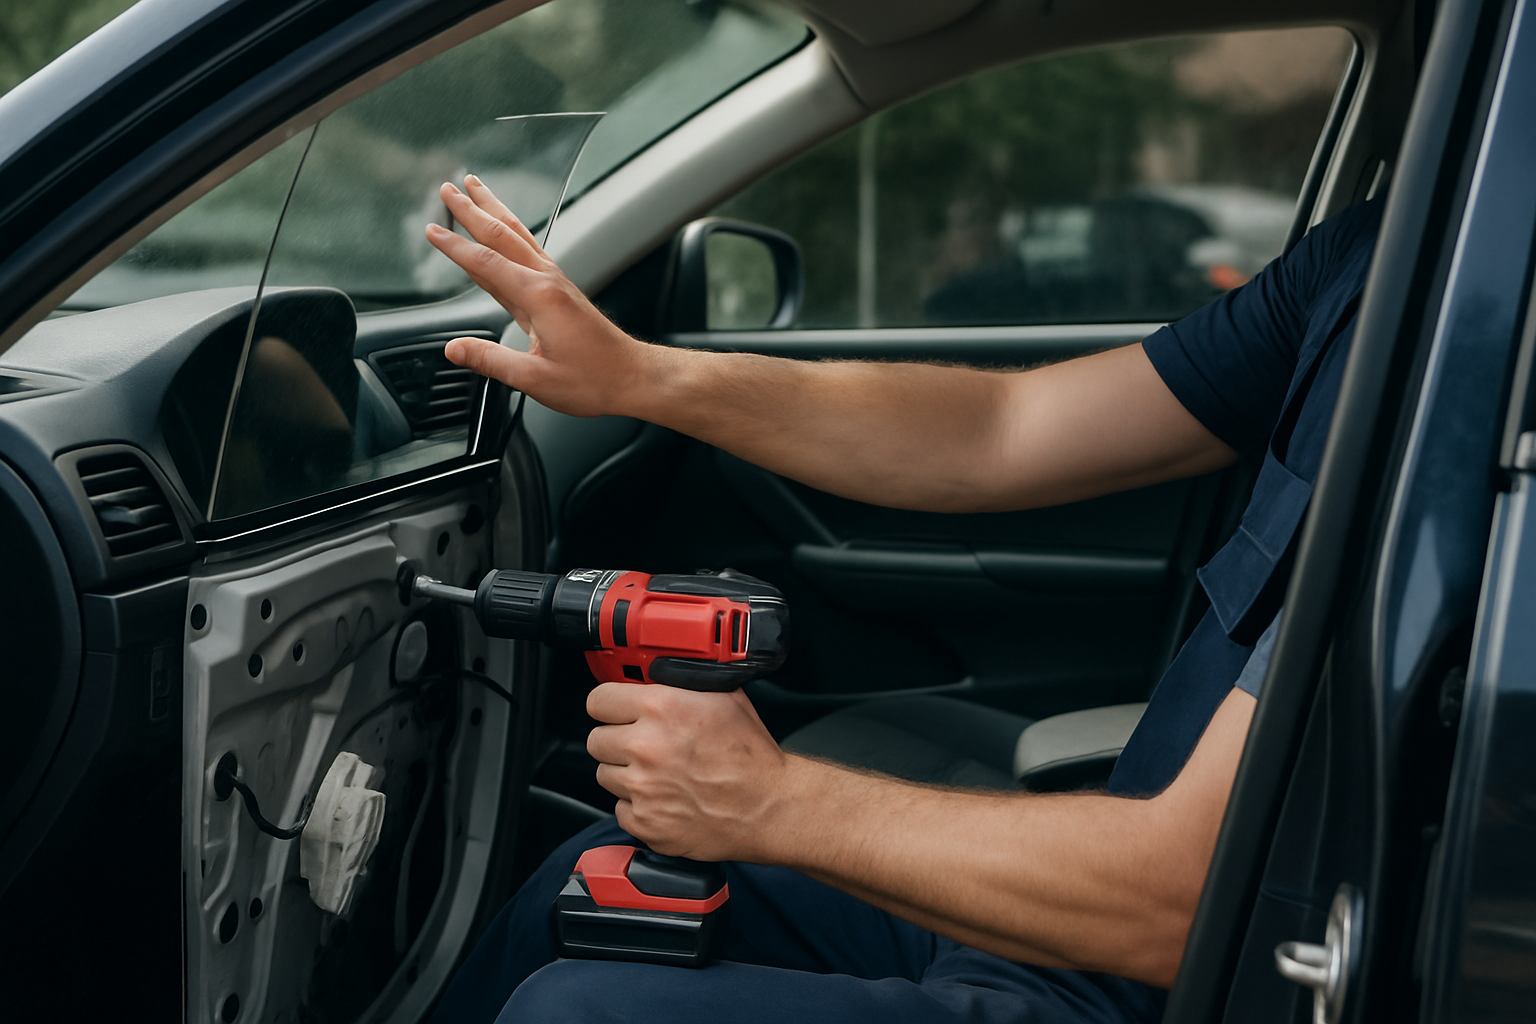
Remove any interior trim pieces that are holding the edges of the headliner in place. This might include sun visor mounts, dome light assemblies, or A-pillar trim pieces. Take photos before removing anything so you remember how it goes back together.
Work in sections, starting from the least damaged area and moving toward the worst spots. This prevents you from accidentally damaging sections that are still holding well.
Use the same cleaning and adhesive application process described above, but work on 2-3 square foot sections at a time rather than just the obviously sagging spots.
Recommended Adhesive Products
The quality of your adhesive makes a huge difference in how long your repair will last. Professional headliner adhesive sprays are specifically formulated to handle the temperature extremes and humidity changes inside your car.
Look for products specifically labeled for automotive headliner repair rather than general upholstery adhesives. These typically offer better heat resistance and longer-lasting bonds.
Some adhesives work better in certain temperature ranges, so check the manufacturer’s recommendations against your local climate conditions.
Heat Gun Alternative
In some cases, you can reactivate existing adhesive using carefully applied heat. This works best on headliners where the foam hasn’t completely deteriorated.
Using a hair dryer or heat gun on low setting, warm the sagging area from about 6-8 inches away. As the old adhesive warms up, gently press the fabric back into place.
This method has mixed results and typically doesn’t last as long as applying fresh adhesive, but it can be worth trying on minor sags before moving to more involved repairs.
Working Around Obstacles
Most headliners have various fixtures like dome lights, grab handles, and sun visor mounts. You don’t necessarily need to remove all of these for a successful repair.
For areas around these fixtures, work the adhesive carefully around the mounting points. Use a small brush or cotton swab to apply adhesive in tight spaces.
If a fixture is in the middle of a large sagging area, you might need to remove it temporarily for proper access. Most dome lights pop out with gentle prying, and grab handles typically have two screws hidden under small covers.
What to Avoid
Don’t use contact cement or other non-flexible adhesives. These can crack with temperature changes and actually make the problem worse.
Avoid over-stretching the fabric during repair. If the material has shrunk over time, forcing it back to its original position can cause tears or premature failure of your repair.
Don’t attempt this repair in extreme temperatures or high humidity. The adhesive needs proper conditions to cure correctly.
How Long Will It Last
A properly executed spray adhesive repair can last 3-5 years or more, depending on your climate and how much of the original foam backing was still intact. Cars in extremely hot climates may see shorter lifespans from any repair.
The repair typically fails gradually, starting at the edges just like the original problem. This gives you plenty of warning to plan for either another repair or a complete headliner replacement.
Regular parking in shade and using sunshades can help extend the life of any headliner repair by reducing heat buildup inside the car.
When to Consider Professional Help
If more than 60% of your headliner is sagging, or if the fabric itself is torn or stained, professional replacement might be more cost-effective than DIY repairs. Getting quotes from local upholstery shops can help you make this decision.
Some luxury vehicles have complex headliner systems with integrated electronics or unusual shapes that make DIY repair impractical.
Frequently Asked Questions
Can I use regular spray adhesive from the hardware store?
Regular spray adhesives aren’t designed for the temperature extremes inside a car and typically don’t provide flexible bonds that move with the fabric. Automotive-specific headliner adhesives contain plasticizers and heat stabilizers that make them much more durable for this application.
Will this repair affect my car’s resale value?
A properly executed headliner repair actually improves resale value compared to leaving it sagging. Most buyers won’t be able to tell the difference between a repaired headliner and an original one, but they’ll definitely notice and negotiate price reductions for obvious sagging.
How do I know if the foam backing is too deteriorated for this repair?
If the foam crumbles into powder when you touch it, or if there are large areas where no foam remains on either the fabric or backing board, spray adhesive repairs are less likely to be successful. You’ll know pretty quickly when cleaning the surfaces whether enough material remains for a good bond.
Is it safe to do this repair in my garage?
Headliner adhesives contain solvents that require good ventilation. Work outside or in a well-ventilated garage with doors open. Avoid breathing the vapors directly and consider wearing a respirator if you’re sensitive to chemical fumes.
This article contains affiliate links. If you purchase through these links, we may earn a small commission at no extra cost to you.
Leave a Reply