Oil puddles under your car and the smell of burning oil aren’t just annoying, they’re warning signs of a valve cover gasket leak that could lead to expensive engine damage. Catching and fixing this problem early can save you hundreds in repair bills and prevent potentially catastrophic engine issues down the road.
What Exactly Is a Valve Cover Gasket and Why Does It Fail?
The valve cover gasket sits between your engine’s valve cover and cylinder head, creating a seal that keeps oil from leaking out while your engine runs. Over time, heat cycles, engine vibration, and age cause these rubber or cork gaskets to shrink, crack, and lose their sealing ability.
This is hands down the most common oil leak on vehicles with over 100,000 miles. The constant heating and cooling your engine experiences makes the gasket material brittle, and once it starts leaking, it only gets worse.
How to Spot a Leaking Valve Cover Gasket
You’ll notice several telltale signs before the leak becomes severe. Oil pooling in spark plug wells is often the first indicator, especially on engines where the spark plugs sit directly under the valve cover.
A burning oil smell while driving or after parking is another dead giveaway. This happens when oil drips onto hot exhaust components or other engine parts. You might also see oil residue on the outside of the valve cover or find oil spots under your car after it’s been parked.
Check your oil level regularly if you suspect a leak. A dropping oil level combined with these symptoms confirms you’ve got a valve cover gasket problem that needs attention.
Why You Can’t Ignore This Problem
What starts as a minor seepage quickly becomes a major headache. Oil leaking into spark plug wells can damage ignition coils and spark plugs, leading to misfires and poor engine performance. The replacement cost for these components often exceeds the gasket repair itself.
Leaking oil can also contaminate your engine’s air intake system if it gets sucked into the PCV system. This creates carbon buildup and can affect your engine’s ability to breathe properly.
Beyond the mechanical issues, there’s the safety concern. Oil dripping onto exhaust components creates a fire risk, and low oil levels from a persistent leak can cause catastrophic engine damage.
Assessing the DIY Difficulty Level
The complexity of this repair varies dramatically depending on your engine configuration. Inline 4-cylinder engines typically offer straightforward access to the valve cover, making this a manageable weekend project for most DIY mechanics.
V6 and V8 engines present significantly more challenges. You might need to remove intake manifolds, ignition coils, fuel rails, or other components just to access the valve covers. Some engines require removing the entire upper intake plenum.
Transverse-mounted engines in front-wheel-drive vehicles often require removing motor mounts and lifting the engine slightly to access the rear valve cover. This pushes the repair into intermediate to advanced territory.
Tools and Parts You’ll Need
Start with the basics: socket sets, wrenches, and screwdrivers in the sizes your engine requires. You’ll also need a torque wrench capable of low settings, typically 5-15 ft-lbs for valve cover bolts.
Pick up some brake cleaner or degreaser for cleaning surfaces, along with shop rags and disposable gloves. A plastic scraper helps remove old gasket material without damaging aluminum surfaces.
For parts, you’ll obviously need the valve cover gasket set. Many modern engines use individual rubber seals around each bolt rather than a single large gasket. Quality valve cover gasket sets typically include all the seals, grommets, and hardware you’ll need for a complete repair.
Consider replacing the PCV valve and any vacuum hoses connected to the valve cover while you’re in there. These components often fail around the same mileage and accessing them later requires repeating much of the same work.
Step-by-Step Repair Process
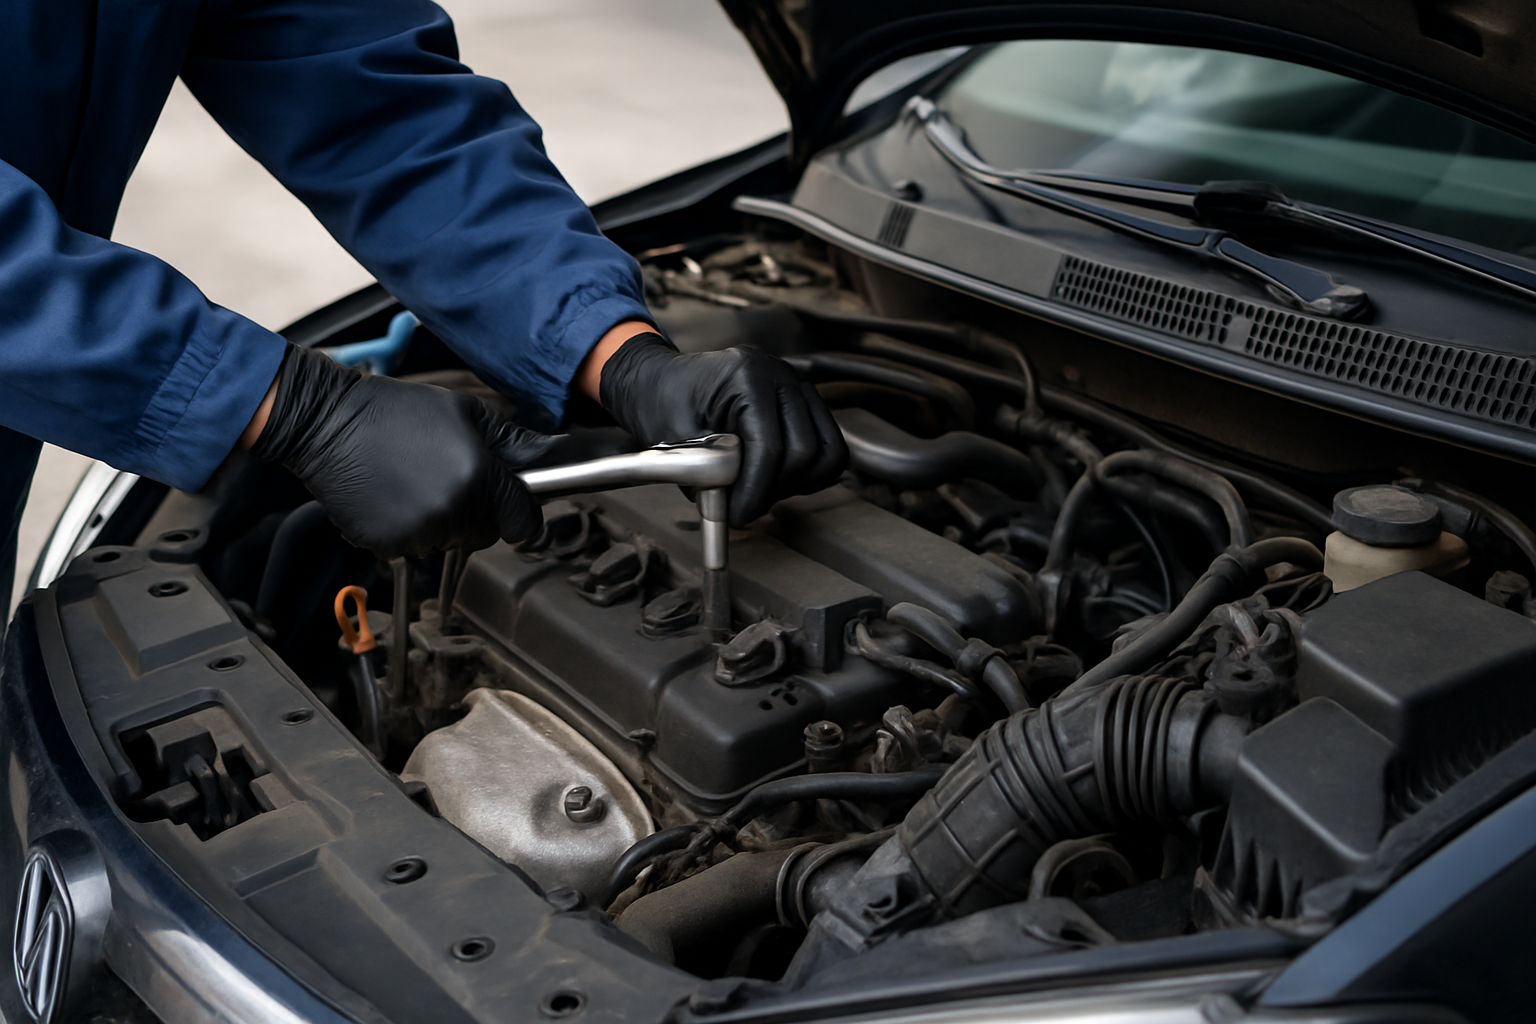
Start with a cold engine for safety and comfort. Remove any components blocking access to the valve cover, such as the air intake tube, ignition coils, or fuel injector harnesses. Take photos before disconnecting anything to help with reassembly.
Clean around the valve cover thoroughly before removing bolts. You don’t want dirt falling into the engine once the cover comes off. Remove the valve cover bolts in a crisscross pattern, starting from the outside and working inward.
Lift the valve cover carefully. Some covers stick due to old sealant or gasket material. Gentle tapping with a dead blow hammer usually breaks them free, but avoid prying with screwdrivers that might damage sealing surfaces.
Clean both the valve cover and cylinder head surfaces completely. Remove all traces of old gasket material using your plastic scraper and brake cleaner. Any leftover debris will prevent the new gasket from sealing properly.
Install the new gasket according to the manufacturer’s instructions. Some gaskets use adhesive to hold them in place during installation, while others rely on proper bolt torque to compress and seal.
Reinstall the valve cover and torque the bolts to specification in the reverse order you removed them. Start from the center and work outward, following a crisscross pattern. Over-tightening will deform the gasket and cause future leaks.
Critical Installation Tips
Pay special attention to corner areas where the gasket makes sharp bends. These spots are prone to tearing during installation and often leak if not seated properly. Some technicians apply a tiny dab of RTV silicone at these corners for extra insurance.
Don’t assume all bolt holes are the same depth. Many valve covers use bolts of different lengths, and installing a long bolt in a shallow hole can crack the cylinder head. Keep bolts organized during disassembly.
Check your work before buttoning everything up. Look for any areas where the gasket appears pinched, twisted, or not fully seated. These issues will cause leaks that force you to repeat the entire job.
When to Call a Professional
Some engines make this repair impractical for DIY mechanics. If accessing the valve cover requires removing the engine or transmission, the labor cost often makes professional repair the better choice.
Consider your comfort level with the specific procedures your engine requires. Removing fuel system components or complex intake manifolds introduces additional complexity and safety concerns.
Factor in your available time and workspace. This repair can stretch over multiple days if you encounter unexpected complications or need to wait for parts. Professional shops can typically complete the work in a few hours.
Preventing Future Valve Cover Gasket Failures
Regular oil changes using the correct viscosity oil help extend gasket life by reducing heat and chemical breakdown. Synthetic oils typically run cooler and contain fewer contaminants that accelerate gasket deterioration.
Keep your PCV system functioning properly. A clogged PCV valve creates excessive crankcase pressure that can blow out gaskets prematurely. Replace the PCV valve according to your maintenance schedule.
Address engine overheating issues promptly. Excessive heat is the biggest enemy of rubber gaskets and seals throughout your engine.
Frequently Asked Questions
How long does a valve cover gasket typically last?
Most valve cover gaskets last 60,000 to 100,000 miles under normal conditions. Severe operating conditions like frequent short trips, extreme temperatures, or poor maintenance can shorten this lifespan significantly.
Can I drive with a leaking valve cover gasket?
You can drive short distances with a minor leak, but monitor your oil level closely and address the problem quickly. Severe leaks that drip oil onto exhaust components or cause rapid oil loss require immediate attention.
Will stop-leak products fix a valve cover gasket leak?
Stop-leak additives rarely work on valve cover gaskets because the leak occurs at a static seal rather than within the engine’s oil circulation system. These products can also cause problems with other seals and aren’t recommended.
How much should I expect to pay for professional repair?
Professional repair costs vary widely based on engine complexity and local labor rates. Simple inline engines might cost $200-400, while complex V6 or V8 engines can run $600-1000 or more if extensive disassembly is required.
This article contains affiliate links. If you purchase through these links, we may earn a small commission at no extra cost to you.

Leave a Reply