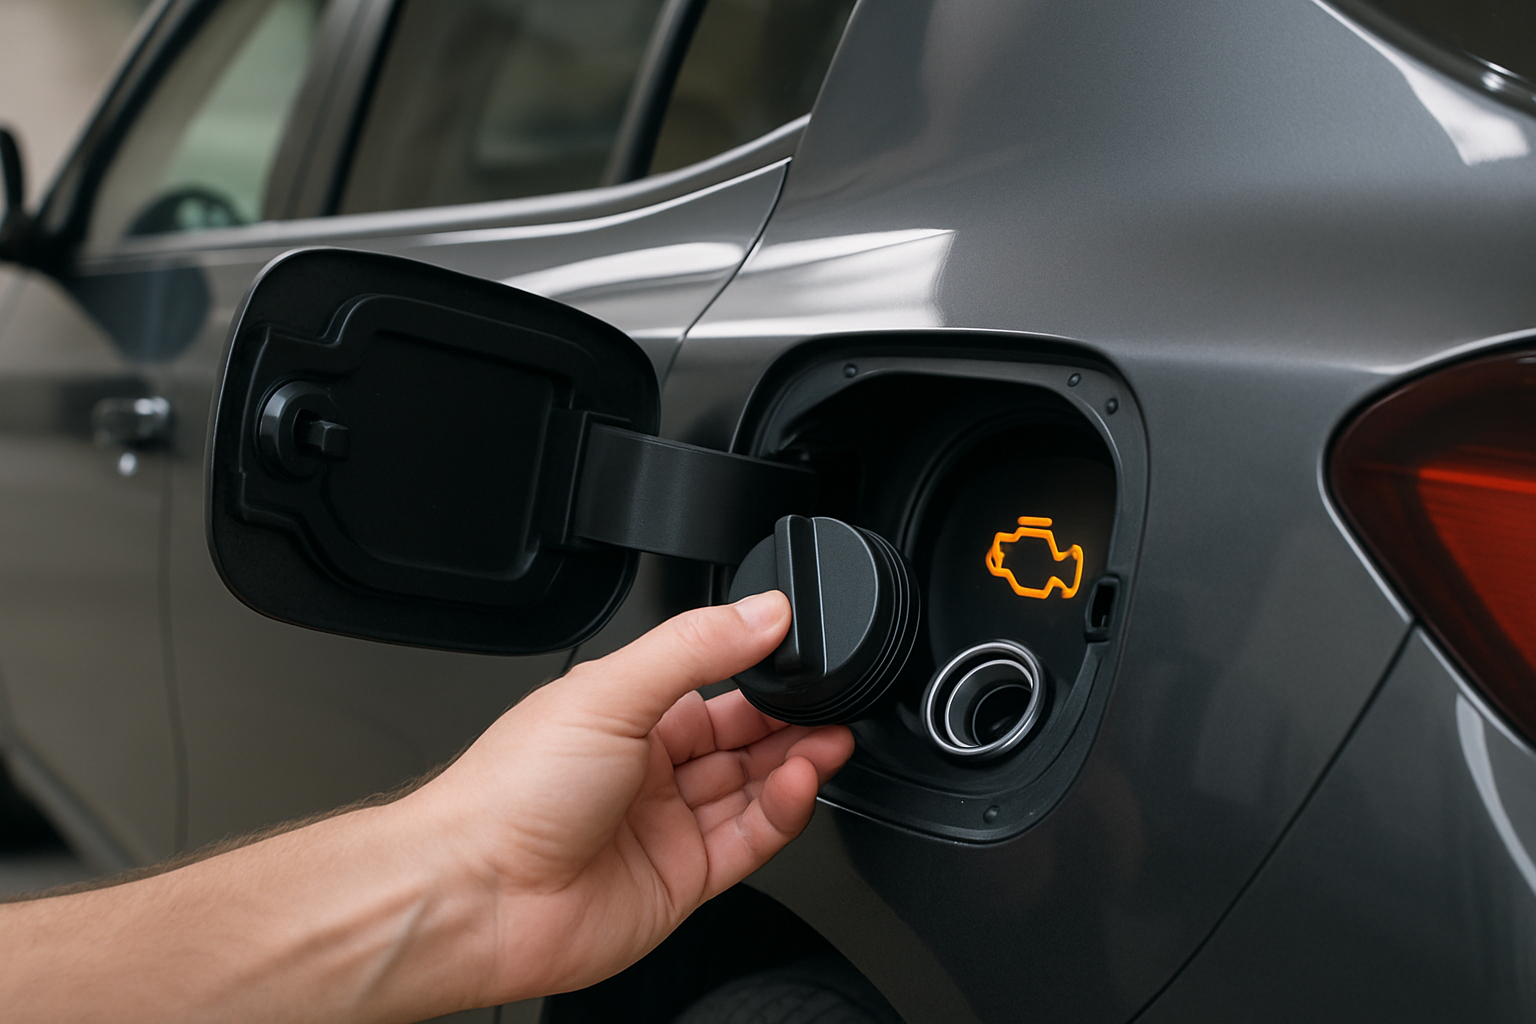
Seeing that dreaded check engine light pop up on your dashboard can be nerve-wracking, but before you panic about expensive repairs, you might be dealing with something surprisingly simple. A loose gas cap is one of the most common causes of check engine lights, and fixing it could save you hundreds of dollars in unnecessary diagnostic fees.
Your car’s fuel system needs to maintain proper pressure and prevent fuel vapors from escaping into the atmosphere. When your gas cap isn’t sealed correctly, it triggers the vehicle’s evaporative emission control system, which monitors for leaks and sends error codes to your car’s computer.
Understanding the Error Codes Behind a Loose Gas Cap
When your gas cap is loose or faulty, your car’s diagnostic system typically generates one of three specific error codes. These codes all relate to problems with the evaporative emission control system, which prevents fuel vapors from escaping your tank.
The P0442 code indicates a small leak in the evaporative emission control system. This often points to a loose gas cap or worn cap seal that’s allowing vapors to escape.
Code P0455 signals a large leak in the system. While this could indicate a more serious problem, it’s frequently caused by a completely loose or missing gas cap.
The P0456 code represents a very small leak, often triggered by minor seal deterioration around the gas cap threads or a cap that’s just slightly loose.
Quick Diagnosis: Is Your Gas Cap Really the Problem?
Before diving into repairs, you can quickly check if your gas cap is causing the issue. Start by examining the cap itself after your next fill-up.
Look for visible damage like cracks in the rubber seal or worn threads on the cap. The rubber gasket should be flexible and form a complete circle without breaks or hardened sections.
Check how the cap feels when you tighten it. You should hear distinct clicking sounds as you turn it clockwise, typically three to five clicks. If it spins freely without clicking or feels loose even after tightening, you’ve likely found your culprit.
Inspect the fuel filler neck threads where the cap attaches. Damaged or corroded threads can prevent proper sealing even with a good cap.
The Simple Fix: Tightening Your Gas Cap
If your gas cap appears to be in good condition but was simply loose, the fix couldn’t be easier. Remove the cap completely and inspect both the cap and filler neck for debris or damage.
Clean any dirt or debris from the cap’s sealing surface and the filler neck threads. Even small particles can prevent proper sealing.
Reinstall the cap by turning it clockwise until you hear it click. Most caps require three to five clicks to properly seal. Don’t over-tighten, as this can damage the threads or seal.
Make sure the cap sits flush against the filler neck. If it appears crooked or doesn’t sit evenly, remove it and try again.
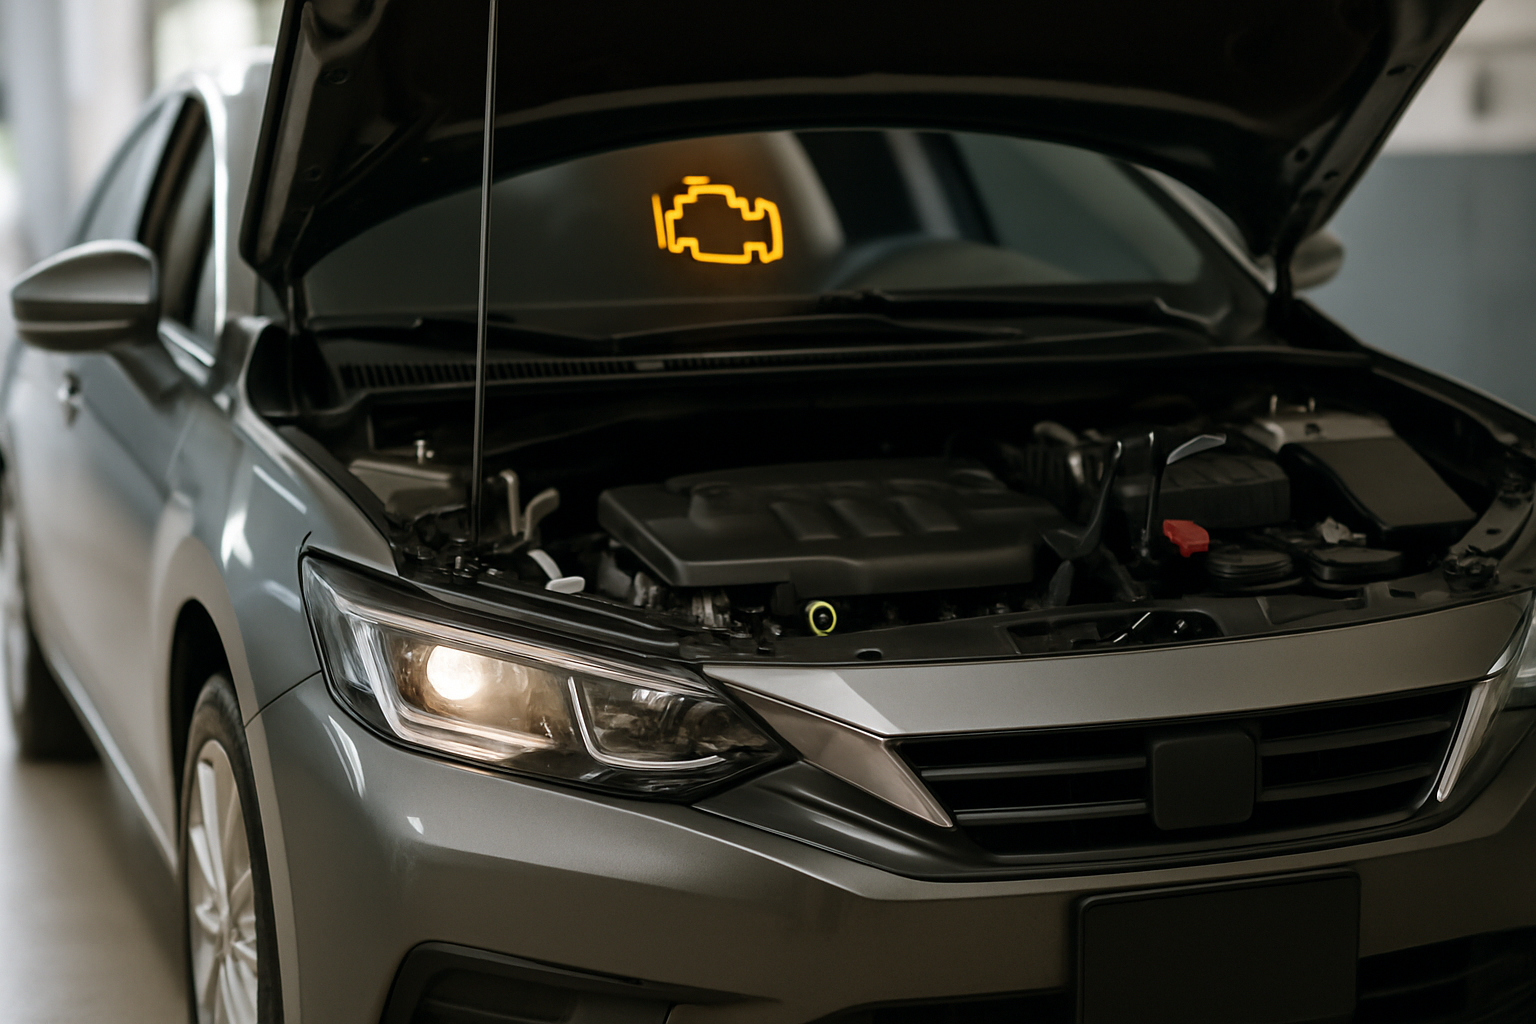
Why the Check Engine Light Won’t Clear Immediately
After tightening or replacing your gas cap, don’t expect the check engine light to disappear right away. Your car’s computer system needs time to verify that the problem has been resolved.
You’ll typically need to drive 50 to 100 miles under various conditions for the system to complete its self-diagnostic cycle. This includes city driving, highway speeds, and multiple start-stop cycles.
During this period, the car’s computer runs continuous tests on the evaporative emission system. Only after confirming that no leaks are detected will it clear the error codes and turn off the check engine light.
If the light remains on after 100 miles of mixed driving, you may need to replace the gas cap or investigate other potential causes.
When to Replace Your Gas Cap
Sometimes tightening isn’t enough, and you’ll need a new gas cap. Several signs indicate replacement is necessary rather than just retightening.
A cracked or hardened rubber seal won’t create an airtight barrier no matter how tight you make it. Over time, exposure to fuel vapors and temperature changes causes these seals to deteriorate.
Damaged threads on the cap or a cap that won’t click when tightened indicates internal mechanism failure. These caps may appear tight but won’t maintain proper pressure.
Visible cracks in the cap body or a cap that feels unusually light might have internal damage that prevents proper sealing.
Choosing the Right Replacement Gas Cap
When shopping for a new gas cap, you have several options that can resolve your check engine light issue. Generic universal caps work for many vehicles, but getting the exact OEM specification ensures the best fit and seal.
Universal gas caps are typically the most affordable option and work well for older vehicles. However, make sure any universal cap you choose matches your vehicle’s thread pattern and includes a proper venting mechanism.
OEM replacement caps cost more but guarantee compatibility with your specific vehicle. These caps include the exact sealing mechanisms and pressure specifications your car requires.
Replacement gas cap universal options are readily available and can solve your check engine light problem quickly. Popular brands like Stant and Gates offer reliable aftermarket options that meet or exceed OEM specifications.
Step-by-Step Gas Cap Replacement
Replacing a gas cap is straightforward, but following the proper steps ensures you get a good seal and clear those error codes.
Start with a cool vehicle and make sure you have adequate lighting to see the filler neck clearly. Remove the old cap by turning it counterclockwise until it comes free.
Clean the filler neck threads with a rag or paper towel. Remove any debris, old seal material, or corrosion that might prevent the new cap from sealing properly.
Install the new cap by hand, turning clockwise until it seats against the filler neck. Continue turning until you hear the characteristic clicking sound, usually three to five clicks.
Test the installation by gently trying to turn the cap further. It should feel secure and not move easily. The cap should sit evenly around the filler neck opening.
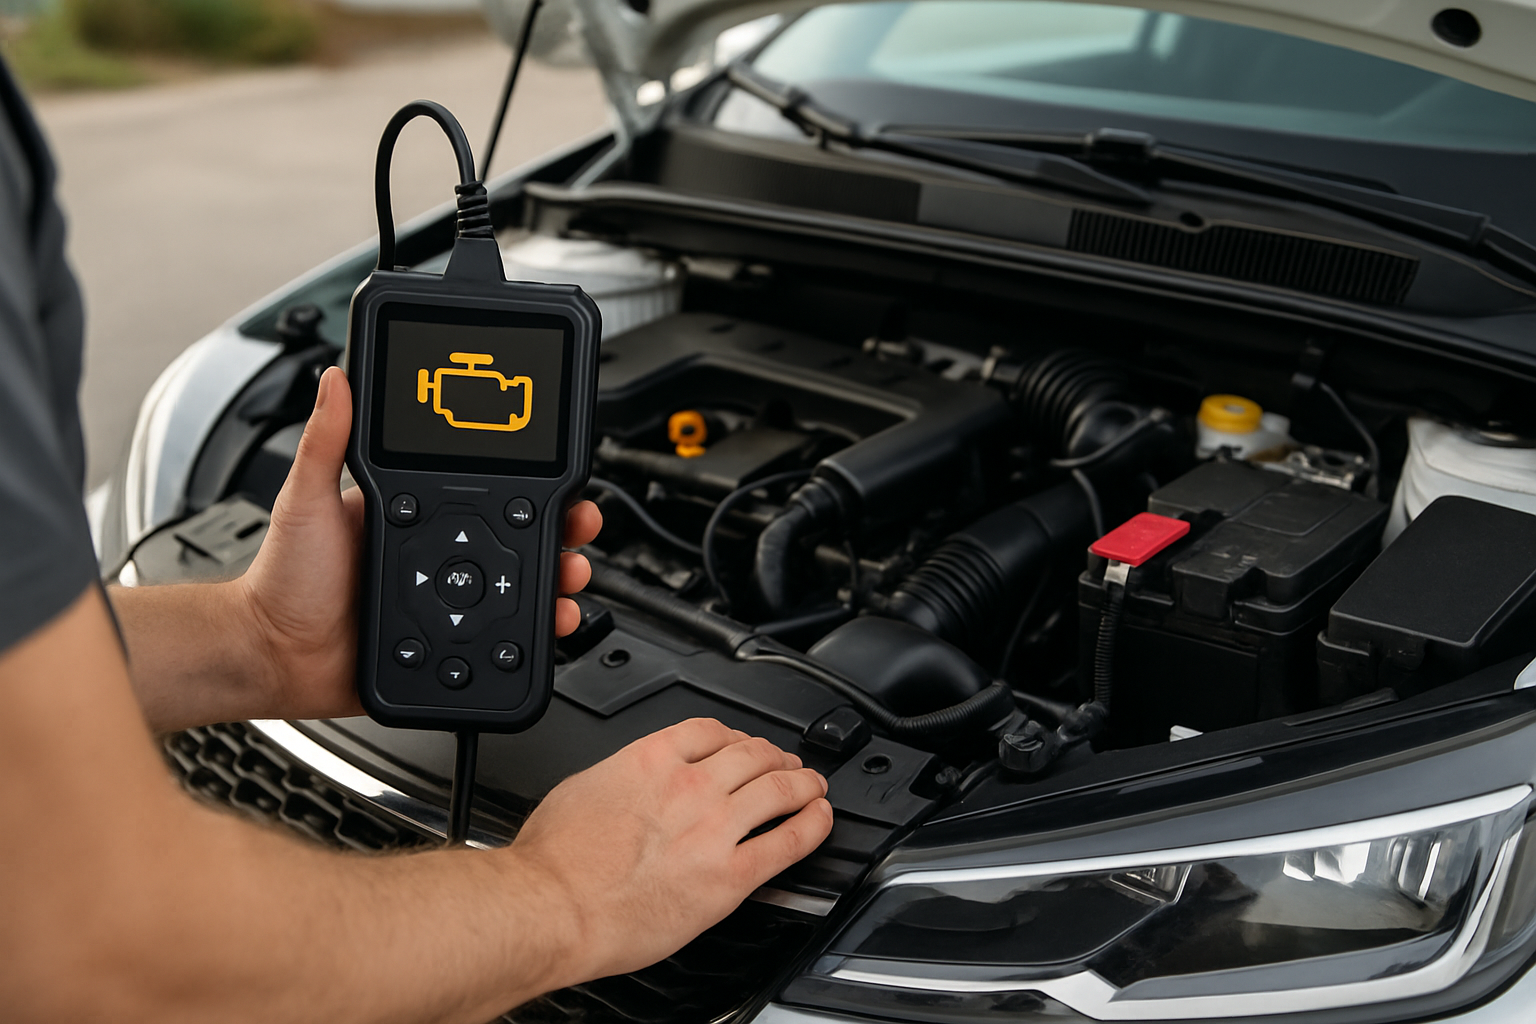
Clearing the Codes Manually
While driving 50 to 100 miles will eventually clear the codes, you can speed up the process with an OBD2 scanner. These tools connect to your car’s diagnostic port and allow you to clear error codes immediately.
Basic OBD2 scanners cost less than $30 and can clear simple codes like those caused by gas cap issues. More advanced scanners provide detailed diagnostic information and can help identify other problems.
Connect the scanner to your vehicle’s OBD2 port, typically located under the dashboard near your left knee. Follow the scanner’s instructions to clear stored codes.
Remember that clearing codes doesn’t fix the underlying problem. If your gas cap issue isn’t resolved, the codes and check engine light will return within a few drive cycles.
Preventing Future Gas Cap Problems
Regular maintenance can prevent gas cap issues from triggering your check engine light. Simple habits during fueling can extend your cap’s life and maintain proper sealing.
Always tighten your gas cap until it clicks after each fill-up. Many people stop at the first click, but most caps need several clicks to seal properly.
Avoid hanging the cap by its tether during fueling. This can stretch the connection point and eventually cause the tether to break, leading to a lost cap.
Periodically inspect your gas cap’s condition, especially the rubber seal. Replace the cap if you notice cracking, hardening, or damage to the sealing surface.
Other Possible Causes to Consider
While a loose gas cap causes many P0442, P0455, and P0456 codes, other issues can trigger the same error messages. If replacing your gas cap doesn’t solve the problem, consider these alternatives.
Damaged fuel lines or connections in the evaporative emission system can create leaks that mimic gas cap problems. These require professional diagnosis and repair.
A faulty purge valve or vent valve in the emission control system can trigger similar codes. These components control fuel vapor flow and may need replacement.
Cracked or damaged charcoal canisters, which store fuel vapors, can also cause emission system codes. This repair typically requires professional service.
Frequently Asked Questions
How long should I wait for the check engine light to clear after fixing my gas cap?
You should drive 50 to 100 miles under mixed conditions for the light to clear naturally. This includes city and highway driving with multiple start-stop cycles. If the light doesn’t clear after 100 miles, you may have additional issues beyond the gas cap.
Can I drive with a loose gas cap check engine light?
Yes, you can drive safely with a check engine light caused by a loose gas cap. However, you should fix it promptly to prevent fuel vapor emissions and ensure your vehicle passes emission tests. The loose cap won’t cause immediate mechanical damage but does affect your car’s emission control system.
Will a loose gas cap affect my fuel economy?
A loose gas cap typically doesn’t significantly impact fuel economy, but it does allow fuel vapors to escape. Over time, this represents wasted fuel and contributes to air pollution. Fixing the cap ensures your fuel system operates as designed.
How much does a new gas cap cost?
Replacement gas caps typically cost between $15 and $40, depending on your vehicle and whether you choose universal or OEM parts. This small investment can save you hundreds in diagnostic fees and ensures your emission system works properly.
This article contains affiliate links. If you purchase through these links, we may earn a small commission at no extra cost to you.

Leave a Reply