Ceramic coatings give your car’s paint a layer of protection that outlasts wax by months or even years. They create a hydrophobic surface that repels water, resists UV damage, and makes washing your car significantly easier. Professional ceramic coatings can be expensive to apply, but DIY kits bring the technology within reach of any weekend detailer.
What Ceramic Coating Actually Does
A ceramic coating is a liquid polymer made from silicon dioxide (SiO2) that bonds chemically with your car’s paint. Once cured, it forms a semi-permanent, glass-like layer that protects against UV rays, bird droppings, tree sap, road salt, and light scratches. It won’t prevent rock chips or deep scratches, but it does make everyday contaminants easier to remove.
The hydrophobic effect is the most visible benefit. Water beads up and rolls off instead of clinging to the surface, carrying dirt with it. This “self-cleaning” property means your car stays cleaner longer between washes.
DIY vs. Professional Application
Professional ceramic coatings use higher-concentration formulas and are applied in controlled environments. They last 3-5 years (sometimes longer) and come with warranties. DIY kits use slightly lower SiO2 concentrations but still provide excellent protection lasting 1-2 years.
The main advantage of DIY is cost. A quality ceramic coating kit costs a fraction of professional application, and the process, while time-consuming, is manageable for anyone willing to follow instructions carefully.

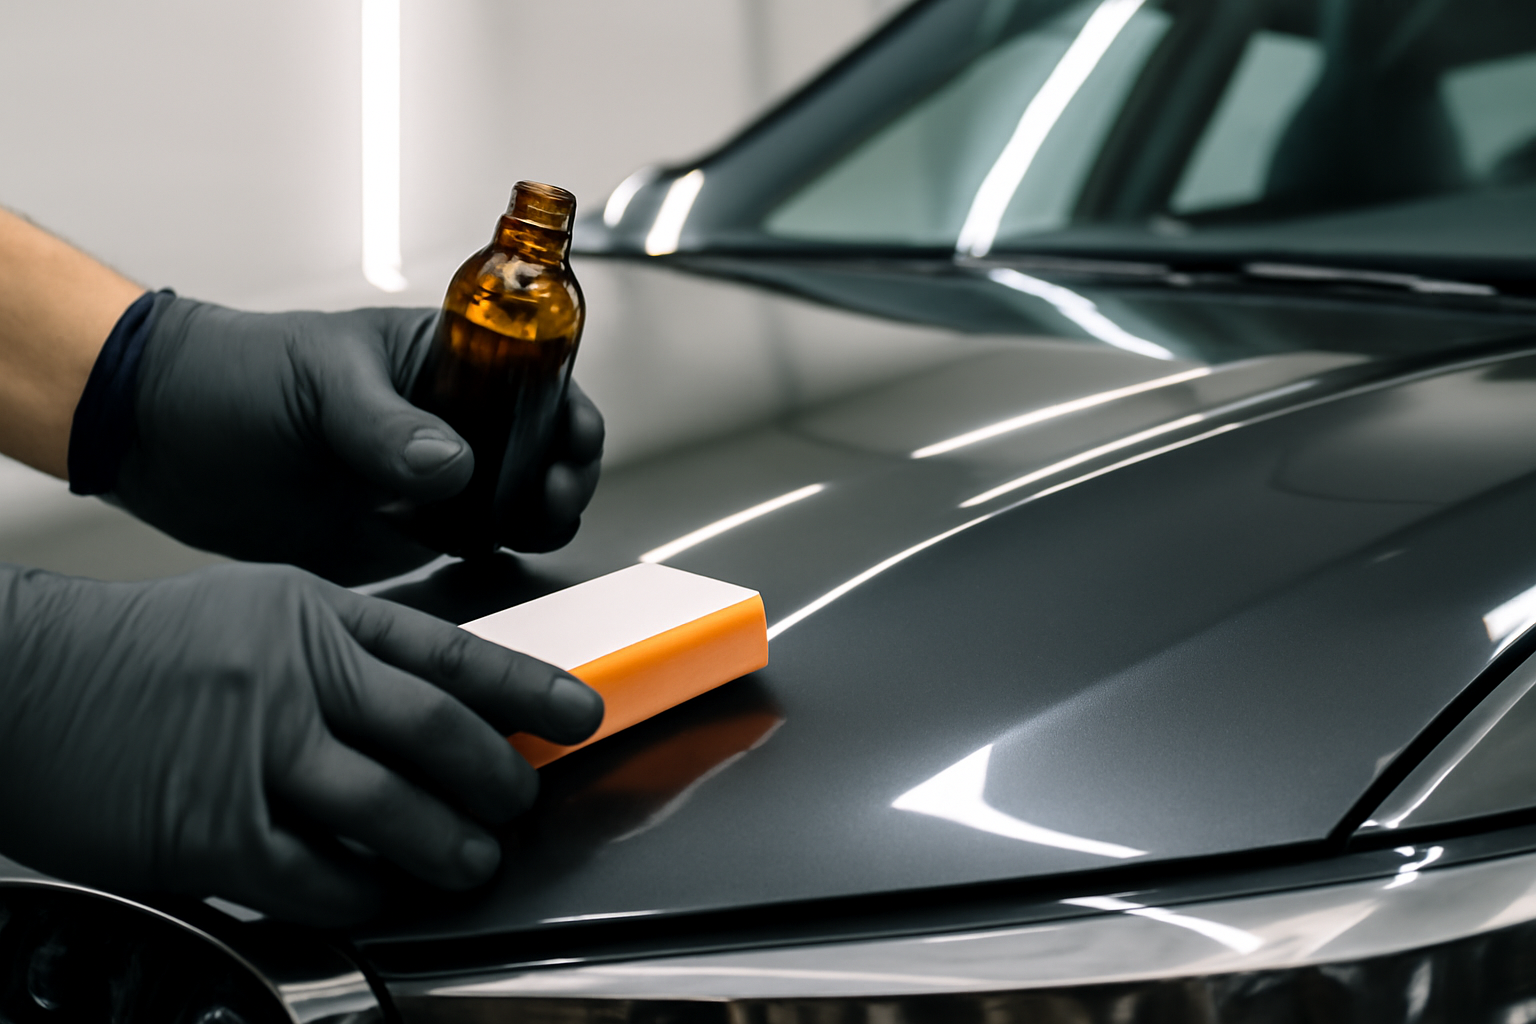
Ceramic Coating Kit
Look for kits with at least 10H hardness rating and 30ml or more of coating for full-size vehicles
Surface Preparation is Everything
The coating bonds to whatever is on your paint. If there’s wax, sealant, or contaminants on the surface, the coating bonds to those instead of the paint, resulting in poor adhesion and premature failure. Proper prep takes longer than the actual application and includes several steps.
Start with a thorough hand wash using a pH-neutral car shampoo. Follow with a clay bar treatment to remove embedded contaminants like industrial fallout and overspray. Then use a paint correction compound or polish to remove swirl marks and light scratches. Finish with an isopropyl alcohol (IPA) wipedown to strip any remaining oils or residues.
Skipping any of these steps compromises the final result. The coating locks in whatever condition the paint is in, so you want that condition to be as clean and smooth as possible.
Whether you’re protecting a reliable daily driver or a first car for a new driver, proper surface prep makes all the difference in how well the coating performs.
Application Process
Work in a shaded area with temperatures between 50-80°F and low humidity. Direct sunlight causes the coating to flash too quickly, creating high spots and streaks.
Apply a few drops to the included applicator pad and work in small sections (about 2×2 feet). Use overlapping crosshatch motions to ensure even coverage. After applying a section, wait 1-3 minutes (check the product instructions for the specific flash time), then buff off the residue with a clean microfiber towel.
High-quality microfiber towels with a short nap work best for leveling and buffing. Have at least 10-15 towels ready since they load up quickly with coating residue.

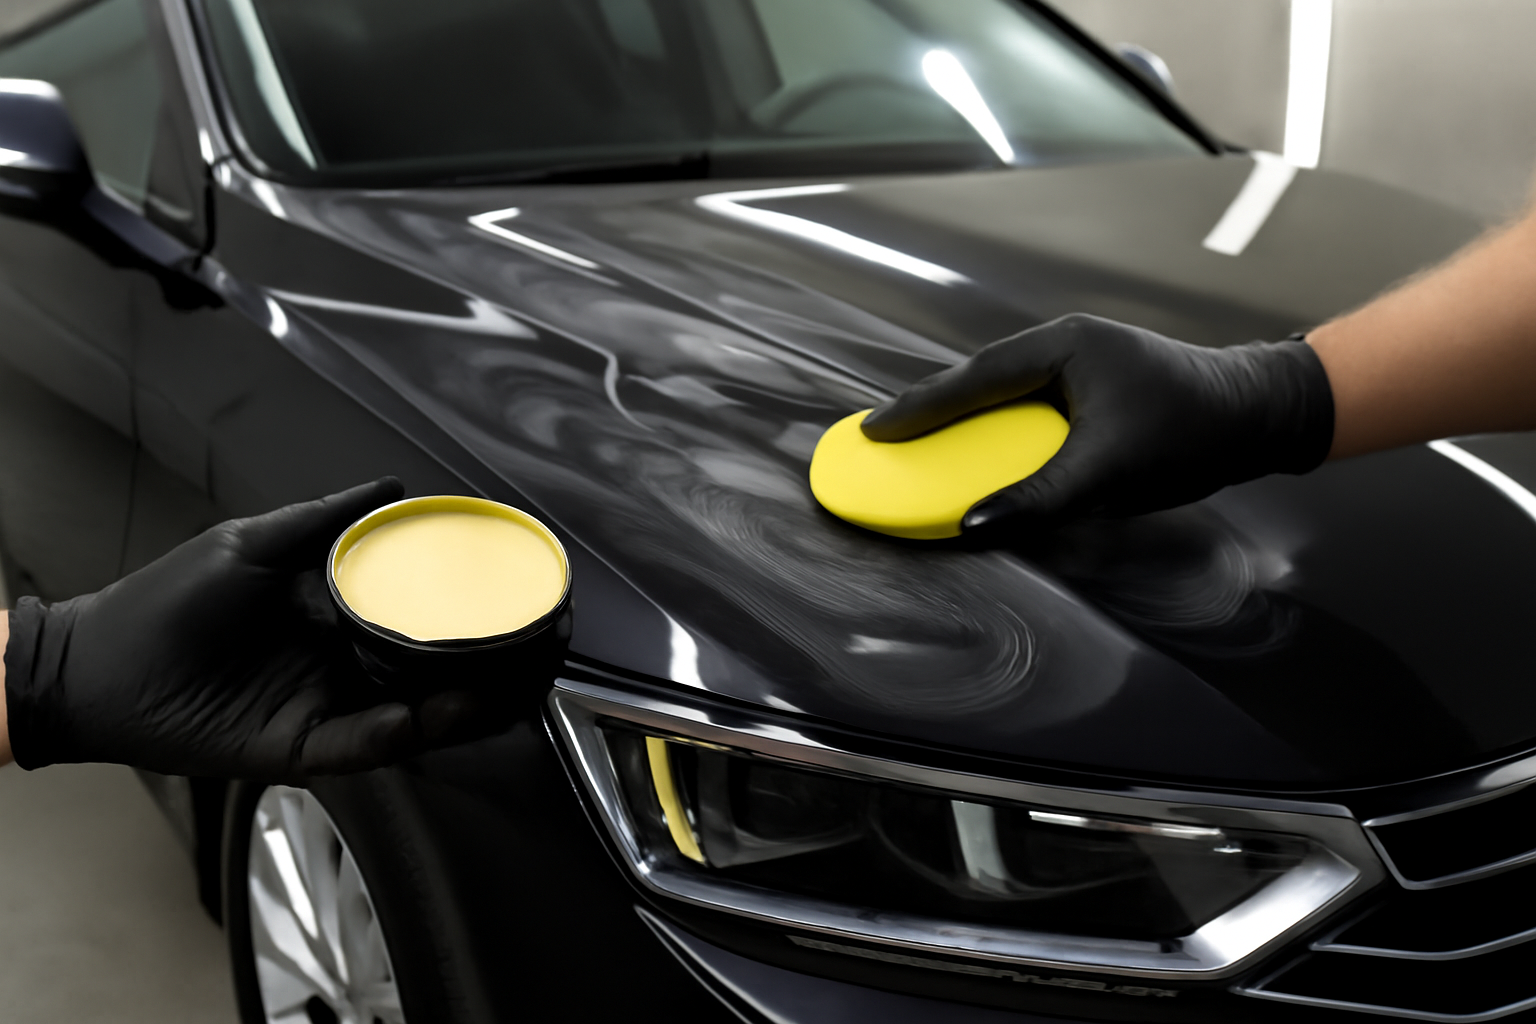
Professional Microfiber Towels
Get towels with at least 350 GSM density for best results with ceramic coatings
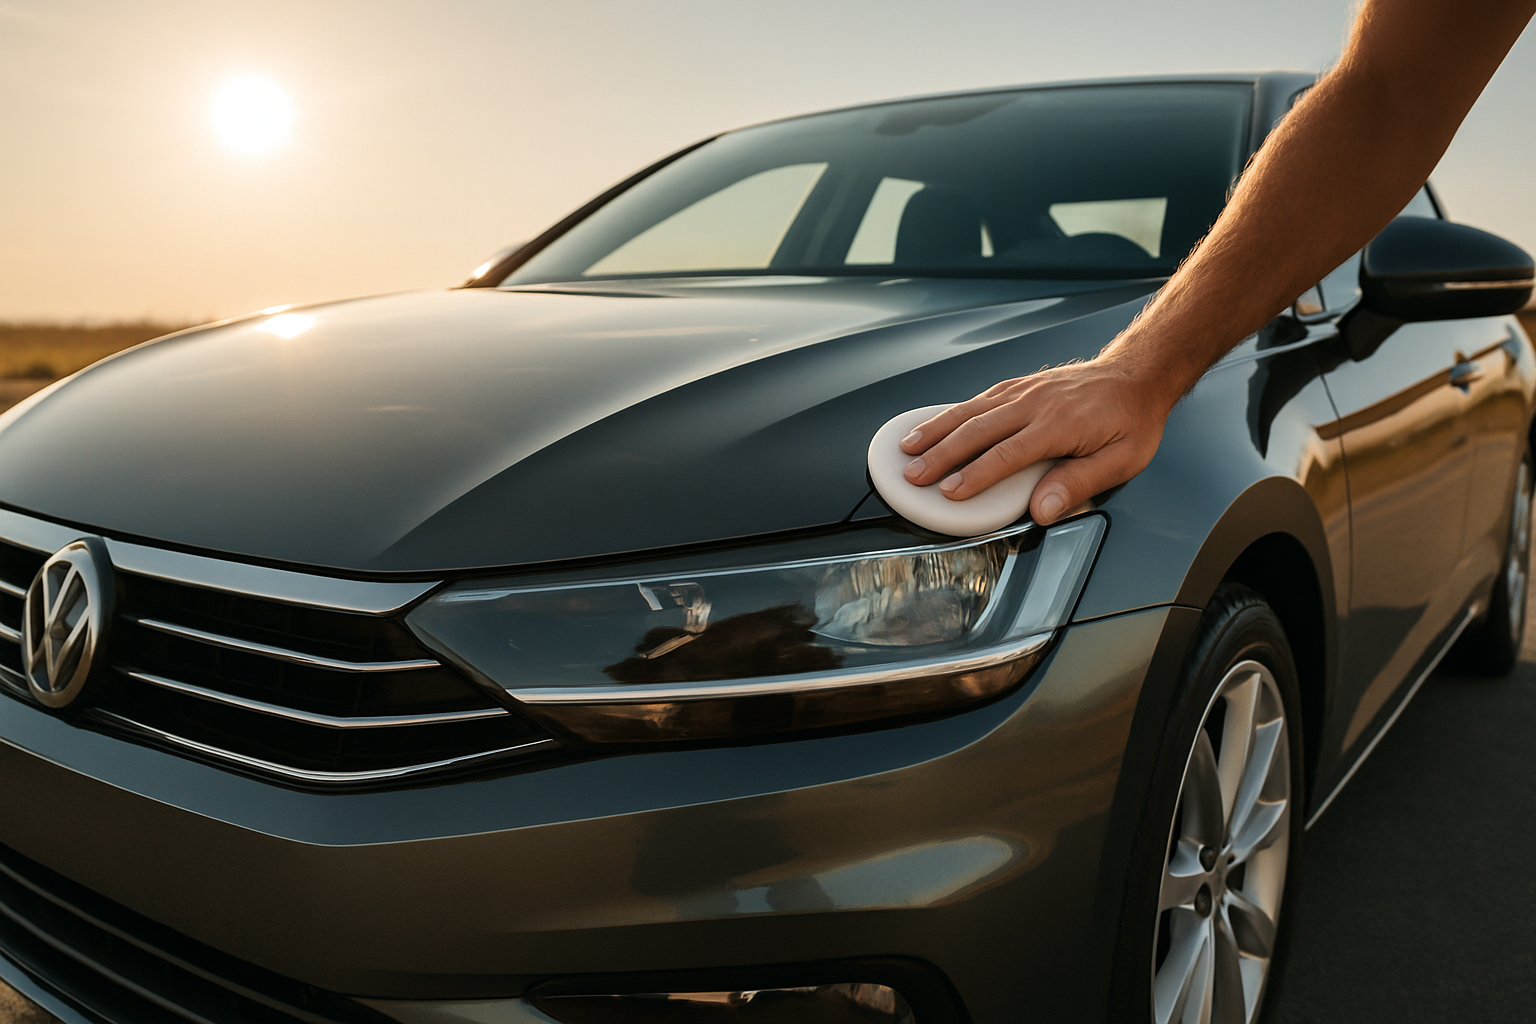
Curing Time and Aftercare
Most DIY ceramic coatings need 24-48 hours to cure initially and reach full hardness in 7 days. During this period, avoid washing the car, parking under trees, or exposing the coating to rain if possible. Some coatings are rain-safe after a few hours but shouldn’t be washed for at least a week.
After curing, wash the car using the two-bucket method and pH-neutral soap. Avoid automatic car washes with brushes, which can scratch and degrade the coating. Touchless washes are fine. The hydrophobic properties make hand washing incredibly fast since dirt slides off with minimal effort.
If you’re storing a car for several months, applying ceramic coating beforehand provides excellent protection against dust and environmental contaminants during storage.
Ceramic Spray Coatings: The Easy Alternative
If a full ceramic coating sounds like too much work, ceramic spray sealants offer a middle ground. They apply like a spray wax, taking about 20 minutes for the whole car, and last 3-6 months. The protection isn’t as durable as a true coating, but the ease of application makes them great for maintaining an existing coating or providing basic protection with minimal effort.
Frequently Asked Questions
Can I apply ceramic coating over existing wax?
No. Wax and sealants must be completely removed before applying ceramic coating. The IPA wipedown in the prep stage removes these products. Applying coating over wax results in poor bonding and the coating will peel or flake.
How long does a DIY ceramic coating last?
Most quality DIY ceramic coatings last 1-2 years with proper maintenance. Some premium consumer-grade products claim longer, but real-world durability depends on exposure, washing habits, and climate. Reapplication is fairly simple once you know the process.
Will ceramic coating prevent scratches?
Ceramic coating resists light swirl marks and wash scratches better than unprotected paint, but it won’t prevent rock chips, key scratches, or shopping cart dings. Think of it as a sacrificial layer that takes the abuse instead of your clear coat.
Do I need to polish my car before applying ceramic coating?
Yes, if you want the best results. The coating magnifies the current condition of your paint, so any swirls, scratches, or imperfections will be locked in under the coating. Polishing removes these defects and gives you a flawless finish that the coating then protects.
This article contains affiliate links. We may earn a small commission at no extra cost to you.
Leave a Reply