Changing your own transmission fluid saves money and gives you complete control over your vehicle’s maintenance schedule. Regular transmission fluid changes are one of the most important services you can perform to extend your transmission’s life, yet many drivers put it off or rely on questionable “lifetime fluid” claims.
Modern transmissions are incredibly complex, and fresh fluid is their lifeblood. Learning to service your transmission properly will help you avoid costly repairs down the road.
Understanding When Your Transmission Fluid Needs Changing
Most manufacturers recommend transmission fluid changes every 60,000 to 100,000 miles, but many experienced mechanics suggest shorter intervals. Despite claims about “lifetime” transmission fluid, no fluid actually lasts the lifetime of your vehicle.
Transmission fluid breaks down from heat, friction, and contamination over time. Even with the best synthetic fluids, you should plan on changes every 60,000 to 80,000 miles for optimal transmission health.
Signs Your Fluid Needs Attention
Check your transmission fluid monthly using the dipstick or inspection plug, depending on your vehicle. Fresh fluid should be bright red or amber colored and smell slightly sweet or have no odor at all.
Dark brown or black fluid indicates it’s overdue for change. If the fluid smells burnt or has a harsh chemical odor, you’re looking at potential internal damage. Metal particles or debris floating in the fluid are serious warning signs that require immediate attention.
Slipping gears, delayed shifts, or rough engagement can all stem from degraded transmission fluid. Don’t wait for these symptoms to appear before servicing your transmission.
Drain and Fill vs. Flush Methods
You have two main options for changing transmission fluid: drain and fill or power flushing. The drain and fill method is safer and more reliable for DIY mechanics.
A drain and fill removes only the fluid in the pan and filter, typically 3 to 5 quarts out of 8 to 12 total quarts. While this might seem incomplete, it’s actually better for your transmission’s health.
Why Drain and Fill Is Superior
Power flushing forces new fluid through the entire system under pressure, which sounds appealing but creates risks. The high-pressure process can dislodge debris that’s been harmlessly settled in corners and push it into sensitive valve bodies.
Drain and fill allows for gradual fluid renewal. After your first change, the new fluid mixes with remaining old fluid. A second change 15,000 to 20,000 miles later will refresh most of the system’s fluid safely.
You also get to inspect and replace the transmission filter during a drain and fill service, which isn’t always possible with flush machines.
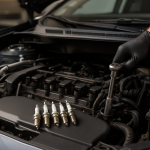
Essential Tools and Materials
Start by identifying your exact transmission type and fluid specification. Check your owner’s manual or the transmission pan for identification numbers. Using the wrong fluid type can cause immediate damage.
Common specifications include Dexron VI, Mercon LV, ATF+4, or manufacturer-specific fluids like Honda DW-1 or Nissan NS-3. Don’t substitute generic “universal” fluids for these specific requirements.
Required Tools
You’ll need basic hand tools including a socket set, combination wrenches, and a drain pan with at least 6-quart capacity. A torque wrench is essential for proper pan bolt tightening.
Get a funnel designed for transmission fluid filling, as these often require filling through the dipstick tube. Some newer vehicles require special tools to access filling points.
Purchase your transmission filter kit ahead of time. These kits typically include the filter, gasket, and new pan bolts if needed. Quality matters here, so stick with OEM or reputable aftermarket brands.
Step-by-Step Fluid Change Process
Warm up your transmission by driving for 10 to 15 minutes before starting. Warm fluid drains more completely and gives you a better sample for inspection.
Park on level ground and engage the parking brake. Raise the front of the vehicle safely using jack stands, never just a floor jack.
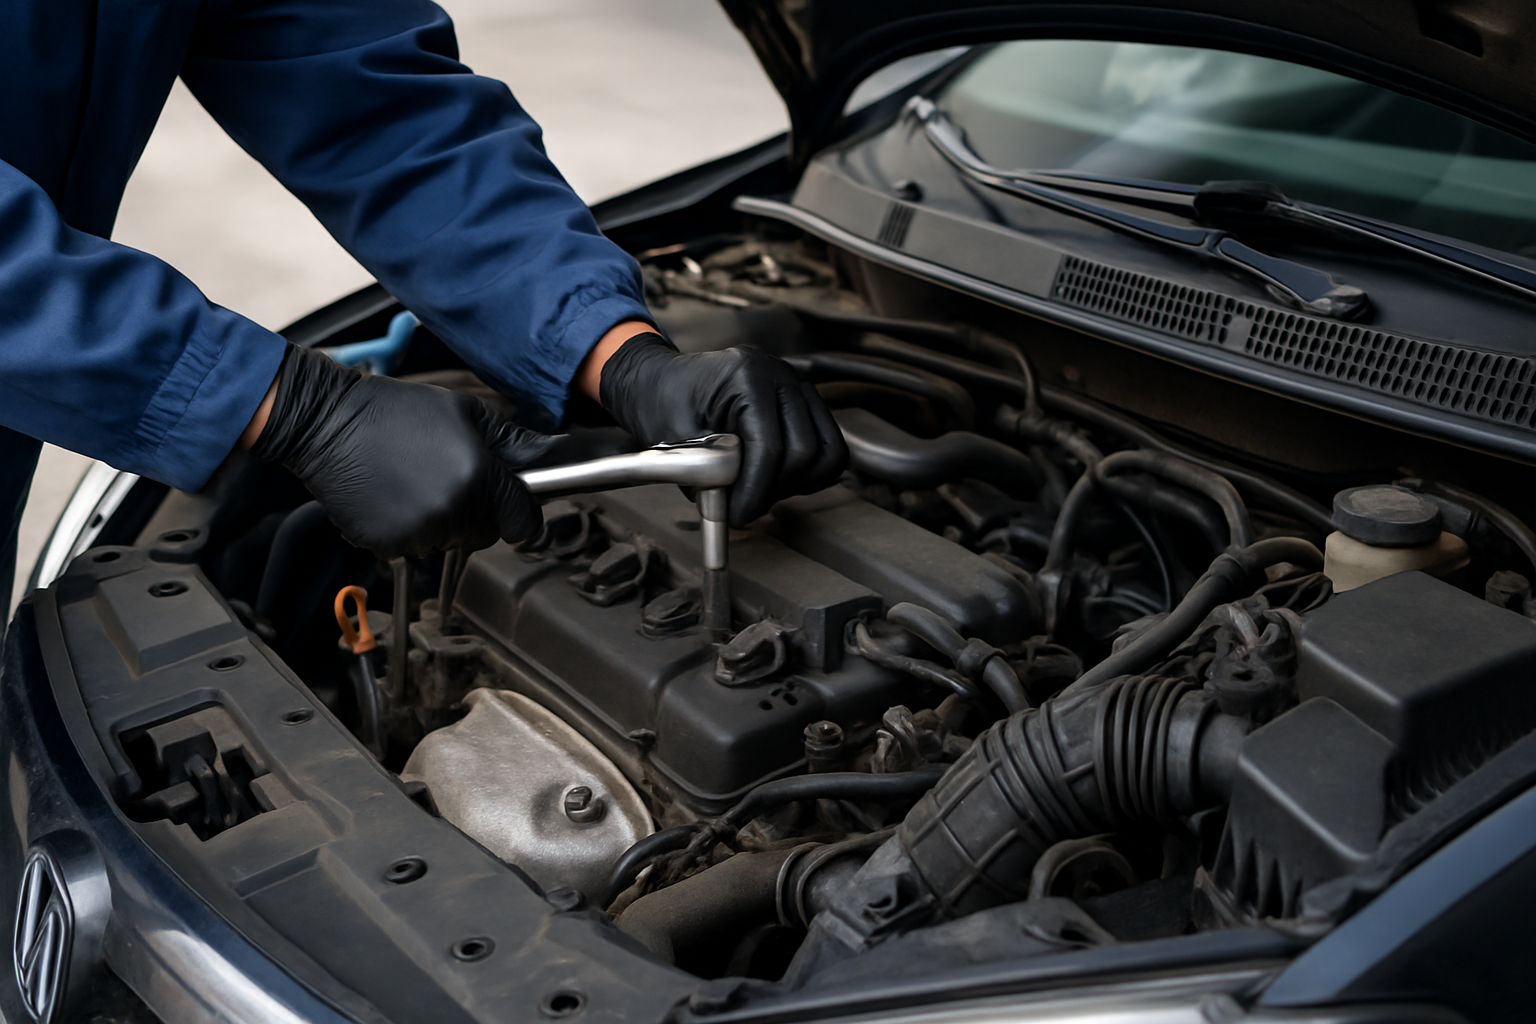
Draining the Old Fluid
Locate the transmission pan underneath your vehicle. It’s typically rectangular with 10 to 20 bolts around the perimeter. Clean around the pan to prevent dirt from falling into the transmission.
Position your drain pan and begin removing bolts. Start with one corner and work around, leaving 2 to 3 bolts partially threaded on the opposite side. This lets you control the flow as the pan drops.
Allow the fluid to drain completely, which can take 15 to 30 minutes. Use this time to inspect the drained fluid for metal particles, debris, or unusual odors.
Filter and Pan Service
Remove the transmission filter, which may be held by bolts or simply pressed into place. Some fluid will spill during removal, so keep your drain pan ready.
Clean the transmission pan thoroughly with brake cleaner or similar solvent. Remove all traces of the old gasket material from both the pan and transmission case. Any remaining pieces can cause leaks.
Install the new filter according to the kit instructions. Some filters require new O-rings or sealing washers, while others are dry-installed.
Reassembly and Refilling
Install the new gasket on the transmission pan. Most modern gaskets don’t require sealant, but check your specific application. Position the pan carefully to avoid shifting the gasket.
Tighten the pan bolts in a crisscross pattern to the manufacturer’s specification, typically 8 to 12 lb-ft. Over-tightening will crush the gasket and cause leaks.
Lower the vehicle and locate your transmission fill point. This might be the dipstick tube, a separate fill plug, or a special port that requires adapter tools.
Add approximately half the capacity you drained initially. Start the engine and let it idle while you add fluid gradually. Check the level frequently to avoid overfilling.
Final Steps and System Check
With the engine running and transmission fluid at operating temperature, cycle through all gear positions. Hold each position for 5 to 10 seconds to circulate fluid through the valve body.
Return to Park and check the fluid level again. Add fluid as needed to reach the proper level on the dipstick. Most transmissions should be checked while running and warm.
Take a short test drive, paying attention to shift quality and engagement. The transmission may feel slightly different immediately after service as the new fluid circulates.
Break-In Period
Drive normally for the first 500 miles after your fluid change. Check the fluid level weekly during this period, as new filters may absorb some fluid initially.
Recheck for leaks around the transmission pan after your first few drives. A minor seep is normal as gaskets seat, but active dripping requires investigation.
Common Mistakes to Avoid
Never attempt transmission service if your fluid is severely burnt or contaminated with metal particles. These conditions indicate internal damage that fluid changes won’t fix and may make worse.
Don’t mix different fluid types or brands during your service. Even compatible fluids can have different additive packages that may not work well together.
Avoid overfilling your transmission. Excess fluid creates foam, reduces lubrication effectiveness, and can cause erratic shifting or damage.
When to Seek Professional Help
Some newer vehicles have sealed transmissions without traditional dipsticks or drain plugs. These require special tools and procedures that make professional service more practical.
If you discover significant metal contamination in your drained fluid, consult a transmission specialist before proceeding. Additional diagnosis may prevent expensive damage.
Frequently Asked Questions
How often should I really change my transmission fluid?
Change your transmission fluid every 60,000 to 80,000 miles regardless of manufacturer recommendations. Severe driving conditions like frequent towing, stop-and-go traffic, or extreme temperatures may require shorter intervals of 40,000 to 50,000 miles.
Can I damage my transmission by changing old fluid?
This is largely a myth, but there’s a grain of truth. If your transmission is already failing due to neglected maintenance, fresh fluid won’t fix internal damage. However, changing fluid on a high-mileage but properly functioning transmission is beneficial, not harmful.
What happens if I use the wrong transmission fluid?
Wrong fluid can cause immediate problems including harsh shifting, slipping, or complete failure. Modern transmissions are engineered for specific fluid properties, and substitutions can damage seals, clutches, and internal components.
Should I change my filter every time I change fluid?
Yes, always change the filter when performing a drain and fill service. The filter removes contaminants that would otherwise circulate through your transmission. A clogged filter can restrict flow and cause pressure problems.
This article contains affiliate links. If you purchase through these links, we may earn a small commission at no extra cost to you.


Leave a Reply