Category: Toyota
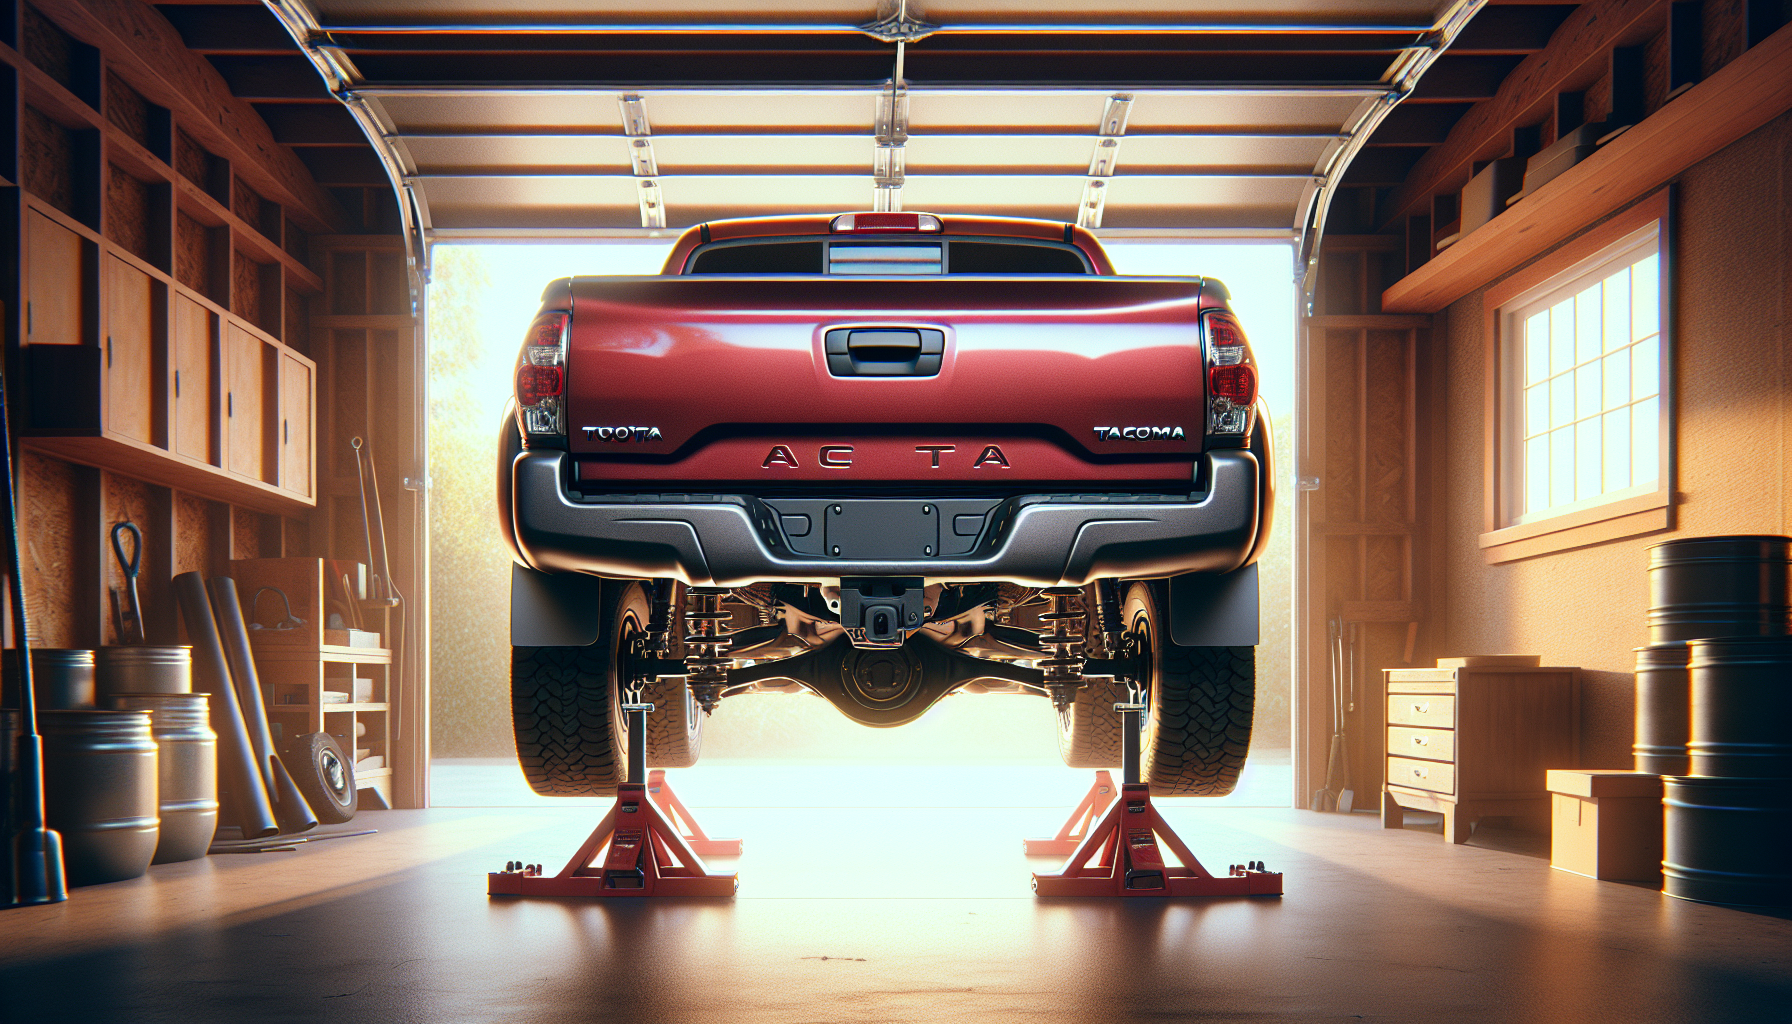
How to Fix Tacoma Leaf Spring Squeak Over Bumps
Fix that annoying leaf spring squeak on your Tacoma with this step-by-step guide. Learn causes, diagnosis, DIY solutions, and when to see a mechanic. read more
Written by
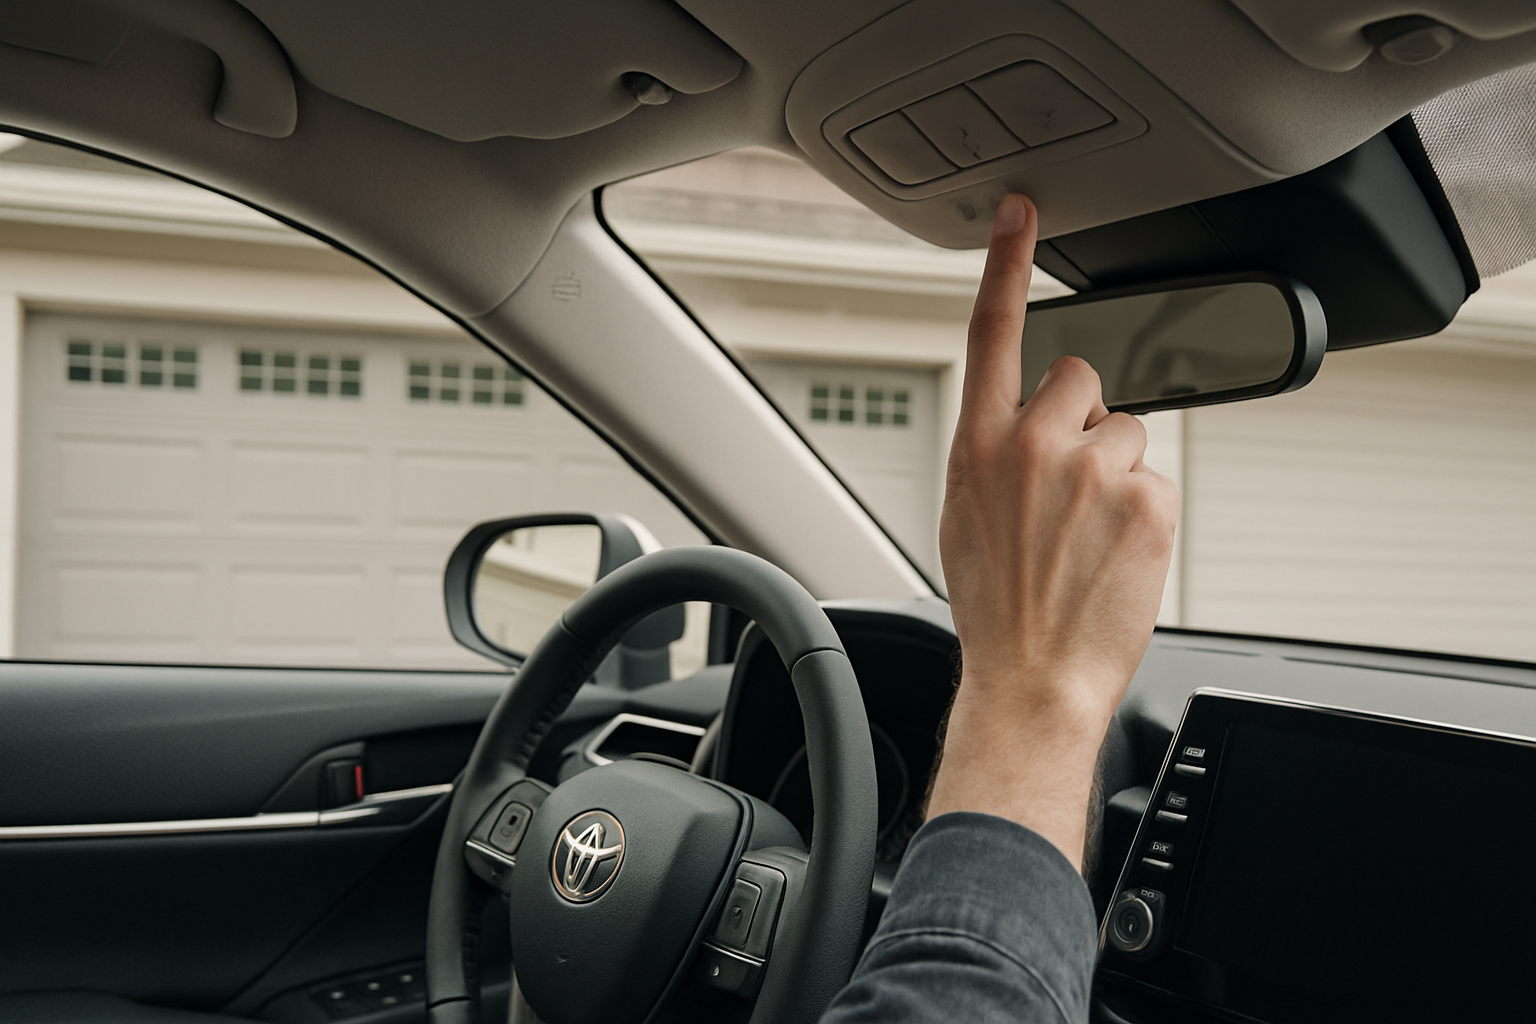
How to Set Up the Built-In Garage Door Opener (HomeLink) on the Toyota Camry
Setting up your Toyota Camry’s built-in garage door opener (HomeLink) means you can finally ditch those bulky remote controls cluttering up your visor or center console. This factory-installed system lets you program up to three different garage doors, gates, or other compatible devices directly into your car. Toyota has included HomeLink in most Camry models… read more
Written by
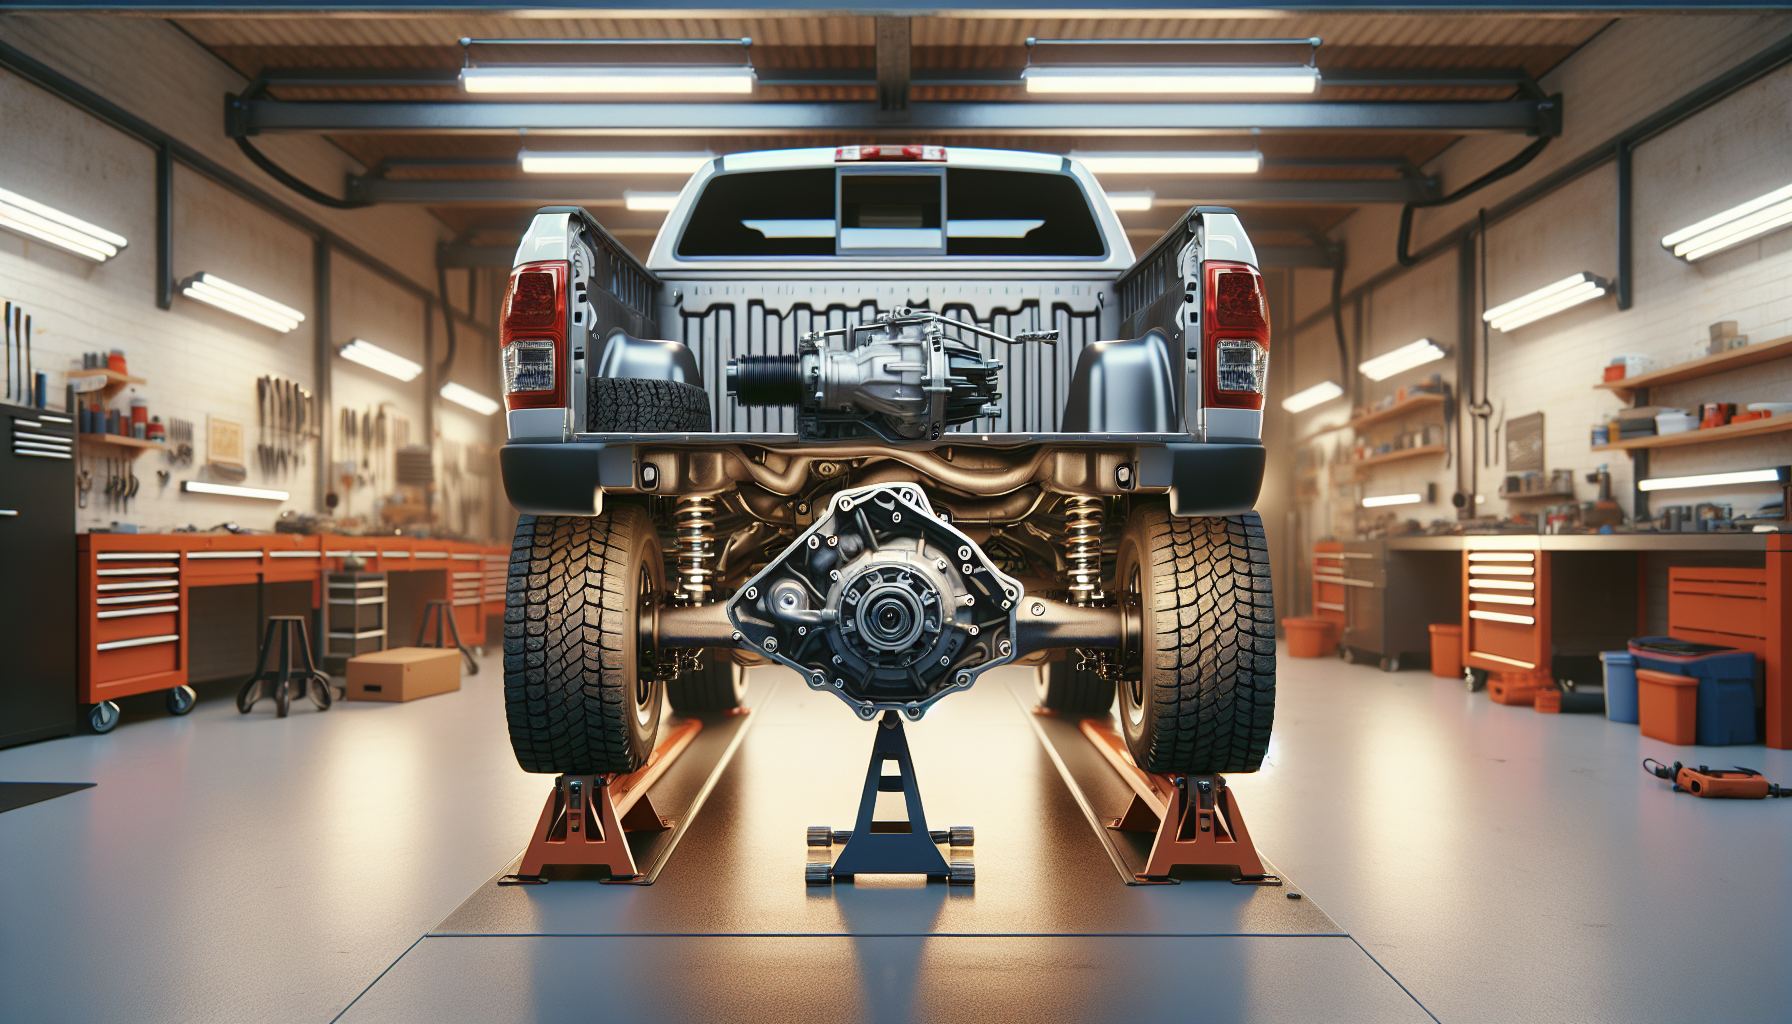
How to Fix Rear Differential Whining Noise in Toyota Tundra
Hearing a whining noise from your Tundra’s rear differential? Learn the common causes, how to diagnose it, DIY fixes, and when you need a mechanic. read more
Written by
How to Use the Hill Descent Control on the Toyota 4Runner and Tacoma
Toyota’s Hill Descent Control (HDC) system helps you maintain steady speeds when driving down steep slopes by automatically controlling the brakes. If you own a 4Runner or Tacoma and haven’t explored this feature yet, you’re missing out on a valuable tool for off-road adventures and challenging terrain. This system takes the stress out of steep… read more
Written by

How to Use the Rear Cross-Traffic Alert on the Toyota RAV4
Backing out of parking spaces can be nerve-wracking, especially in busy parking lots where vehicles, pedestrians, and shopping carts seem to appear from nowhere. Toyota’s Rear Cross-Traffic Alert system acts as your extra set of eyes, monitoring blind spots and alerting you to approaching traffic when you’re reversing. This safety feature has become standard on… read more
Written by