That shaking, vibrating sensation through your steering wheel and brake pedal when you slow down isn’t just annoying. It’s your car telling you something’s wrong with your braking system. This brake shudder can make stopping feel uncertain and potentially dangerous, especially during emergency braking situations.
What Causes Brake Shaking and Vibration
When you press the brake pedal, you expect smooth, even stopping power. Instead, you’re getting a pulsing sensation that travels through the steering wheel, brake pedal, or even the entire vehicle. This happens because your brake rotors aren’t making consistent contact with the brake pads.
Most drivers assume they have “warped” rotors, but that’s rarely the actual problem. True rotor warping requires extreme heat that would leave visible discoloration and cracking. What you’re experiencing is usually thickness variation across the rotor surface.
Thickness variation means different areas of the rotor have worn to slightly different thicknesses. When the brake pad hits a thicker section, it pushes back against the caliper piston. When it moves to a thinner section, the piston extends further. This constant in-and-out motion creates the pulsing you feel.
The Real Culprits Behind Brake Shudder
Uneven Rotor Thickness
This develops gradually over thousands of miles. Hard braking, mountain driving, or towing heavy loads accelerates the process. Your rotors wear unevenly due to variations in pad pressure, caliper alignment, or rotor metallurgy.
Even tiny differences matter. A thickness variation of just 0.0005 inches can cause noticeable vibration. Most rotors have a maximum allowable variation of 0.001 to 0.002 inches before replacement becomes necessary.
Pad Material Deposits
Sometimes the problem isn’t rotor thickness at all. Brake pad material can transfer onto the rotor surface in uneven patches, creating high spots that cause vibration. This typically happens when brake pads overheat during hard stopping.
These deposits often feel like severe shaking that comes and goes. They’re more common with semi-metallic pads and can sometimes be removed through specific driving techniques or professional cleaning.
Improper Lug Nut Torque
Your wheels must be perfectly centered and evenly clamped to the hub. If lug nuts aren’t torqued to specification in the proper star pattern, your rotor won’t sit flush against the hub. This creates runout that translates directly into brake vibration.
Most cars require 80-100 foot-pounds of torque, but check your owner’s manual for the exact specification. Many tire shops and quick-lube places either over-tighten or under-tighten lug nuts, creating problems that appear later as brake issues.
Diagnosing Your Brake Vibration
You can narrow down the cause by paying attention to when the shaking occurs. Vibration only during braking points to rotor problems. Shaking that happens while driving at constant speed suggests wheel balance or alignment issues.
Check where you feel the vibration most. Steering wheel shake usually indicates front rotor problems. Vibration through the seat or brake pedal typically means rear brake issues.
Listen for accompanying sounds. Squealing suggests worn pads. Grinding means metal-on-metal contact and immediate attention needed. Clicking or rattling could indicate loose brake hardware.
When to Resurface vs Replace Rotors
Automotive shops will often suggest resurfacing (turning) your rotors to save money. This process machines away a thin layer of metal to create a smooth, even surface. However, modern rotors are much thinner than older designs, leaving little material for resurfacing.
Measure your rotor thickness with a micrometer before deciding. Each rotor has a minimum thickness specification stamped on the hub or listed in your service manual. If your rotors are within 0.030 inches of this minimum, replacement makes more sense than resurfacing.
Consider replacement if your rotors have been resurfaced before. Each resurfacing removes material and reduces heat capacity. New rotors often cost only slightly more than resurfacing and provide better long-term performance.
How to Fix Brake Shaking Yourself
Replacing brake rotors and pads requires basic tools and mechanical knowledge. You’ll need a floor jack, jack stands, lug wrench, socket set, and possibly a C-clamp or brake piston tool.
Start by purchasing quality replacement parts. Economy rotors might save money initially but often develop thickness variation quickly. Mid-grade rotors from reputable manufacturers like Wagner, Raybestos, or AC Delco offer the best value.
When shopping for parts, consider buying complete brake rotor and pad kits that include everything needed for the repair. These kits ensure component compatibility and often provide better value than buying pieces separately.
For convenient shopping, you can find complete brake rotor and pad kits that include rotors, pads, and hardware for most vehicle makes and models. These kits simplify ordering and ensure you get compatible components.
Installation Process
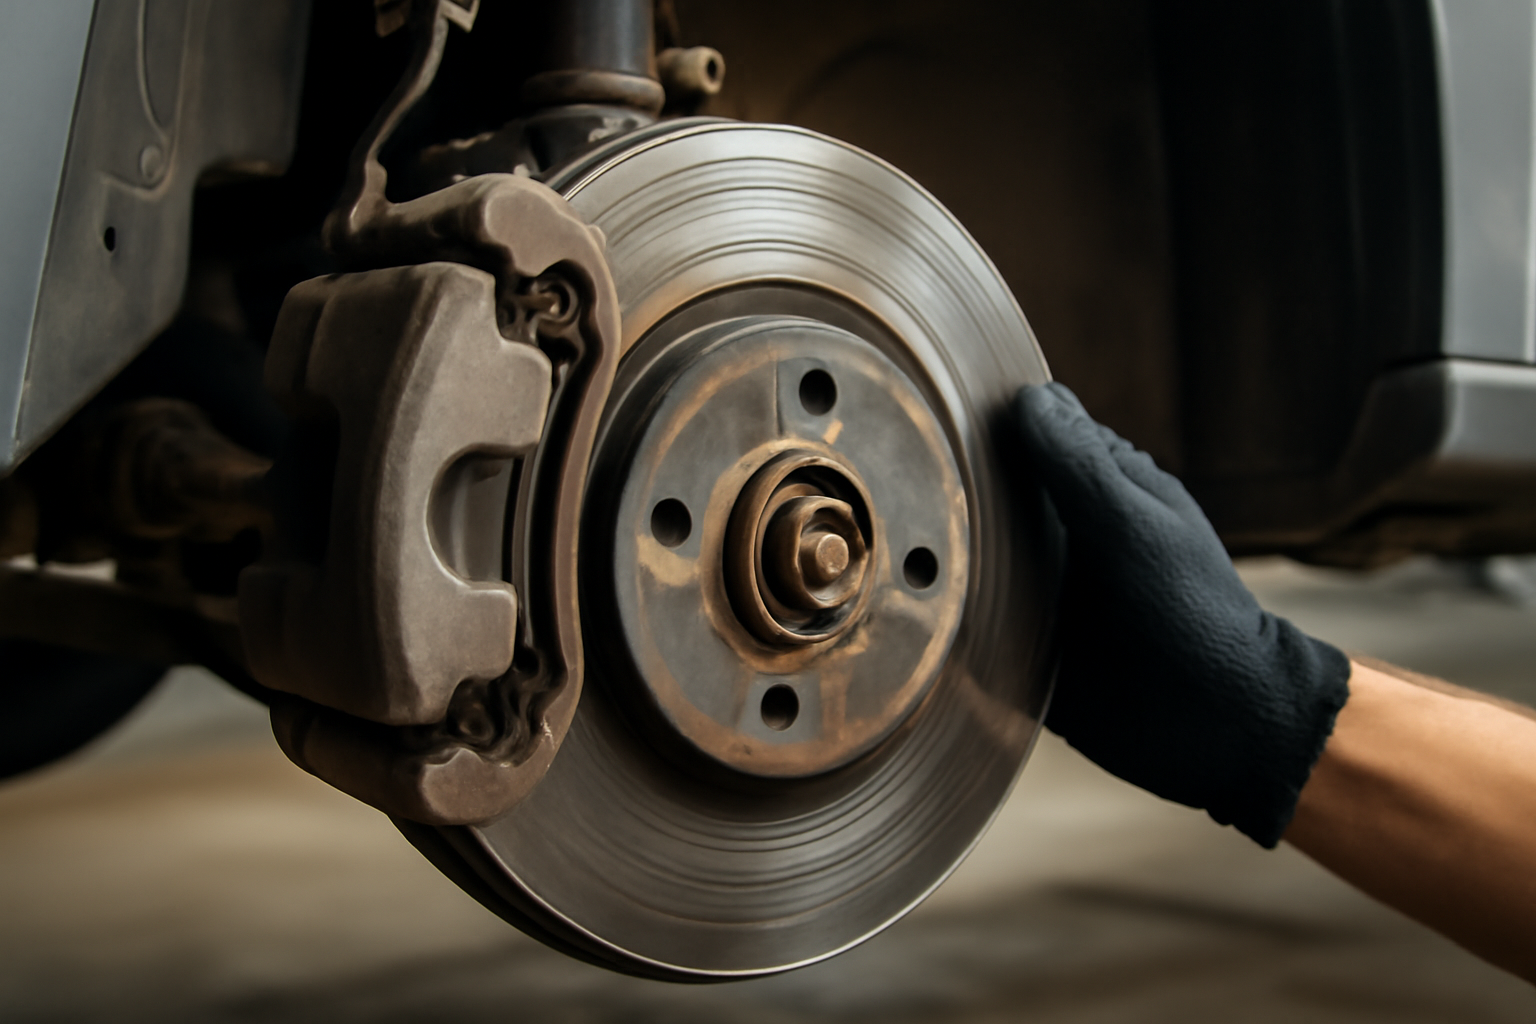
Remove the wheel and locate the brake caliper. Most calipers are held by two bolts on the back side. Remove these bolts and hang the caliper with wire or a bungee cord to avoid stressing the brake line.
The rotor typically slides off once the caliper is removed. Some rotors are held by small screws that prevent them from falling off during assembly. These screws often corrode and may need to be cut off or drilled out.
Clean the hub surface thoroughly with a wire brush and brake cleaner. Any rust or debris will create runout in your new rotor. Apply a thin coat of anti-seize compound to prevent future corrosion.
Install the new rotor and compress the caliper piston to accommodate thicker new pads. A C-clamp works for single-piston calipers, while multi-piston calipers may require special tools.
Critical Installation Tips
Never compress the brake piston without opening the brake fluid reservoir cap. Forcing old fluid back through the system can damage ABS components. Consider using a brake fluid bleeder tool to remove fluid as you compress the piston.
Apply brake grease sparingly to caliper slide pins and pad contact points. Too much grease attracts dirt and can cause pad binding. Use only brake-specific high-temperature grease.
Torque lug nuts to specification in a star pattern. Hand-tighten all nuts first, then torque in stages. Final torque should be applied with the vehicle on the ground, not on jack stands.
Preventing Future Brake Vibration
Proper break-in procedure extends rotor life significantly. Drive gently for the first 200 miles, avoiding hard stops whenever possible. This allows pads and rotors to mate properly and develops an even friction surface.
Avoid riding the brakes during long downhill sections. Use engine braking or transmission downshifting to control speed. Constant light brake pressure generates more heat than intermittent firm braking.
Have your brakes inspected annually, even if they’re not showing symptoms. Catching uneven wear early allows for correction before vibration develops.
Professional vs DIY Repair
Brake work requires attention to safety and detail. If you’re not comfortable with the process, professional installation ensures proper torque specifications and break-in procedures.
Shop labor for brake replacement typically costs $150-300 per axle, depending on your location and vehicle complexity. Luxury vehicles with large brakes or electronic parking brake systems may cost significantly more.
Many auto parts stores offer free brake inspections and can measure rotor thickness and pad wear. This service helps you make informed decisions about timing and replacement needs.
What to Expect After Repair
New brakes may feel different initially. Stopping distances might be slightly longer until pads and rotors are properly bedded. Some light squealing during the first few days is normal as surfaces mate together.
Plan for a brief bed-in period involving several moderate stops from highway speeds. This process transfers a thin layer of pad material onto the rotor surface, optimizing friction and reducing noise.
Keep brake receipts and warranty information. Quality brake components typically include warranties of 12-36 months, providing protection against premature wear or defects.
Frequently Asked Questions
Can I drive with shaking brakes?
Mild vibration won’t cause immediate safety issues, but the underlying problems will worsen over time. Severe shaking can reduce braking effectiveness and should be addressed promptly. Avoid hard braking until repairs are completed.
Do I need to replace rotors and pads together?
New pads on old rotors often create noise and uneven wear patterns. However, if your rotors are in good condition with plenty of thickness remaining, you can replace pads alone. Always resurface or replace rotors when thickness variation exceeds specifications.
How long do brake rotors typically last?
Rotor life varies enormously based on driving conditions, pad materials, and vehicle weight. Most rotors last 60,000-120,000 miles under normal conditions. City driving, mountain roads, and heavy towing reduce lifespan significantly.
Will brake vibration damage other components?
Continued driving with brake shudder can accelerate wear on wheel bearings, suspension components, and steering systems. The constant vibration stresses parts throughout the vehicle, making prompt repair more economical than delayed maintenance.
This article contains affiliate links. If you purchase through these links, we may earn a small commission at no extra cost to you.

Leave a Reply