Rock chips happen to every car owner, and they’re one of those annoying realities of driving. While you can’t prevent every stone from hitting your paint, you can definitely fix the damage yourself with the right technique and materials.
Learning to properly apply touch-up paint saves you money and keeps small chips from turning into rust spots or larger paint problems down the road.
Understanding Rock Chip Damage
Rock chips come in different severities, and knowing what you’re dealing with determines your repair approach. Surface scratches only affect the clear coat, while deeper chips go through the paint layers and sometimes expose bare metal.
Check your chip by running your fingernail across it. If your nail doesn’t catch, it’s likely a clear coat scratch. If it catches or you see primer or metal underneath, you’ll need a more thorough repair process.
Time matters with rock chip repairs. Metal exposed to moisture and salt starts rusting quickly, especially in winter climates. Address chips within a few weeks of noticing them for the best results.
Finding Your Paint Code
Before buying any touch-up paint, you need your vehicle’s exact paint code. Don’t guess based on color names like “Silver Metallic” because manufacturers use dozens of similar shades.
Look for your paint code on the door jamb sticker, usually located on the driver’s side door frame. The sticker contains various codes, but the paint code is typically labeled as “Paint,” “C/TR,” or similar abbreviation.
Some vehicles have the paint code in other locations like the glove box, trunk area, or under the hood. Check your owner’s manual if you can’t locate it on the door jamb.
Write down the exact code, including any letters and numbers. Paint codes like “NH-731P” and “NH-732P” represent completely different colors despite looking similar.
Gathering Your Materials
Quality materials make the difference between a professional-looking repair and an obvious patch job. You’ll need several items beyond just the touch-up paint itself.
Essential supplies include automotive touch-up paint in your exact color code, primer (if you see bare metal), clear coat, fine-grit sandpaper (2000-3000 grit), microfiber cloths, and denatured alcohol or automotive prep solvent.
Professional touch-up kits often include everything you need in one package. The Dr. ColorChip system, for example, provides paint, application tools, and their proprietary blending solution.
Touch-up paint kits available online typically include brushes, pens, and sometimes spray applicators. Choose based on your comfort level and the size of the damage you’re repairing.
Preparing the Damaged Area
Proper preparation determines whether your touch-up job looks professional or amateur. Start by thoroughly washing the entire area around the chip with soap and water.
Once dry, clean the specific chip area with denatured alcohol or automotive prep solvent. This removes any wax, polish, or contaminants that could prevent proper paint adhesion.
For deeper chips, lightly sand the damaged area with 2000-grit sandpaper. You’re not trying to remove material, just smooth any rough edges and create a clean surface for the new paint.
Remove all sanding residue with a clean microfiber cloth and another alcohol wipe. The surface should be completely clean and dry before applying any products.
Applying Primer (When Needed)
If your chip exposes bare metal or plastic, primer application becomes crucial. Primer prevents rust and provides proper adhesion for the color coat.
Apply primer in thin layers using a small brush or the applicator provided in your kit. Don’t try to fill the entire chip with one coat. Instead, build up thin layers, allowing each to dry completely.
Most automotive primers dry to the touch within 15-30 minutes, but wait longer between coats for better results. Two to three thin primer coats usually provide adequate coverage.
Lightly sand the final primer coat with 3000-grit sandpaper if it’s raised above the surrounding paint surface. Clean away all residue before proceeding to color application.
The Dr. ColorChip Method
The Dr. ColorChip system offers a different approach than traditional touch-up methods. Instead of trying to perfectly apply paint within the chip boundaries, you overfill the area and then remove excess paint.
Start by shaking the paint bottle thoroughly, then apply a generous amount over the chip and surrounding area. Don’t worry about staying within the lines at this stage.
Allow the paint to dry according to the manufacturer’s instructions, typically 30-60 minutes depending on temperature and humidity.
Once dry, use the provided blending solution and microfiber cloth to remove excess paint from the undamaged areas. Work in circular motions with light pressure, gradually revealing the repair underneath.
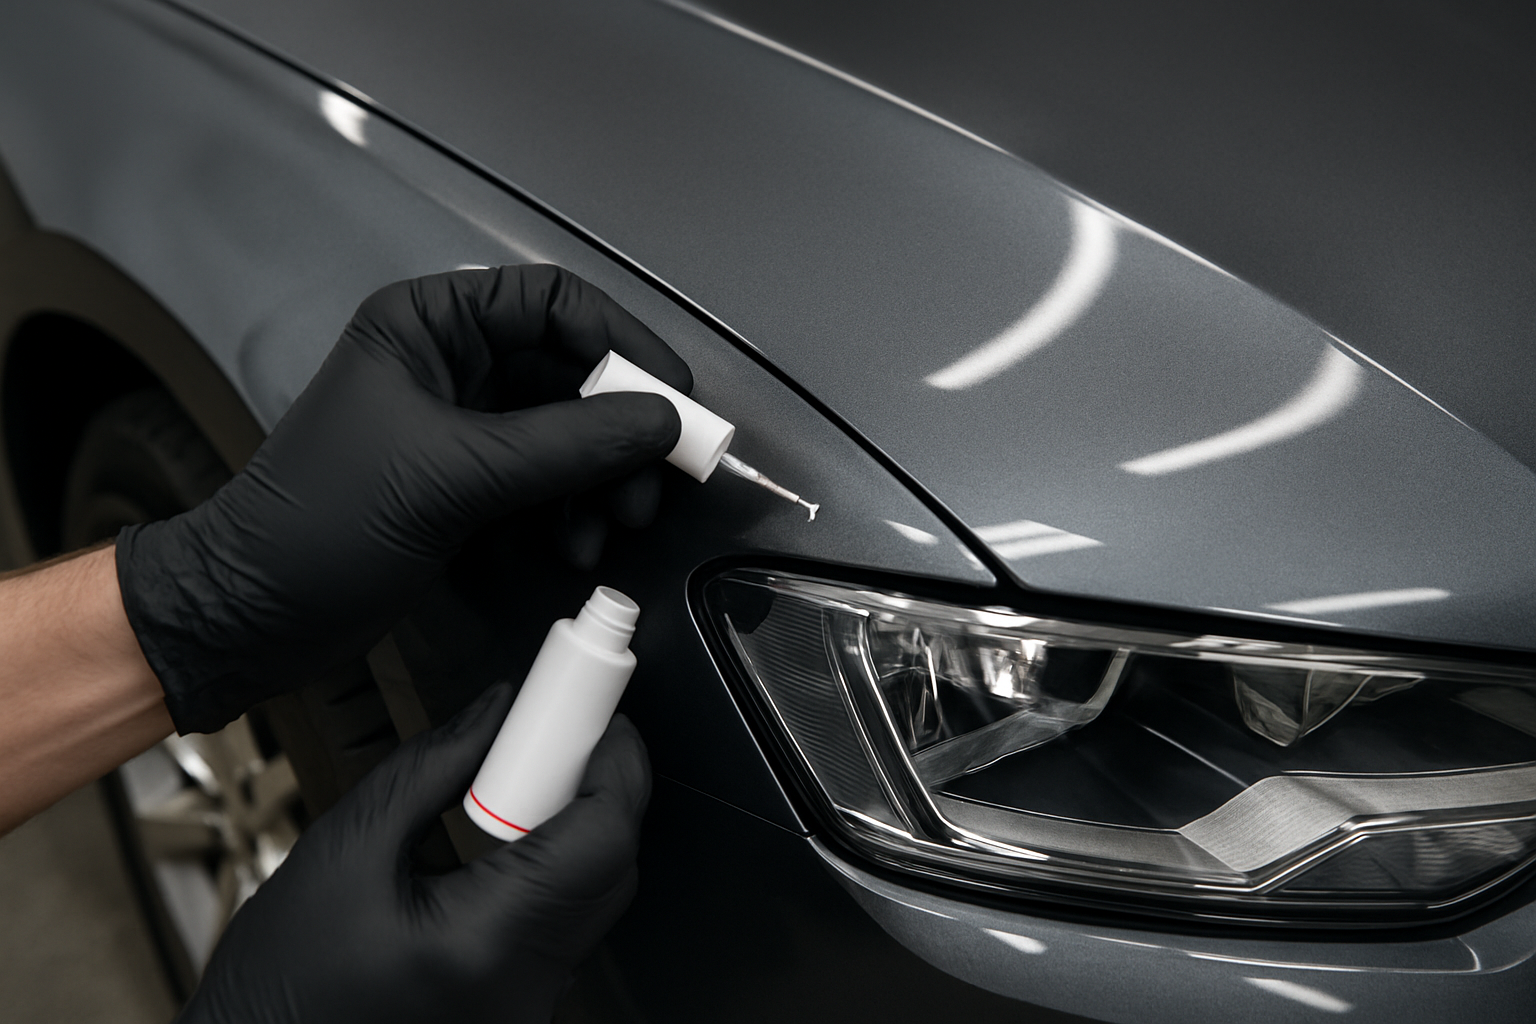
Traditional Touch-Up Application
Traditional touch-up methods require more precision but work well for small chips. Start by stirring or shaking your touch-up paint thoroughly to ensure proper color consistency.
Apply the first color coat using thin layers. Whether using a brush or pen applicator, build up the paint gradually rather than trying to fill the chip completely with one application.
Allow each coat to dry completely before applying the next. Depending on your paint type and environmental conditions, this typically takes 30-60 minutes per coat.
Most chips require two to three color coats to achieve proper coverage and depth. Don’t rush this process, as patience leads to better-looking results.
Clear Coat Application
Clear coat protects your color repair and provides the glossy finish that matches the surrounding paint. Like the color coats, apply clear coat in thin layers.
Wait until your final color coat is completely dry before starting clear coat application. Apply just enough to cover the repair area without creating obvious thickness differences.
Multiple thin clear coat layers look better than one thick application. Allow proper drying time between coats, and don’t handle the repair area while the clear coat cures.
The clear coat typically takes longer to fully cure than color paint. Avoid washing the car or applying wax to the repair area for at least 48 hours after completion.
Blending and Finishing
Even perfectly matched paint can look obvious if the repair edges are too distinct. Blending helps the repair disappear into the surrounding finish.
Once everything is completely dry, you can lightly polish the repair area with fine polishing compound. Use very light pressure and work in small circular motions.
If the repair sits slightly below the surrounding paint surface, this is normal and actually preferable to having it raised above the original finish.
Some professional detailers recommend waiting several weeks before polishing touch-up repairs to allow the paint to fully cure and shrink to its final level.
Common Mistakes to Avoid
Rushing the process causes most touch-up failures. Each layer needs adequate drying time, and skipping steps like proper cleaning or primer application shows in the final result.
Applying coats too thick creates runs, sags, and uneven color. Thin layers take longer but always produce better results than trying to complete the job quickly.
Using the wrong paint code is surprisingly common. Double-check your code against the door jamb sticker, and don’t assume your color matches another vehicle of the same make and model year.
Working in direct sunlight or extreme temperatures affects paint flow and drying. Choose moderate temperature conditions and work in shade when possible.
When to Seek Professional Help
Large chips, multiple adjacent chips, or damage that extends through multiple paint layers might exceed DIY repair capabilities. Professional body shops have spray equipment and blending techniques that achieve invisible repairs.
If your first attempt doesn’t meet your expectations, don’t keep adding more paint. Sometimes removing the touch-up paint and starting over, or taking it to a professional, produces better results.
Consider the vehicle’s value and your personal standards when deciding between DIY and professional repair. A daily driver might be fine with a good DIY repair, while a show car deserves professional attention.
Maintaining Your Repair
Properly applied touch-up paint should last several years with normal care. Wash the area gently and avoid aggressive scrubbing during the first few weeks while the paint fully cures.
Waxing over cured touch-up paint helps protect the repair and blend it with the surrounding finish. Use the same products you normally use on the rest of the vehicle.
Monitor the repair area during regular car washes and maintenance. Catching any issues early prevents small problems from becoming major repairs.
Frequently Asked Questions
How long does touch-up paint take to fully cure?
While touch-up paint feels dry within hours, full curing takes 30-60 days depending on the paint type and environmental conditions. Avoid aggressive washing or polishing during this period to prevent damage to the repair.
Can I use spray paint instead of brush-on touch-up paint?
Aerosol spray paint works for larger areas but requires extensive masking to avoid overspray on surrounding surfaces. For small rock chips, brush-on or pen applicators provide better control and precision.
What if my touch-up paint doesn’t match perfectly?
Slight color variations can occur due to paint fading, lighting conditions, or metallic paint settling. If the difference is significant, verify you have the correct paint code and consider having the paint custom-matched at an automotive paint supplier.
Should I sand between coats?
Light sanding between coats isn’t necessary for most touch-up repairs and can actually make the job more difficult. Focus on applying thin, even coats and allowing proper drying time instead.
This article contains affiliate links. If you purchase through these links, we may earn a small commission at no extra cost to you.
Leave a Reply