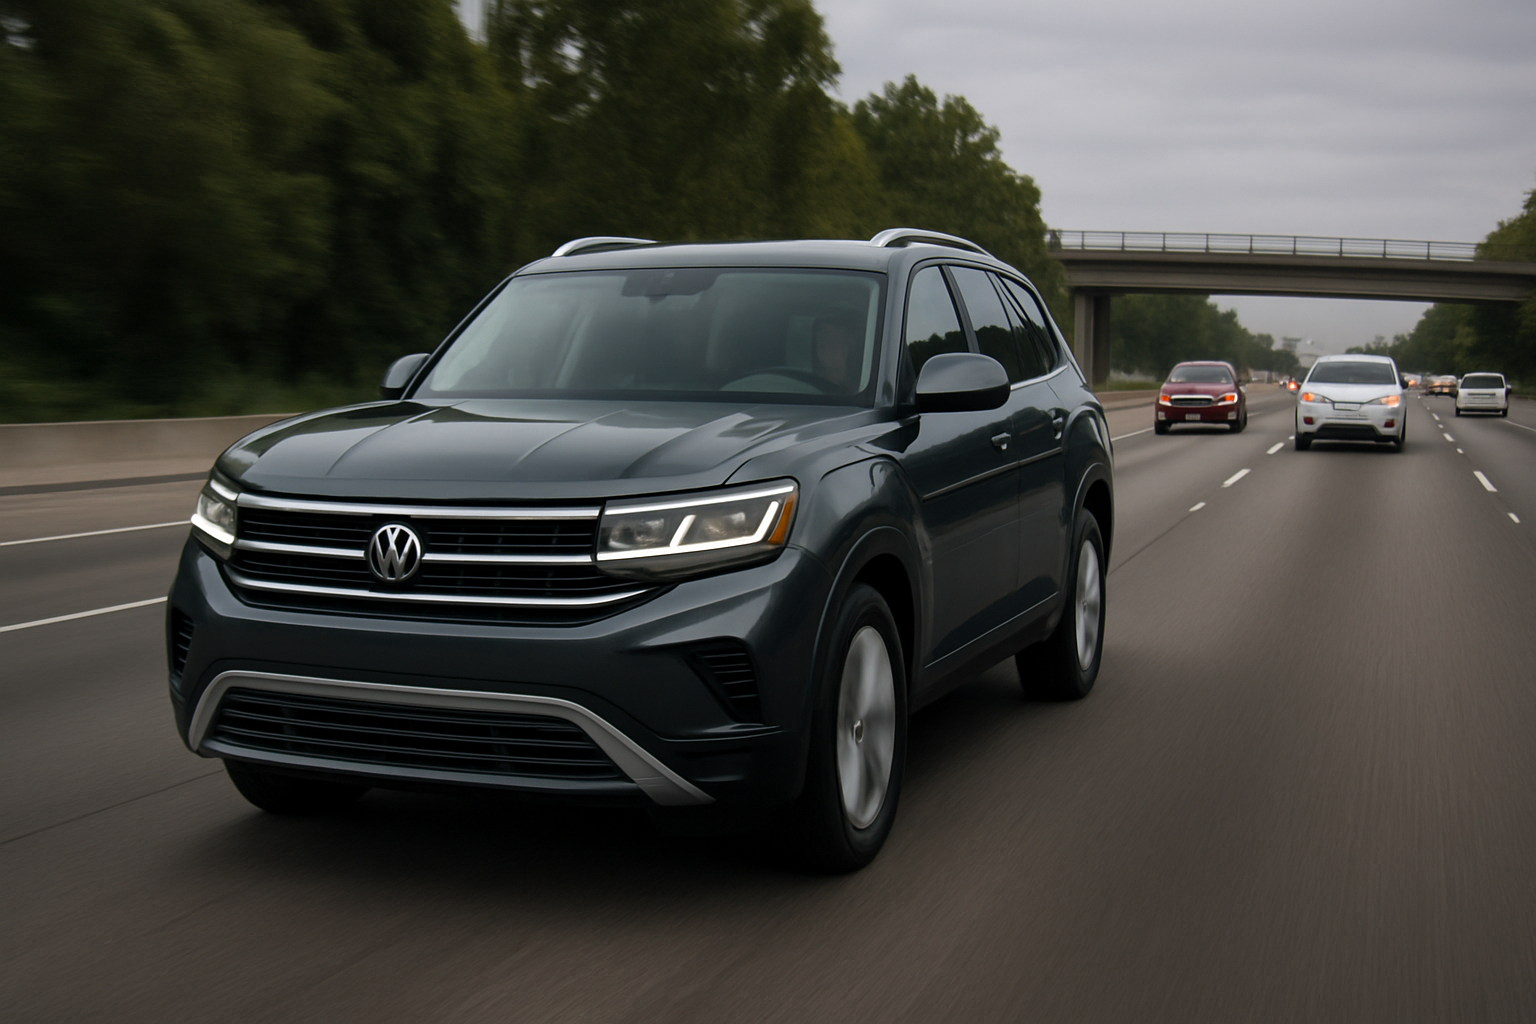
Traffic Jam Assist on the Volkswagen Atlas takes the stress out of stop-and-go driving by combining adaptive cruise control with lane centering technology. This semi-autonomous feature helps you maintain position in your lane while automatically adjusting speed to match traffic flow, but only at speeds under 37 mph.
Understanding how to properly use Traffic Jam Assist can transform your daily commute from a white-knuckle experience into something much more manageable. Let’s explore how this system works and how to get the most out of it on your Atlas.
What Makes Traffic Jam Assist Different from Regular Adaptive Cruise Control
Traffic Jam Assist builds on the foundation of Adaptive Cruise Control (ACC) but adds steering assistance that regular cruise control doesn’t provide. While standard ACC only manages your speed and following distance, Traffic Jam Assist also helps keep your Atlas centered in its lane by making subtle steering corrections.
The key difference is the speed limitation. Traffic Jam Assist only operates when you’re traveling under 37 mph, which makes sense given its intended purpose. Above that speed, the system hands control back to you and reverts to standard adaptive cruise behavior.
Another major distinction is the stop-and-go capability. When traffic comes to a complete halt, Traffic Jam Assist can bring your Atlas to a full stop and even resume driving automatically if the stop lasts less than three seconds. For longer stops, you’ll need to tap the accelerator or press the resume button to get moving again.
Understanding the Speed Limitations and Operating Conditions
The 37 mph speed ceiling isn’t arbitrary. Traffic Jam Assist uses a combination of radar sensors and camera systems that work best in slow-moving traffic scenarios where lane changes are less frequent and driving patterns are more predictable.
Your Atlas needs clear lane markings for the system to function properly. Faded lines, construction zones, or roads without proper markings will cause the system to disengage. You’ll see a gray steering wheel icon in your instrument cluster when lane centering isn’t available, even if ACC is still working.
Weather conditions also affect performance. Heavy rain, snow, or bright sunlight that obscures the front camera can temporarily disable the steering assistance portion of Traffic Jam Assist. The system will alert you when conditions improve enough for it to resume operation.
How to Activate Traffic Jam Assist on Your Atlas
Before you can use Traffic Jam Assist, you need to enable it through your infotainment system. Navigate to the Vehicle Settings menu, then find Driver Assistance Systems. Look for the Traffic Jam Assist option and turn it on.
Once enabled, activation happens through the steering wheel controls. Press the cruise control button on the left side of your steering wheel to turn on the system. You’ll see the cruise control icon appear in your instrument display.
Set your desired speed using the + and – buttons, just like regular cruise control. When traffic conditions are right and you’re under 37 mph with clear lane markings, you’ll notice a green steering wheel icon appear next to the cruise control display. This indicates that Traffic Jam Assist is actively providing steering assistance.
The Hands-On Requirement You Can’t Ignore
Despite the steering assistance, Traffic Jam Assist isn’t designed for hands-free driving. You must keep your hands on the steering wheel at all times. The system monitors for steering wheel input, and if it doesn’t detect your hands for about 15 seconds, it will start issuing warnings.
First, you’ll see a visual alert in the instrument cluster asking you to take control of steering. If you don’t respond, the system escalates to audible chimes. Continue to ignore these warnings, and Traffic Jam Assist will disengage entirely, leaving you with just basic adaptive cruise control.
The hands-on detection is quite sensitive. Light pressure on the steering wheel is usually enough to satisfy the system. You don’t need to fight against the steering assistance, just maintain enough contact that the system knows you’re ready to take over if needed.
Stop-and-Go Capability and How It Works
One of Traffic Jam Assist’s most useful features is its ability to handle complete stops. When the vehicle ahead of you stops, your Atlas will smoothly brake to a halt while maintaining a safe following distance.
If traffic starts moving again within three seconds, your Atlas will automatically resume following the lead vehicle. You don’t need to do anything except keep your hands on the wheel. For stops longer than three seconds, the system assumes you might want to stay put, so it waits for your input.
To resume after a longer stop, you have two options. Tap the accelerator pedal gently, or press the resume button on your steering wheel controls. The system will then smoothly accelerate back to your set speed or match the pace of traffic, whichever is slower.
Common Situations Where Traffic Jam Assist Disengages
Understanding when the system turns off helps you avoid surprises. Sharp curves will cause Traffic Jam Assist to disengage because the steering assistance isn’t designed for significant directional changes. You’ll need to handle the curve yourself and can reactivate the system once you’re back on a straight section.
Aggressive driving inputs also disable the system. If you make a sudden steering correction or accelerate hard, Traffic Jam Assist interprets this as your intention to take full control. The system will remain off until you manually reactivate it.
Construction zones present particular challenges. Orange cones, temporary lane markings, or workers directing traffic will often confuse the cameras and sensors. The system typically disengages in these situations, requiring you to drive manually until you’re through the work zone.
Adjusting Following Distance for Your Comfort
Your Atlas allows you to adjust how closely Traffic Jam Assist follows the vehicle ahead. Use the distance control button on your steering wheel to cycle through four different following distance settings, from close to far.
In heavy traffic, a closer following distance prevents other drivers from cutting in as frequently. However, this setting can make the system feel more aggressive with its acceleration and braking inputs. A farther following distance provides smoother operation but may encourage lane changers to fill the gap.
Most drivers find the second or third setting provides the best balance. Experiment with different settings during your regular commute to find what feels most natural for your driving style and typical traffic conditions.
Tips for Getting the Most from Traffic Jam Assist
Keep your windshield clean, particularly the area in front of the rearview mirror where the forward-facing camera is located. A dirty windshield can reduce the system’s effectiveness or cause it to disengage unexpectedly.
Learn to work with the system rather than against it. Traffic Jam Assist makes gentle steering corrections, but if you’re constantly gripping the wheel tightly or fighting its inputs, you’ll both tire yourself out and potentially confuse the system’s sensors.
Pay attention to the visual cues in your instrument cluster. The color and style of the icons tell you exactly what the system is doing at any given moment. Green typically means active assistance, while gray indicates the feature is available but not currently engaged.
When Not to Use Traffic Jam Assist
Parking lots and drive-throughs aren’t suitable for Traffic Jam Assist, even if you’re moving slowly. The system is designed for highway and major road use where lanes are clearly defined and traffic flows in predictable patterns.
School zones and residential areas with frequent pedestrian activity require your full attention. While Traffic Jam Assist can handle following other vehicles, it’s not designed to detect and react to pedestrians, cyclists, or other unexpected obstacles.
During your first few times using the system, choose familiar routes with light to moderate traffic. This gives you time to learn how Traffic Jam Assist behaves in your specific Atlas without the pressure of dealing with completely unfamiliar road conditions.
Troubleshooting Common Issues
If Traffic Jam Assist seems to activate and deactivate frequently, check that your lane markings are clear and well-maintained. The system needs good visual reference points to provide steering assistance, and poor road conditions are often the culprit behind inconsistent operation.
Sensitivity issues with the hands-on detection can sometimes be resolved by adjusting your grip on the steering wheel. Some drivers find that resting their hands at the 4 and 8 o’clock positions works better than the traditional 10 and 2 o’clock grip.
If the system stops working entirely, try turning the vehicle off and restarting it. Like many electronic systems, Traffic Jam Assist occasionally benefits from a fresh start. Persistent issues may require a visit to your Volkswagen dealer for diagnosis.
Frequently Asked Questions
Can Traffic Jam Assist work on city streets or only highways?
Traffic Jam Assist works on any road with clear lane markings where speeds stay under 37 mph. This includes city streets, highways, and arterial roads. The key requirements are visible lane lines and relatively predictable traffic flow.
What happens if I need to change lanes while Traffic Jam Assist is active?
Simply use your turn signal and make the lane change as you normally would. The system will detect your steering input and temporarily disengage, allowing you to change lanes safely. Once you’re established in the new lane, Traffic Jam Assist can resume operation if conditions are suitable.
Does using Traffic Jam Assist affect my fuel economy?
Traffic Jam Assist typically improves fuel economy in stop-and-go traffic because it makes smoother acceleration and braking inputs than most human drivers. The consistent speed maintenance and gradual transitions help optimize your Atlas’s efficiency during congested driving conditions.
Can I adjust how aggressively the system accelerates and brakes?
While you can’t directly adjust the acceleration and braking aggressiveness, changing the following distance setting affects how the system behaves. Closer following distances result in more frequent speed adjustments, while farther settings provide gentler, more gradual changes in speed.
This article contains affiliate links. If you purchase through these links, we may earn a small commission at no extra cost to you.
Leave a Reply