A noisy exhaust leak can turn every drive into an embarrassing rumble show, but you don’t need to shell out hundreds for a complete system replacement. With the right repair techniques and materials, you can quiet most exhaust leaks quickly and affordably.
Before diving into repairs, understand that exhaust leaks aren’t just about noise. They can allow dangerous carbon monoxide to seep into your cabin, making this both a comfort and safety issue that needs attention.
Identifying Your Exhaust Leak Type
Different types of exhaust leaks require different repair approaches. The location and size of your leak determines which method will work best.
Small pinhole leaks typically appear in the pipe walls due to corrosion and create a high-pitched hissing sound. These respond well to exhaust cement or repair paste. Joint leaks occur where pipes connect and often produce a deeper rumbling noise, especially during acceleration.
Larger holes or cracks need more substantial repairs like exhaust bandages or wraps. If you can fit your finger through the damaged area, you’ll likely need professional welding or replacement of that section.
Quick Fix: Exhaust Repair Cement for Small Holes
Exhaust cement works best for pinhole leaks and small cracks up to about 1/4 inch. This putty-like material hardens when exposed to heat and creates a temporary seal that can last several months.
Start by letting your exhaust system cool completely. Clean the damaged area with a wire brush to remove rust, debris, and loose material. The cement won’t adhere properly to dirty or oily surfaces.
Apply the cement generously over the hole, extending about an inch beyond the damaged area in all directions. Work it into the crack or hole with your finger or a putty knife. Most exhaust cements cure within 24 hours, but check your product’s specific instructions.
Popular brands like Permatex Muffler and Tailpipe Putty or J-B Weld HighHeat work well for these repairs. You can find these at any auto parts store for under $10.
Exhaust Bandages for Larger Damage
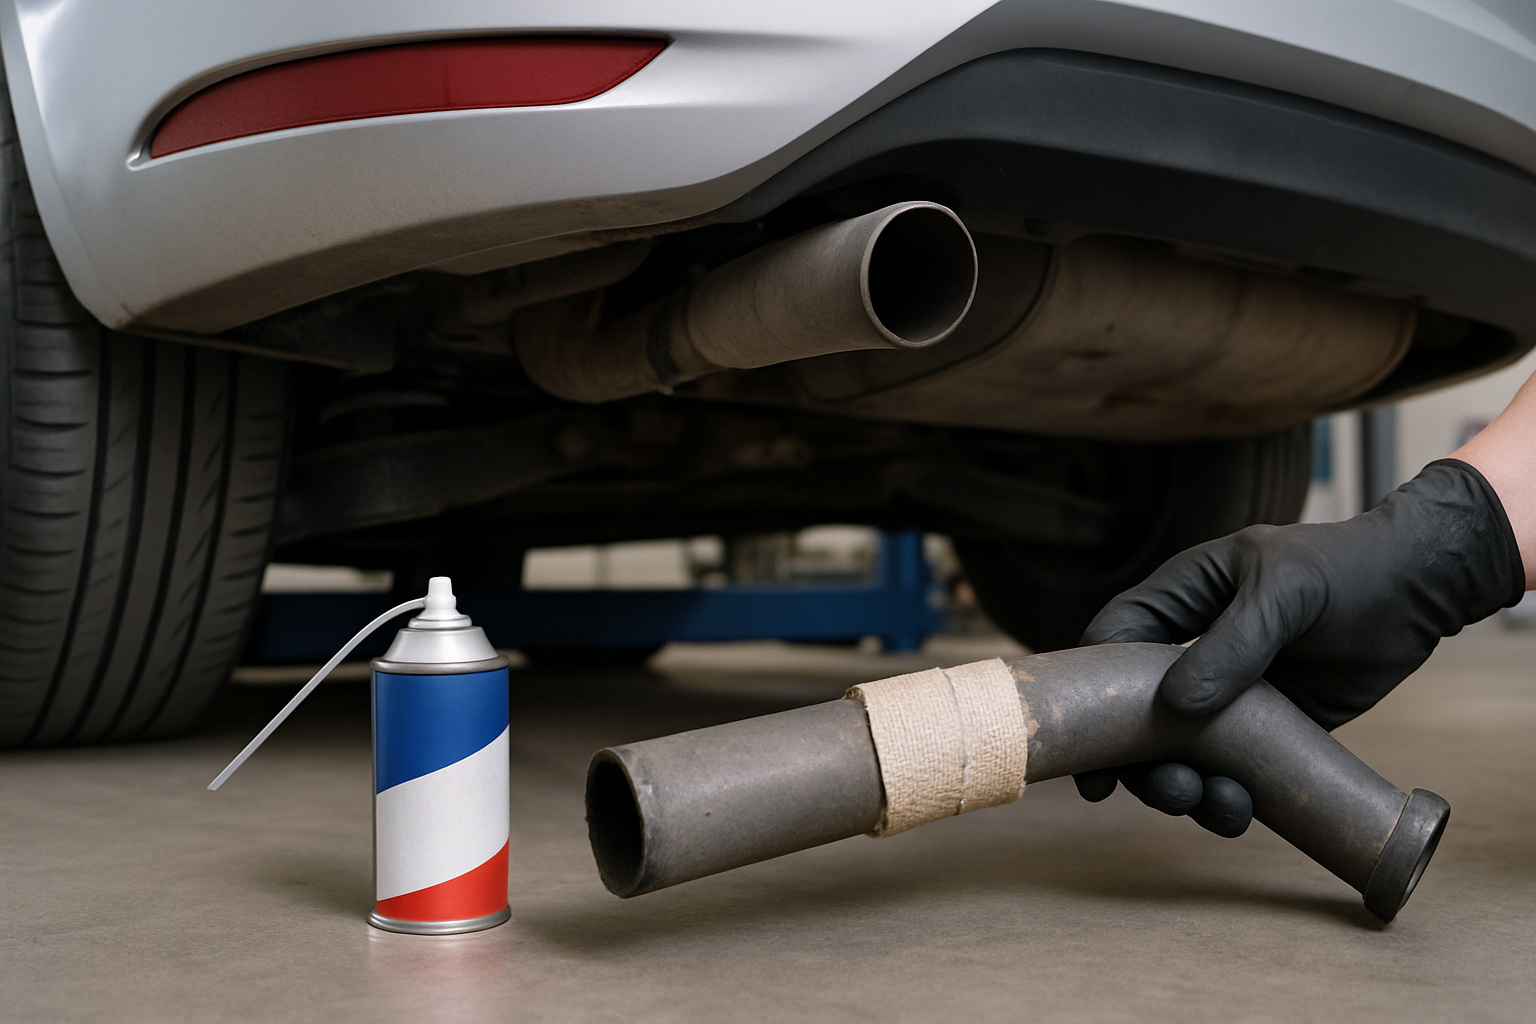
When holes exceed 1/4 inch or you’re dealing with longer cracks, exhaust bandages provide a more durable solution. These fiberglass wraps cure into a hard shell when heated.
Clean the repair area thoroughly and let the exhaust cool. Wrap the bandage around the pipe, covering the damaged area plus at least 2 inches on each side. Overlap each wrap by about half the bandage width.
Secure the ends with the included clamps or heavy-duty hose clamps. The bandage will cure during your first few drives as the exhaust heats up. This creates a permanent repair that often lasts as long as the surrounding pipe.
Exhaust repair bandages and tapes are available from brands like Gun Gum, Holts, and Bandage Buddy. These typically cost $15-25 but can save you hundreds compared to professional repairs.
Fixing Joint Leaks with Clamp Repairs
Joint leaks happen where exhaust pipes connect, often due to worn gaskets or loose connections. These create a distinctive rumbling that gets louder under acceleration.
For slip-joint connections, try tightening the existing clamp first. If the leak persists, the gasket or pipe end may be damaged. You can often seal minor joint leaks by loosening the clamp, applying exhaust cement around the joint, then retightening.
Band clamps work better than standard hose clamps for exhaust repairs because they distribute pressure more evenly. Replace damaged clamps with new ones sized for your pipe diameter.
More severe joint damage might require a repair sleeve. These split sleeves slide over the damaged joint and clamp tight to create a new seal. They’re particularly useful when the pipe ends are too corroded for other repairs.
When Professional Welding Becomes Necessary
Some exhaust damage exceeds the scope of DIY repairs. Large holes, severely corroded sections, or structural damage to mounting points typically require professional welding or replacement.
If your exhaust pipe has multiple holes close together, welding in a new section often costs less than multiple temporary repairs. Damage near the catalytic converter or other emissions components also warrants professional attention.
Welding becomes essential when temporary repairs keep failing. If you’ve applied patches that blow out repeatedly, the surrounding metal is likely too weak for surface repairs.
Safety Considerations: Carbon Monoxide Risks
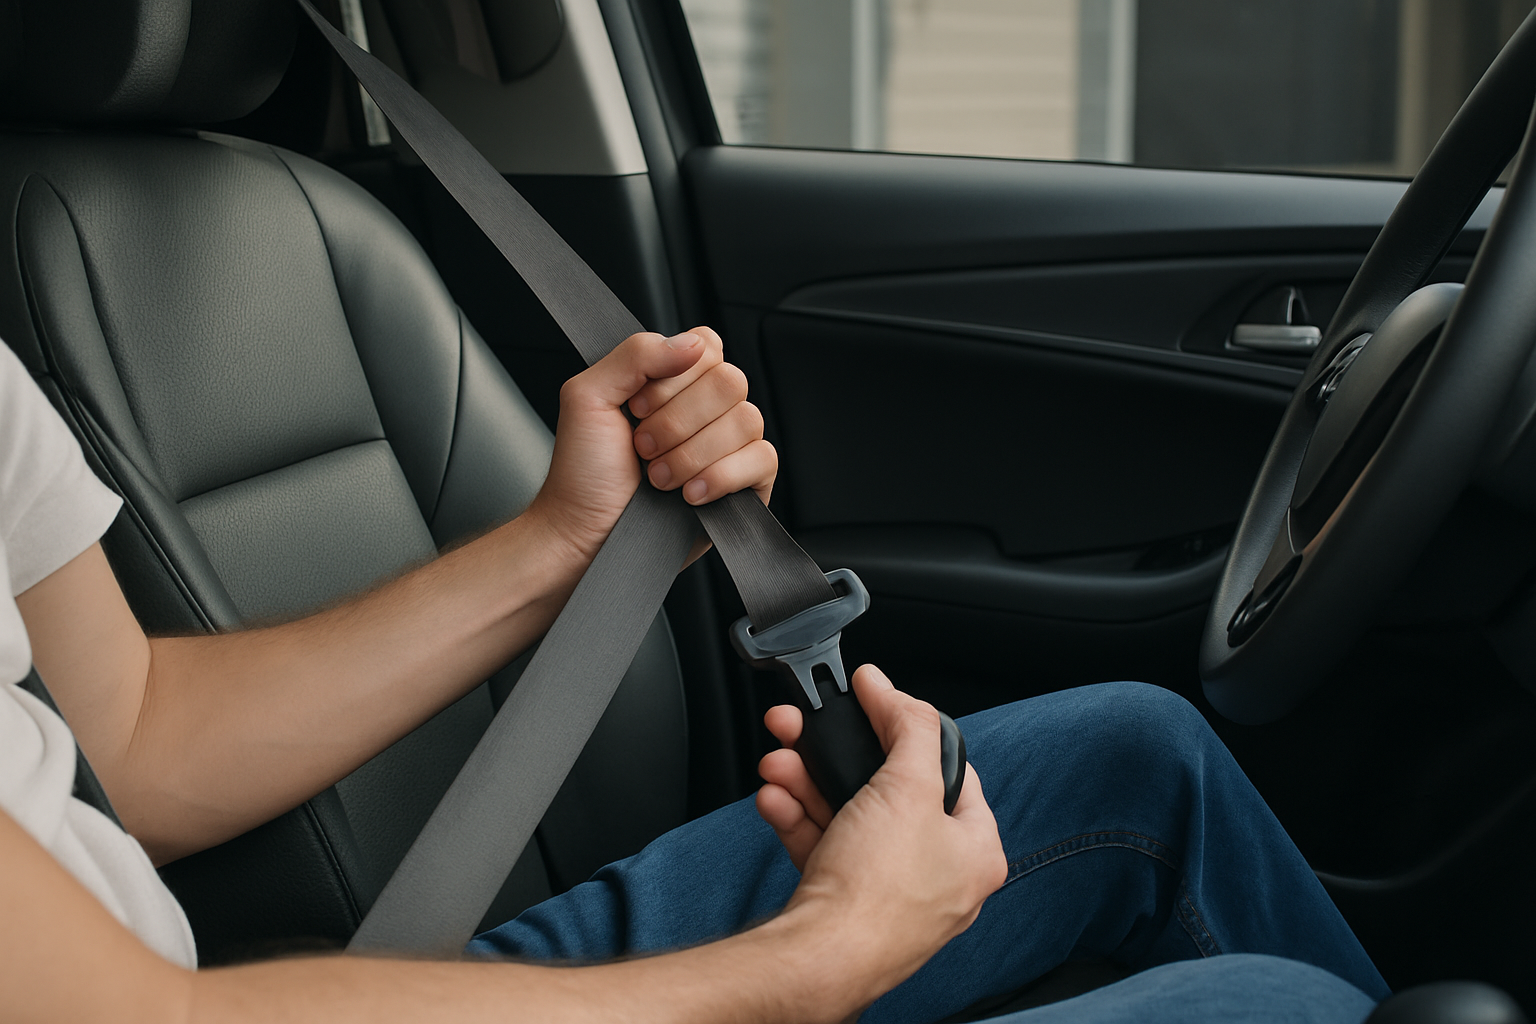
Exhaust leaks before the tailpipe can allow carbon monoxide to enter your cabin, especially with the windows down or ventilation system running. This colorless, odorless gas is extremely dangerous.
Pay attention to symptoms like headaches, dizziness, or nausea while driving. These can indicate CO exposure and mean your leak needs immediate attention. Keep windows slightly open when driving with known exhaust leaks.
Leaks near the engine or under the passenger compartment pose the highest risk. Don’t ignore unusual exhaust smells inside your vehicle, even if the leak seems minor.
Tools and Materials You’ll Need
Most exhaust repairs require basic tools you probably already own. A wire brush for cleaning, work gloves for protection, and safety glasses are essential for any repair.
For cement repairs, you’ll need the repair compound and something to apply it. Bandage repairs require the wrap kit and appropriate clamps. Keep some degreaser handy to clean oily surfaces before applying repairs.
A small mirror or smartphone camera helps inspect hard-to-see areas under your vehicle. Jack stands or ramps make the work much easier, though you can often reach exhaust components from underneath without lifting the car.
Making Repairs Last Longer
Clean preparation makes the biggest difference in repair longevity. Spend extra time removing all rust, oil, and debris from the repair area. Even small contaminants can cause premature failure.
Apply repairs when the weather forecast shows several dry days ahead. Moisture during the curing process can weaken the bond and reduce the repair’s lifespan.
Consider your driving habits when choosing repair methods. Highway driving with sustained heat helps bandages cure properly, while short city trips might favor cement-based repairs.
Cost Comparison: DIY vs Professional Repair
DIY exhaust leak repairs typically cost $10-30 in materials, while professional repairs can range from $150-500 depending on the damage location and extent.
Temporary repairs using cement or bandages often last 6 months to 2 years with proper application. Even if you need to repeat the repair occasionally, the cost savings remain substantial.
Factor in your time and comfort level working under a vehicle. Simple repairs take 30-60 minutes, but fighting with rusted bolts or hard-to-reach areas can stretch the job much longer.
When to Skip DIY and Call a Professional
Some situations warrant professional repair from the start. If your exhaust leak is near the engine manifold or catalytic converter, the high temperatures and tight spaces make DIY repairs impractical.
Structural damage to exhaust hangers or mounting points needs proper welding equipment and expertise. Attempting these repairs without the right tools can make the problem worse.
Multiple leaks throughout the system often indicate widespread corrosion. In these cases, replacing sections or the entire system becomes more cost-effective than endless patch jobs.
Frequently Asked Questions
How long do temporary exhaust repairs typically last?
Properly applied exhaust cement repairs can last 3-12 months depending on your climate and driving conditions. Bandage repairs often last 1-2 years or more. Cold climates with road salt tend to shorten repair life, while dry climates extend it.
Can I drive immediately after applying an exhaust repair?
This depends on the repair type. Most exhaust cements need 24 hours to fully cure before driving. Bandage repairs can often handle light driving immediately, with full curing occurring as the exhaust heats up during normal use.
Will temporary repairs pass state emissions testing?
As long as your repair doesn’t affect emissions components like the catalytic converter or oxygen sensors, it shouldn’t impact emissions testing. However, visual inspections might flag obvious temporary repairs in some states.
Is it safe to repair exhaust leaks near the gas tank?
Exercise extreme caution with repairs near the fuel tank area. Ensure the exhaust is completely cool and avoid smoking or open flames during the repair. If you’re uncomfortable working near fuel system components, professional repair is the safer choice.
This article contains affiliate links. If you purchase through these links, we may earn a small commission at no extra cost to you.

Leave a Reply