Old stickers and decals can make your car look dated, but removing them without damaging your paint requires the right approach. Whether you’re dealing with expired registration stickers, bumper decals, or vinyl graphics, the wrong technique can leave you with scratched paint or stubborn adhesive residue.
Why Sticker Removal Can Go Wrong
The adhesive on stickers and decals hardens over time, especially when exposed to UV rays and temperature changes. When you try to peel them off cold, they often tear into tiny pieces, leaving bits of vinyl stuck to your paint.
Even worse, using sharp tools like razor blades or knives can scratch your clear coat or paint. Once you’ve damaged the finish, you’re looking at expensive bodywork to fix the problem.
The key is softening the adhesive first, then using gentle removal techniques that won’t harm your car’s finish.
What You’ll Need for Safe Sticker Removal
Before you start, gather these essential tools:
- Heat gun or hair dryer
- Fishing line, dental floss, or plastic razor blade
- Adhesive remover (Goo Gone, WD-40, or rubbing alcohol)
- Clean microfiber cloths
- Plastic scraper or old credit card
Avoid metal scrapers, razor blades, or knives on painted surfaces. These tools are fine for glass, but they’ll scratch your paint instantly.
Step 1: Heat the Sticker to Soften Adhesive
Start by warming up the sticker with a heat gun or hair dryer. Hold the heat source about 6 inches away from the surface and move it around to avoid overheating one spot.
You want the sticker warm to the touch, not burning hot. Hot vinyl can become gummy and harder to remove cleanly. If you’re using a hair dryer, use the highest heat setting for about 30-60 seconds.
Heat guns work faster but require more caution. Keep them moving constantly and test the temperature with your hand frequently.
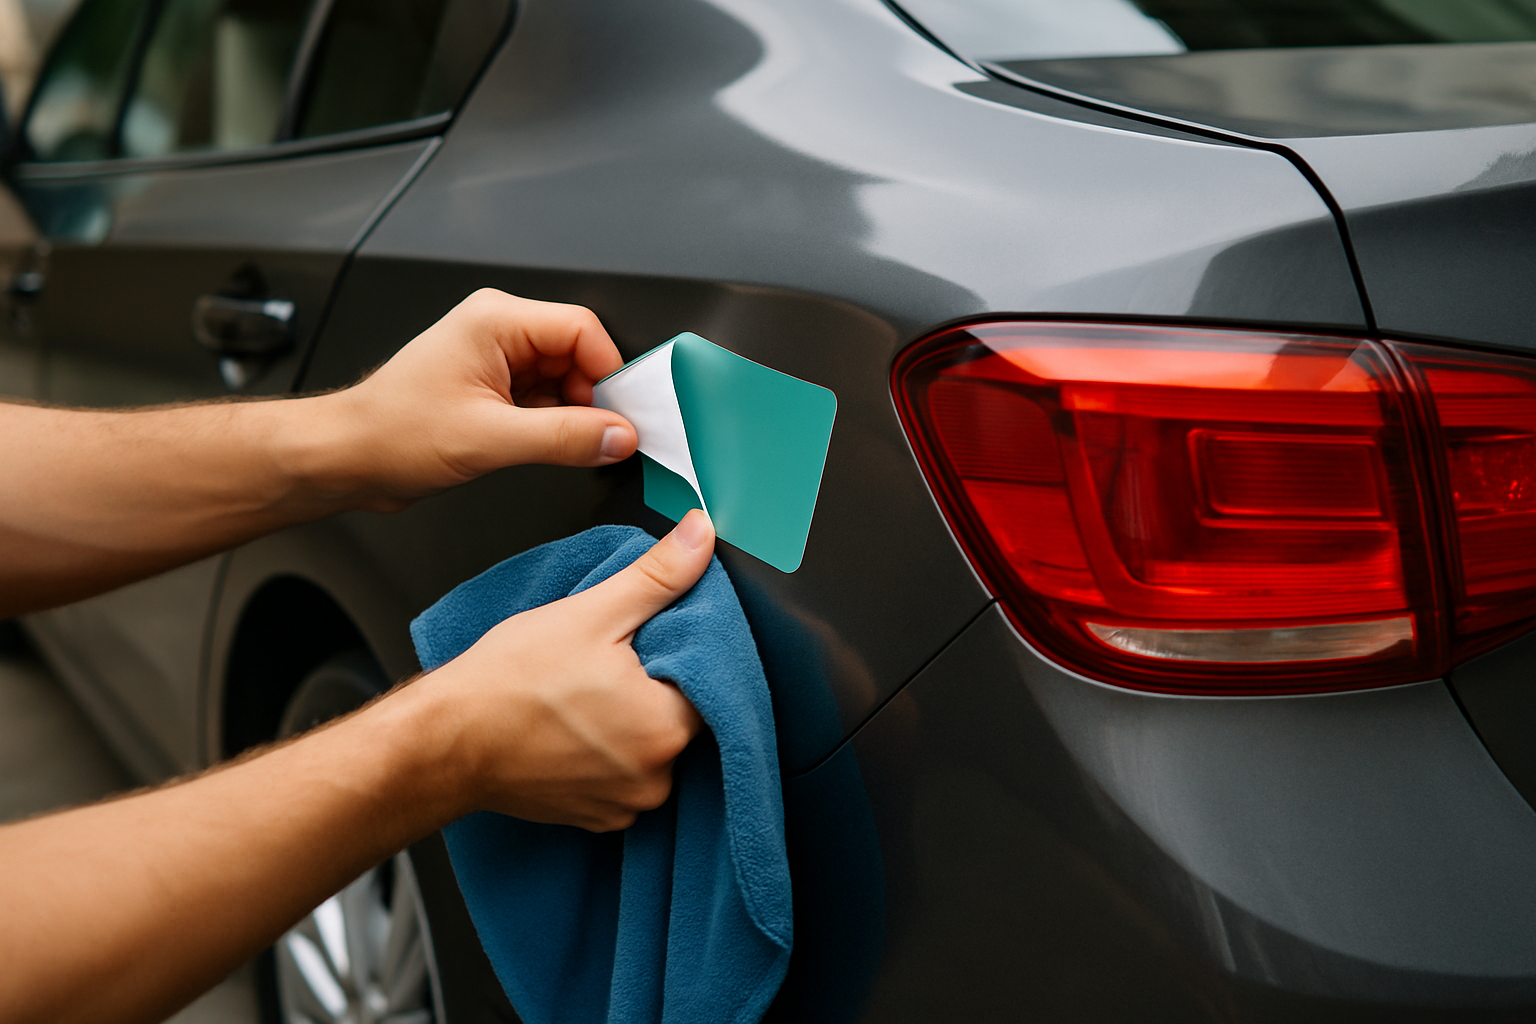
Step 2: Find a Corner to Start Peeling
Once the sticker is warm, look for a corner or edge where you can start peeling. Use your fingernail or a plastic scraper to lift a small section.
Work slowly and keep the sticker close to the surface as you peel. Pulling at a 90-degree angle creates more stress and increases the chance of tearing.
If the sticker starts to tear, stop and apply more heat. Don’t force it or you’ll end up with dozens of small pieces to remove individually.
Step 3: Use Fishing Line for Stubborn Sections
When stickers won’t peel cleanly, fishing line or dental floss works better than any scraper. Work the line under the edge of the sticker and use a sawing motion to slice through the adhesive.
Keep the line as close to the paint surface as possible. This technique works especially well for large decals or vinyl graphics that cover significant area.
Unwaxed dental floss works great too, and most people have it handy. The thin profile cuts through adhesive without applying pressure to the paint.
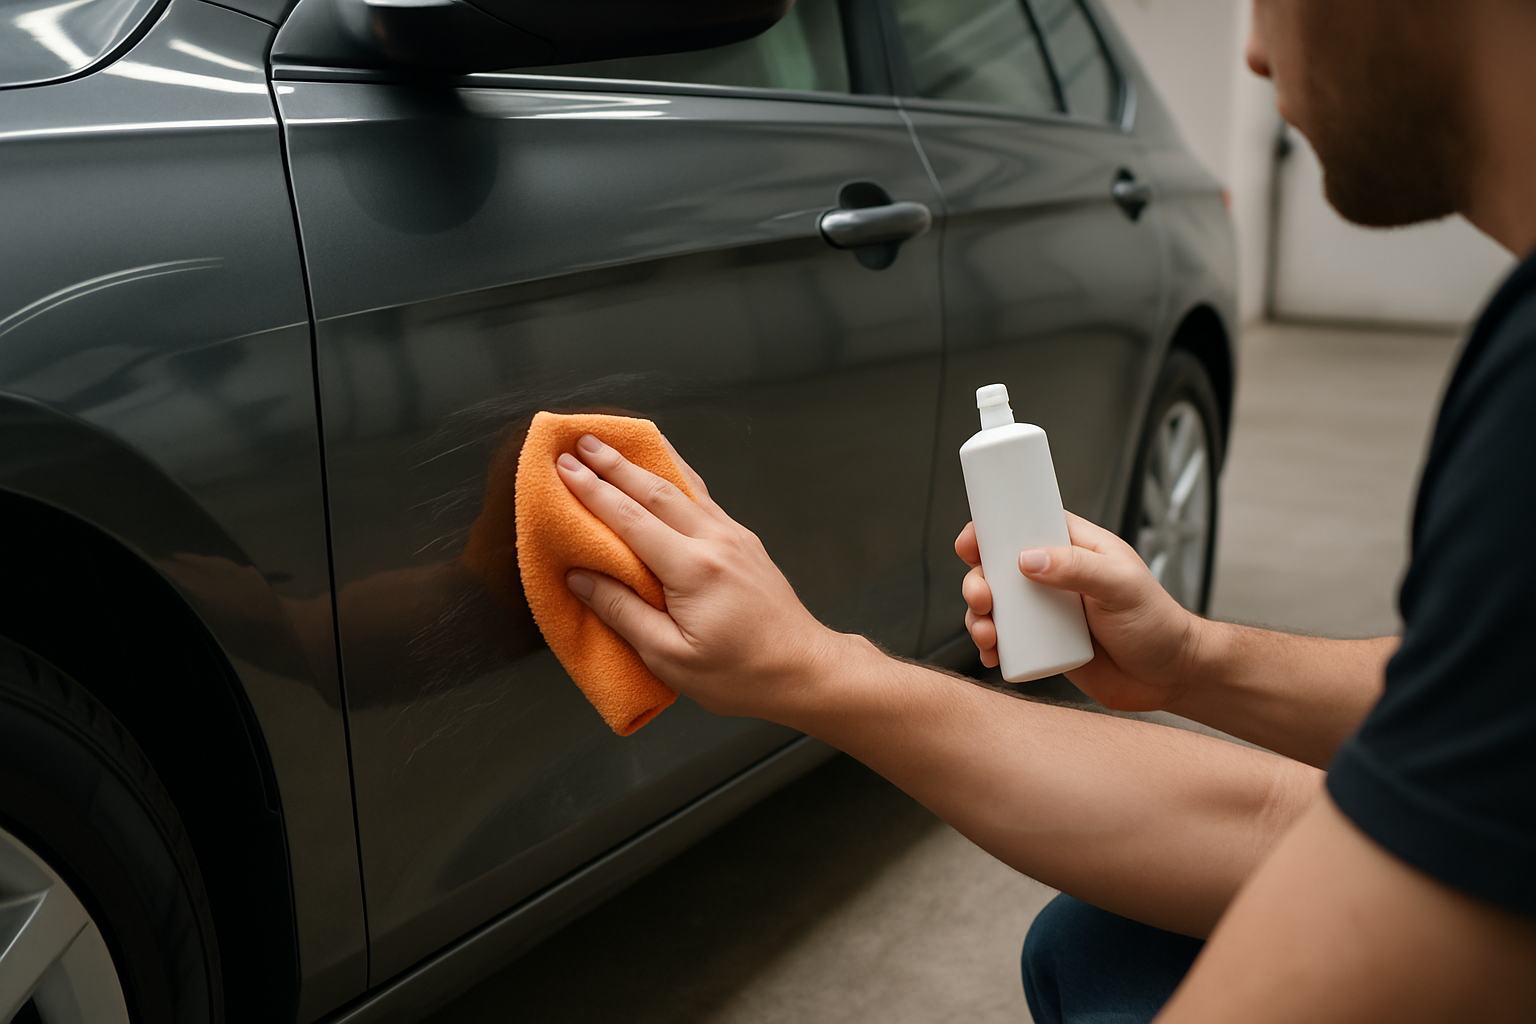
Step 4: Remove Adhesive Residue
After removing the sticker itself, you’ll likely have sticky residue left behind. Don’t try to scrape this off dry, as you’ll risk scratching the paint.
Apply adhesive remover to the residue and let it soak for a few minutes. Goo Gone is specifically designed for this job, but WD-40, rubbing alcohol, or even vegetable oil can work in a pinch.
Use a microfiber cloth to gently rub the residue away. For stubborn spots, let the remover soak longer rather than scrubbing harder.
Recommended Adhesive Removers
Professional adhesive remover products make this job much easier than household alternatives. Goo Gone is the most popular option, but there are several automotive-specific products that work even better.
Citrus-based removers are gentle on paint and work well for light residue. For heavy-duty jobs, solvent-based removers cut through old, hardened adhesive faster.
Always test any chemical remover on a hidden area first to make sure it won’t damage your paint or clear coat.
Special Considerations for Different Surfaces
Glass windows can handle more aggressive techniques than painted surfaces. You can use razor blades on glass without worry, and stronger solvents won’t cause damage.
Plastic trim and bumpers require gentler heat settings. Too much heat can warp or discolor plastic components, so use lower temperatures and work more slowly.
Chrome and metal surfaces handle heat well but can show scratches easily. Use plastic tools only and be extra careful with the finish.
What to Avoid During Sticker Removal
Never use a razor blade or metal scraper on painted surfaces. Even if you think you’re being careful, it only takes one slip to create a scratch that requires professional repair.
Don’t use harsh chemicals like acetone or paint thinner on your car’s finish. These solvents can damage clear coat or paint, leaving permanent marks.
Avoid removing stickers in direct sunlight or extreme cold. Hot paint can be damaged more easily, while cold makes adhesive harder and more likely to tear.
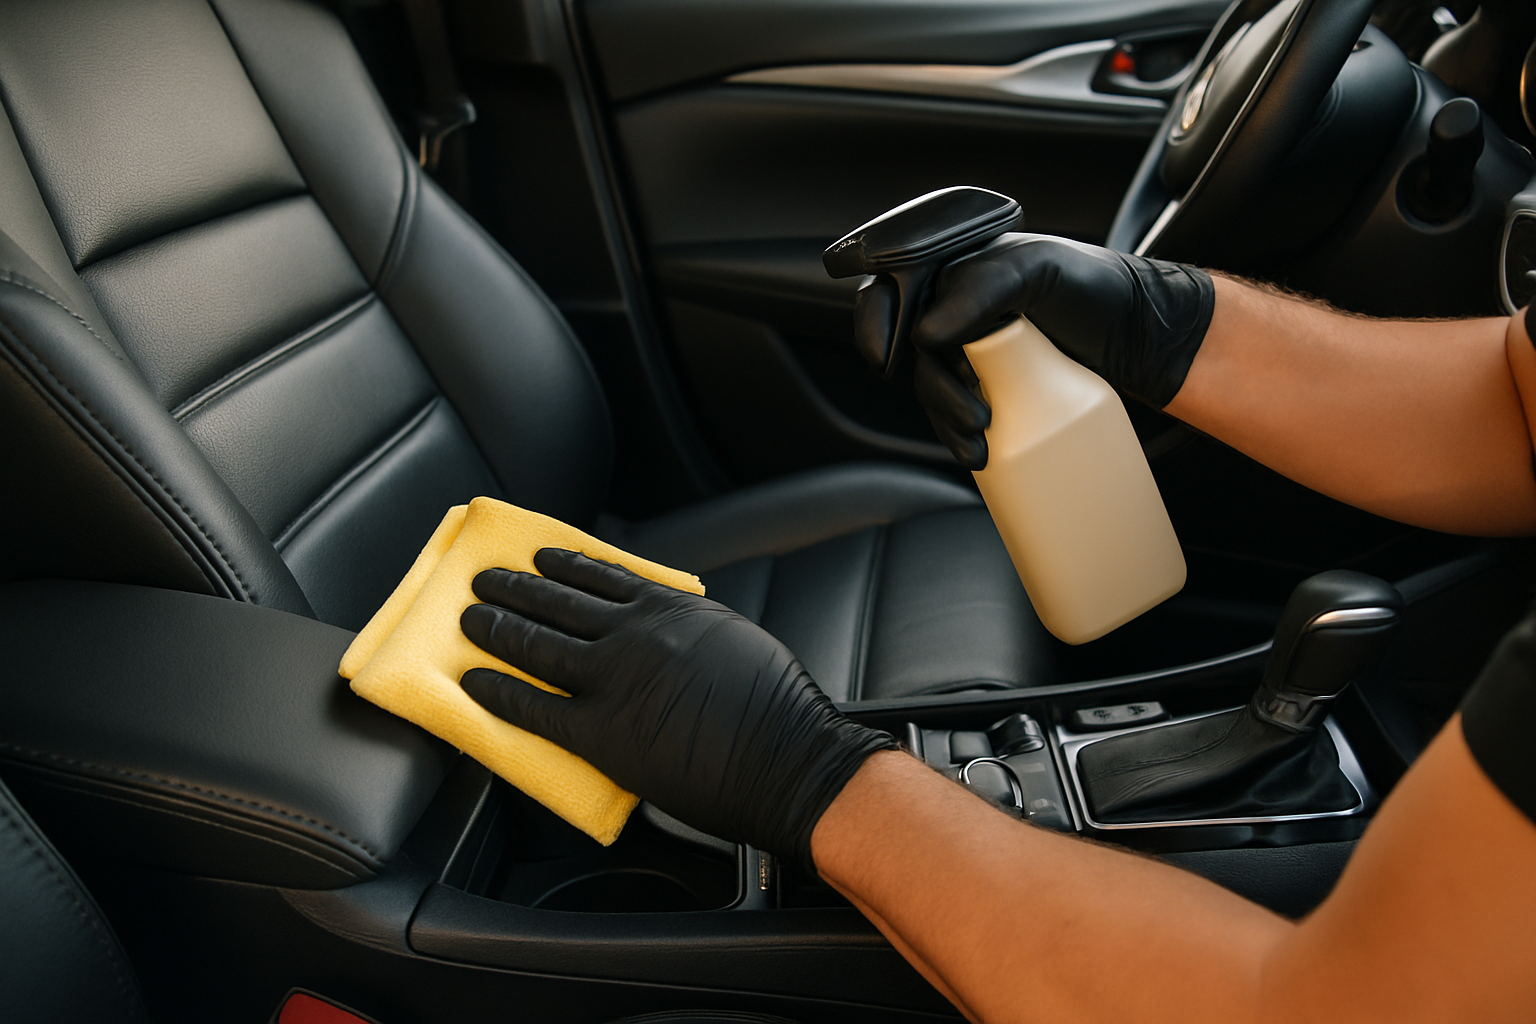
Cleaning Up After Sticker Removal
Once you’ve removed all the adhesive residue, clean the area with soap and water to remove any chemical residue. This prevents the remover from sitting on your paint longer than necessary.
Dry the area completely with a clean microfiber cloth. Check your work under good lighting to make sure you didn’t miss any spots.
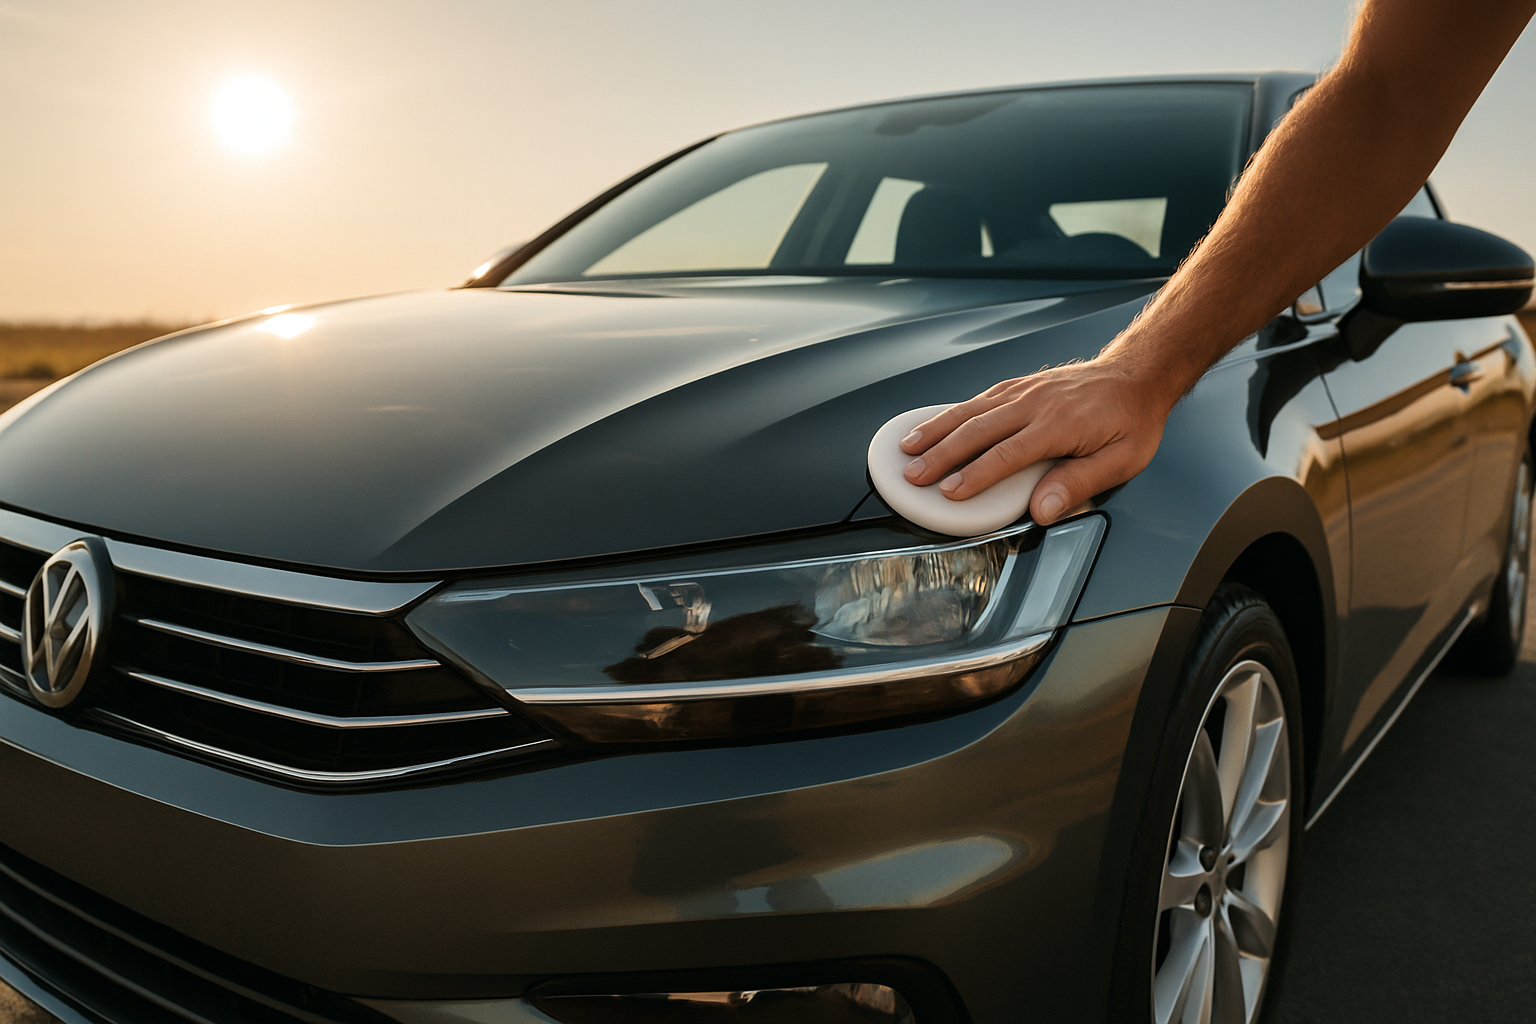
Consider applying wax or paint sealant to the cleaned area. The spot where the sticker was located has been protected from UV damage, so it might look slightly different from the surrounding paint.
When to Seek Professional Help
Some situations call for professional assistance rather than DIY removal. Large vehicle wraps or graphics covering multiple panels require specialized tools and experience.
If the sticker has been on the car for many years, the adhesive might have bonded so strongly that removal risks paint damage. Professional detailers have experience with these challenging cases.
Classic or expensive vehicles deserve extra caution. The cost of professional removal is minimal compared to repainting damaged bodywork.
Preventing Future Sticker Problems
When applying new stickers, consider their placement carefully. Avoid areas that see heavy sun exposure, as UV rays make removal more difficult over time.
Registration and inspection stickers often require specific placement, but you can apply them to the glass rather than painted surfaces when possible.
For temporary applications, use removable adhesive products designed to come off cleanly. These cost slightly more upfront but save significant time during removal.
Frequently Asked Questions
Can I use a hair dryer instead of a heat gun?
Yes, a hair dryer works well for most sticker removal jobs. It provides gentler heat that’s less likely to damage paint or plastic surfaces. The process just takes a bit longer than using a heat gun.
Will removing stickers damage my car’s paint?
When done properly with heat and the right tools, sticker removal won’t damage your paint. The biggest risk comes from using sharp tools or trying to force off cold, hardened adhesive. Take your time and use proper technique.
What’s the best adhesive remover for car paint?
Goo Gone is the most popular choice because it’s designed specifically for adhesive removal and is safe on automotive finishes. Other effective options include WD-40, rubbing alcohol, and citrus-based cleaners. Always test in a hidden area first.
How long should I heat the sticker before trying to remove it?
Heat the sticker for 30-60 seconds with a hair dryer or 15-30 seconds with a heat gun. The sticker should feel warm to the touch but not burning hot. If it starts to peel easily, you’ve heated it enough. If it tears, apply more heat.
This article contains affiliate links. If you purchase through these links, we may earn a small commission at no extra cost to you.
Leave a Reply