A dirty mass airflow sensor can turn your smooth-running car into a frustrating mess of rough idling, sluggish acceleration, and terrible fuel economy. The good news is that cleaning your MAF sensor takes just five minutes and can instantly restore your engine’s performance.
Before you start throwing money at expensive repairs or replacement parts, try this simple cleaning procedure that fixes the problem 90% of the time.
What Your Mass Airflow Sensor Does and Why It Gets Dirty
Your MAF sensor sits in the air intake system and measures exactly how much air enters your engine. This information helps your car’s computer calculate the perfect fuel mixture for optimal performance and efficiency.
Over time, dust, oil vapors, and other contaminants coat the delicate sensing element inside the MAF housing. Even a thin film of dirt can throw off the readings and cause your engine to run poorly.
The contaminated sensor sends incorrect airflow data to your ECU, which then delivers the wrong amount of fuel. This mismatch creates the performance problems you’re experiencing.
Signs Your MAF Sensor Needs Cleaning
A dirty MAF sensor typically causes three main symptoms that get progressively worse over time.
Rough idle happens because your engine can’t maintain a steady fuel mixture at low RPMs. You’ll notice the tachometer needle bouncing around or feel vibrations through the steering wheel.
Poor acceleration occurs when your engine doesn’t get enough fuel during high airflow situations. The car feels sluggish when you press the gas pedal, especially during highway merging or hill climbing.
Bad fuel economy results from an overly rich fuel mixture. Your engine burns more gas than necessary because the ECU thinks less air is entering than actually is.
Tools and Materials You’ll Need
This job requires minimal tools and takes less time than stopping for gas.
You’ll need a screwdriver (usually Phillips head) to remove the MAF sensor housing and a can of MAF-specific cleaner spray. Don’t use carburetor cleaner, brake cleaner, or any other solvents, as these can damage the sensitive components.
Popular MAF cleaner brands include CRC MAF Sensor Cleaner, Gumout MAF Sensor Cleaner, and Johnsen’s MAF Sensor Cleaner. All work effectively when used properly.
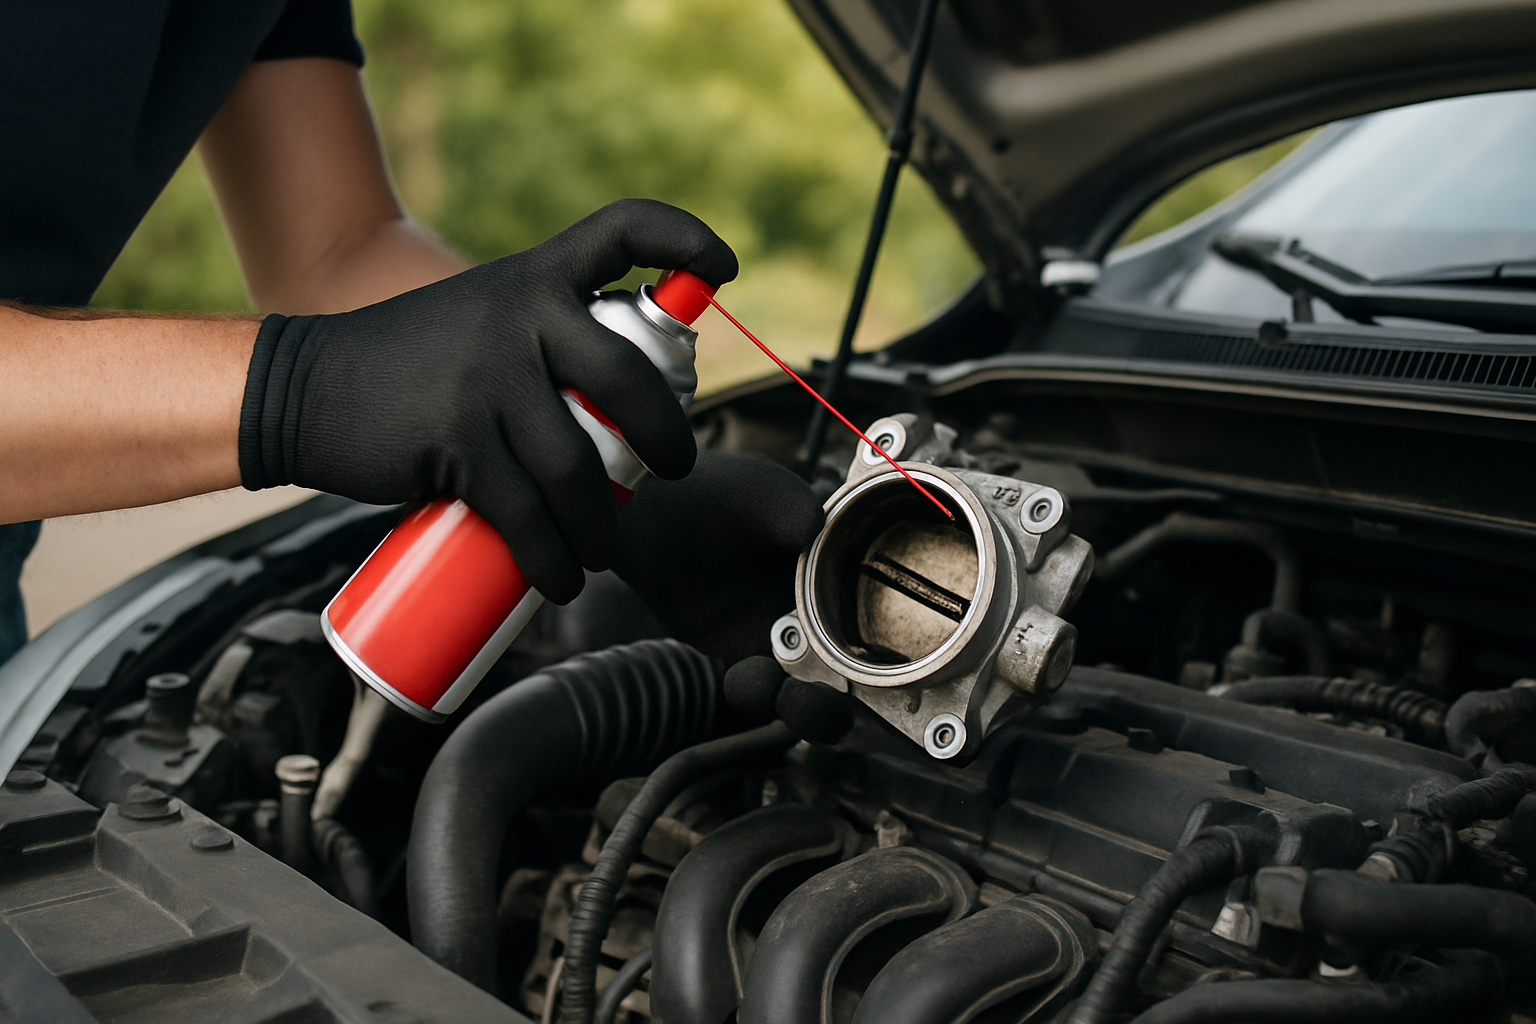
Step-by-Step MAF Sensor Cleaning Process
Start by locating your MAF sensor, which sits between the air filter box and the intake manifold. Most sensors are housed in a black plastic tube with electrical connectors attached.
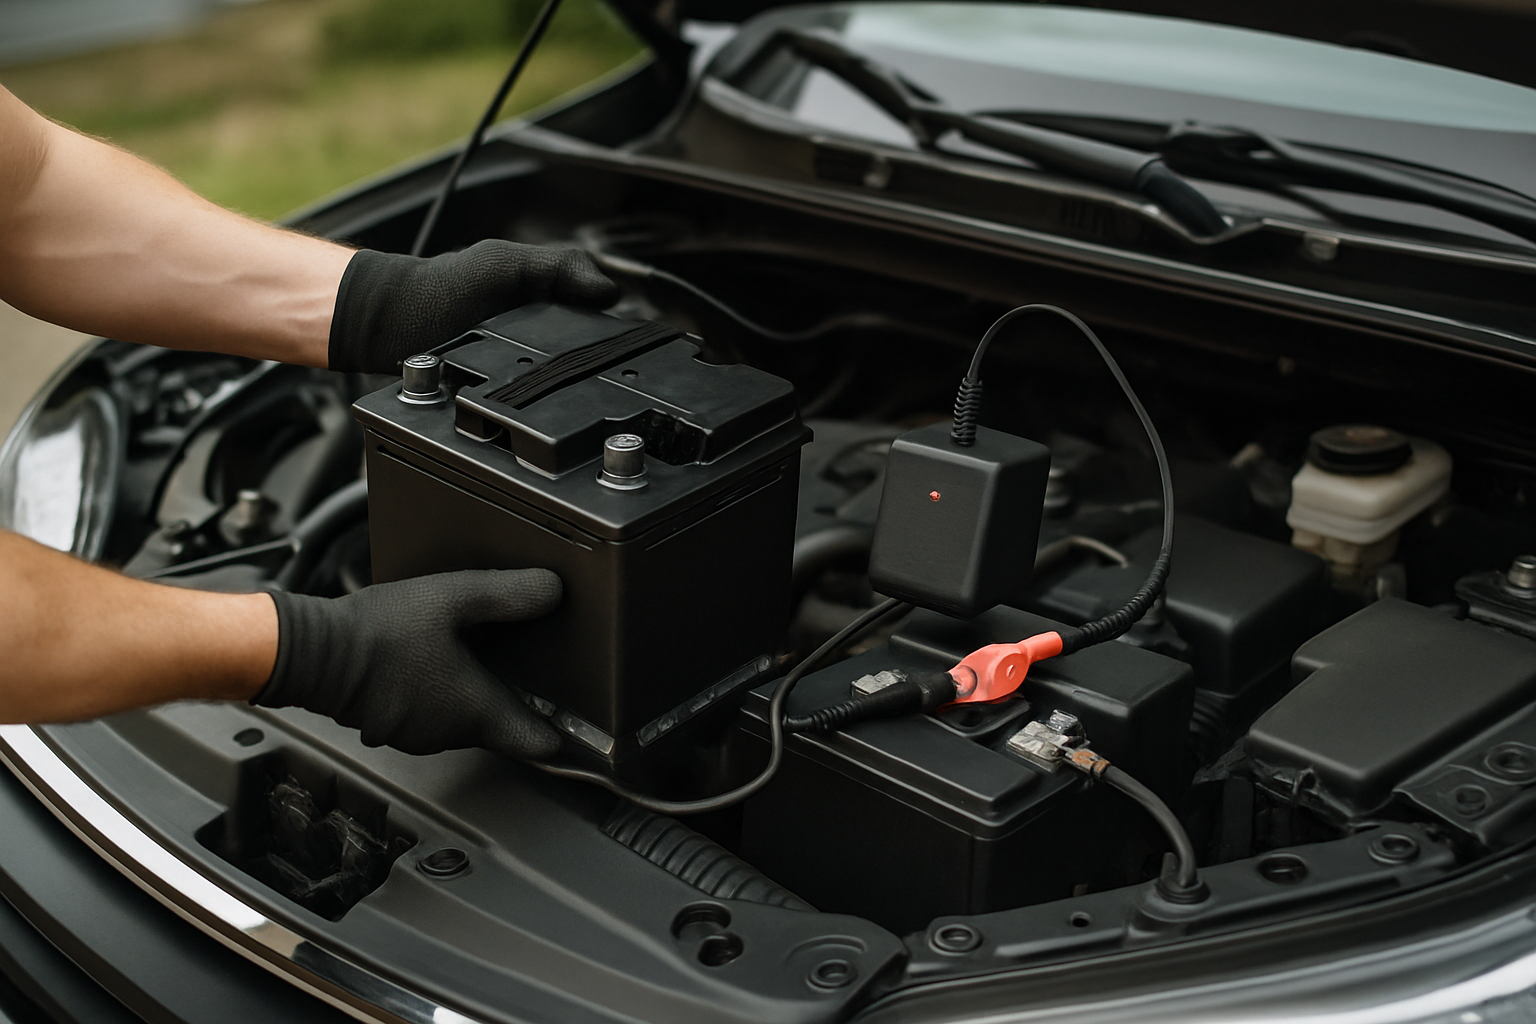
Turn off your engine and disconnect the negative battery terminal if you want to be extra cautious, though this isn’t strictly necessary for cleaning.
Removing the MAF Sensor
Unplug the electrical connector by pressing the release tab and pulling it straight off. Don’t wiggle or twist the connector, as this can damage the pins.
Remove the screws holding the MAF housing to the air intake tube. Most applications use two screws, but some have four. Keep track of these screws since they’re easy to drop.
Gently lift the MAF sensor out of the housing. You’ll see the sensing element inside, which looks like a thin wire or film element depending on your car’s design.
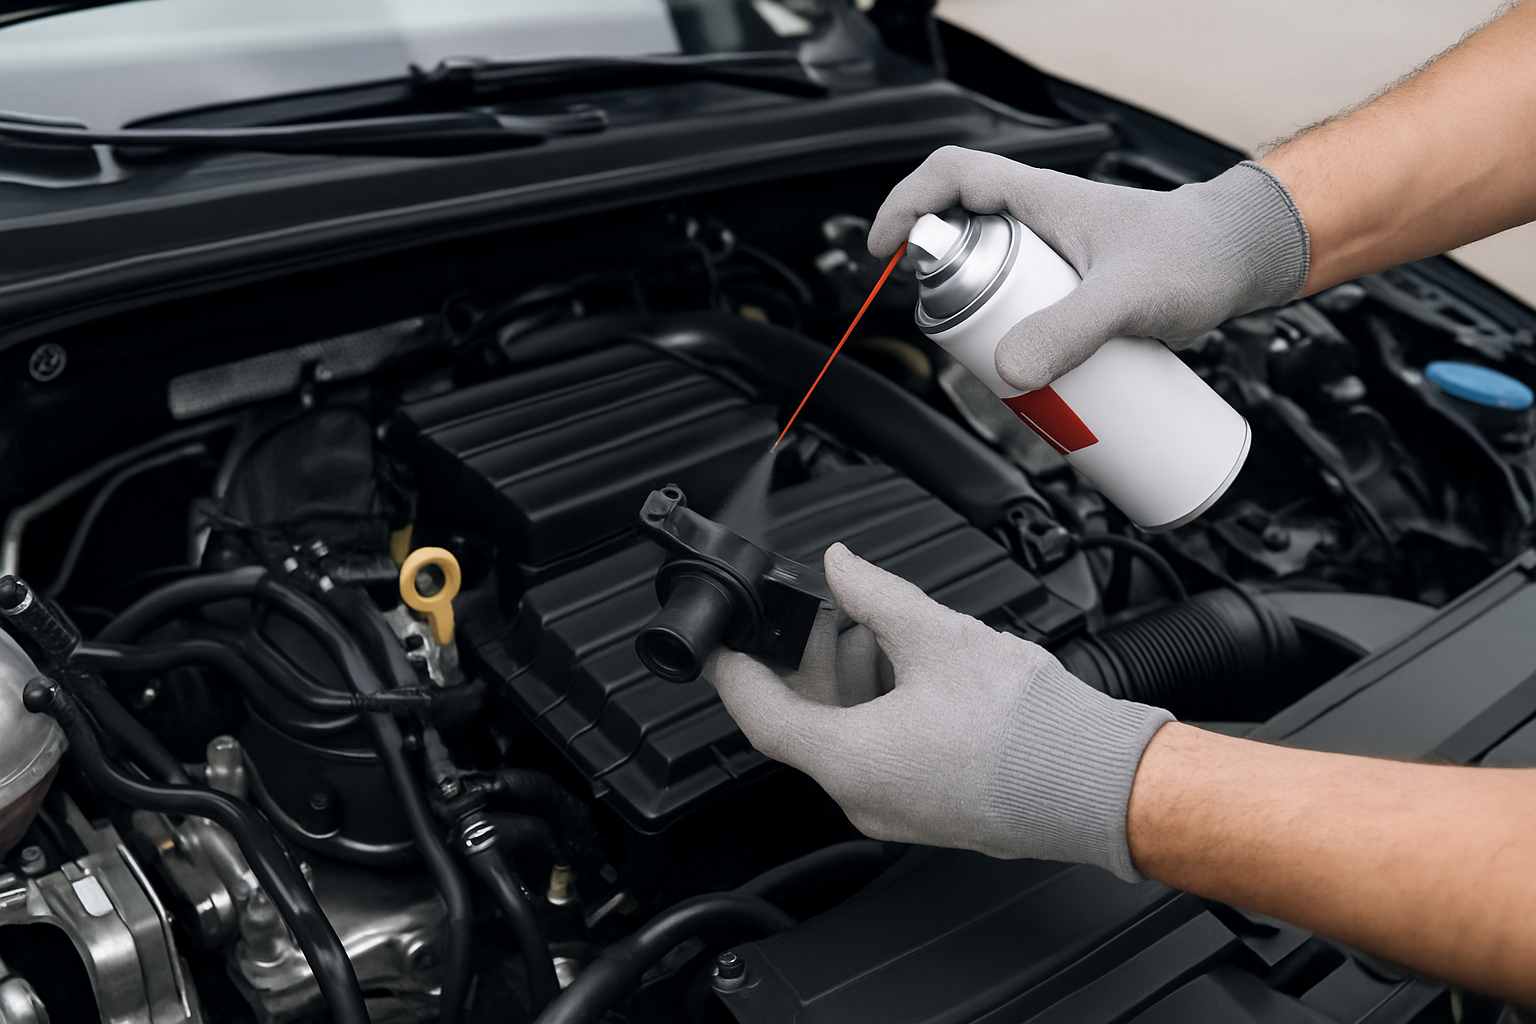
Cleaning the Sensor Element
Hold the MAF sensor about 6-8 inches away and spray the sensing element with MAF cleaner. Use short bursts rather than continuous spraying to avoid oversaturating the component.
Never touch the sensing wire or element with your fingers, tools, or cleaning rags. These components are extremely delicate and can break easily, requiring complete sensor replacement.
Let the cleaner evaporate completely before reinstalling the sensor. This usually takes 2-3 minutes in normal conditions.
Reassembly
Install the clean MAF sensor back into its housing, making sure it sits properly in the correct orientation. The electrical connector should align naturally when the sensor is positioned correctly.
Replace the mounting screws and tighten them snugly, but don’t overtighten as this can crack the plastic housing.
Reconnect the electrical connector until it clicks into place. You should hear or feel a positive connection.
Recommended MAF Sensor Cleaning Products
Using the right cleaning product makes all the difference in this repair. MAF sensor cleaner sprays are specifically formulated to remove contaminants without damaging sensitive electronic components.
CRC MAF Sensor Cleaner consistently receives excellent reviews from professional mechanics and DIY enthusiasts. The formula dries quickly and leaves no residue that could affect sensor operation.
Gumout MAF Sensor Cleaner offers similar performance at a slightly lower price point. Both products work equally well for routine maintenance cleaning.
Testing Your Results
Start your engine after completing the cleaning process. You might notice immediate improvements in idle quality and throttle response, especially if the sensor was heavily contaminated.
Take your car for a short test drive to evaluate the acceleration and overall performance. Pay attention to how the engine responds during different driving conditions.
Some vehicles need to complete a drive cycle before the ECU fully adapts to the clean sensor readings. This process typically takes 10-20 minutes of mixed driving.
When Cleaning Isn’t Enough
Occasionally, cleaning won’t restore a heavily contaminated or damaged MAF sensor. If your symptoms persist after cleaning, the sensor may need replacement.
Physical damage to the sensing element, such as broken wires or cracked components, requires a new sensor. These parts typically cost $150-400 depending on your vehicle.
Check engine lights related to MAF sensor codes (P0100-P0104) should clear after successful cleaning and a few drive cycles. Persistent codes indicate replacement is necessary.
Prevention Tips for Future Problems
Regular air filter replacement keeps contaminants from reaching your MAF sensor in the first place. Check your air filter every 12,000-15,000 miles and replace it when dirty.
Avoid over-oiling aftermarket performance air filters, as excess oil can coat the MAF sensor. If you use a K&N or similar filter, apply oil sparingly.
Clean your MAF sensor every 30,000-40,000 miles as part of routine maintenance, even if you’re not experiencing symptoms. This preventive approach keeps your engine running optimally.
Cost Comparison: Cleaning vs. Replacement
A can of MAF sensor cleaner costs $8-12 and can clean your sensor multiple times over several years. Professional cleaning at a shop typically runs $50-80 including labor.
MAF sensor replacement costs significantly more, ranging from $200-500 total depending on your vehicle’s make and complexity. Labor adds another $100-150 at most shops.
This makes cleaning an obvious first step before considering replacement, especially since it works in most cases.
Frequently Asked Questions
How often should I clean my MAF sensor?
Clean your MAF sensor every 30,000-40,000 miles or whenever you notice performance symptoms. Vehicles in dusty environments may need more frequent cleaning.
Can I use brake cleaner or carburetor cleaner instead of MAF cleaner?
Never use brake cleaner, carburetor cleaner, or other harsh solvents on your MAF sensor. These products can damage the delicate sensing elements and require expensive replacement. Only use cleaners specifically designed for MAF sensors.
Will cleaning my MAF sensor void my warranty?
Cleaning your MAF sensor with appropriate products won’t void your warranty, as this is considered normal maintenance. However, damaging the sensor through improper cleaning or using wrong products could create warranty issues.
Why does my check engine light come on after cleaning?
Temporary check engine lights after MAF cleaning usually indicate the ECU is adapting to the corrected airflow readings. Drive normally for 20-30 minutes and the light should clear. Persistent lights may indicate sensor damage or other issues.
This article contains affiliate links. If you purchase through these links, we may earn a small commission at no extra cost to you.

Leave a Reply