Washing your car should make it look better, not worse. Unfortunately, improper washing techniques can leave your paint covered in tiny scratches called swirl marks that dull your car’s finish and reduce its value.
The key to scratch-free washing lies in using the right techniques and tools. Most people unknowingly damage their paint by using dirty water, rough materials, or washing in the wrong order.
Why Automatic Car Washes Scratch Your Paint
Those brushes at automatic car washes might look soft, but they’re actually paint killers. The rotating brushes collect dirt, sand, and debris from every car that goes through before yours. When those contaminated brushes hit your paint, they drag all that abrasive material across your clear coat.
Even touchless car washes aren’t perfect. While they won’t scratch your paint, the harsh chemicals and high-pressure water often leave behind water spots and fail to remove stubborn dirt. The detergents are designed to work quickly on hundreds of cars per day, not gently preserve your paint’s finish.
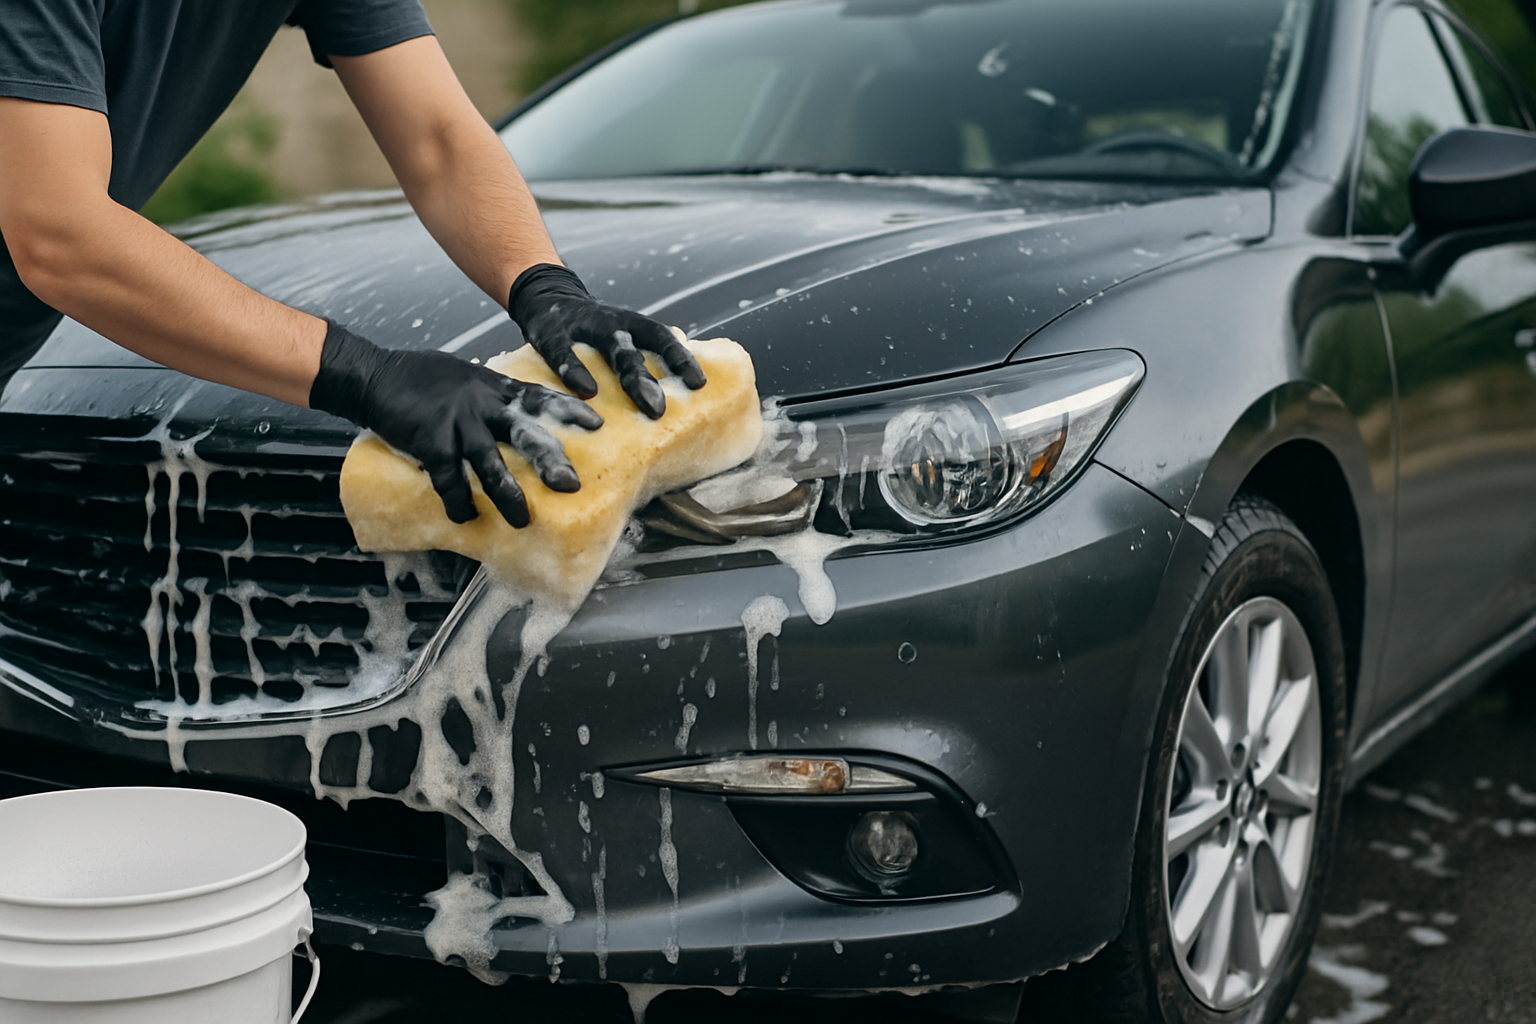
The solution is washing your car by hand using proven techniques that professional detailers rely on. You’ll get better results and protect your investment.
Essential Tools for Scratch-Free Car Washing
Before you start, you need the right equipment. Using old t-shirts or dish towels is a recipe for scratched paint. Here’s what you actually need:
Microfiber wash mitts are your primary washing tool. Unlike traditional terrycloth mitts, microfiber has longer fibers that lift dirt away from the paint surface instead of grinding it in. You’ll want at least two mitts, one for the body panels and one for wheels and lower areas.
A foam cannon attaches to your pressure washer and covers your car in thick foam before you touch it. This pre-wash foam loosens dirt and provides lubrication, making your actual washing safer. If you don’t have a pressure washer, a foam gun that connects to your garden hose works too.
Two buckets are absolutely essential for the proper washing technique. One holds your soapy water, the other holds clean rinse water. This prevents you from reintroducing dirt to your paint.
The Two-Bucket Method Explained
The two-bucket method is the foundation of safe car washing. Fill one bucket with soapy water using a high-quality car wash soap (never dish soap, which strips protective wax). Fill the second bucket with clean rinse water.
Add grit guards to both buckets. These plastic inserts sit at the bottom and trap dirt when you rinse your mitt. The dirt settles below the guard, keeping your water cleaner longer.
Here’s how it works: dip your clean mitt in the soapy water, wash a section of your car, then rinse the mitt thoroughly in the clean water bucket before going back to the soap. This simple step prevents you from putting dirt back onto your paint.
Replace the rinse water if it gets too dirty. You’ll be amazed at how much grime comes off your mitt, even on a car that looks clean.
Recommended Car Washing Supplies
For the best results, invest in quality microfiber wash mitts and car washing supplies. Look for mitts with long, plush fibers and soap specifically formulated for automotive paint. Many sets include everything you need: buckets, grit guards, mitts, and pH-balanced car soap.
Pre-Wash Preparation
Never start washing a dry car. Begin by rinsing thoroughly to remove loose dirt and debris. Pay special attention to wheel wells, door jambs, and areas where dirt accumulates.
If you have a foam cannon, cover the entire car in thick foam and let it dwell for a few minutes. The foam will start breaking down dirt and provide crucial lubrication for washing. You can actually see the dirt starting to drip off.
For heavily soiled areas like the lower panels or behind the wheels, you might need a pre-wash degreaser. Spray it on, let it work for the recommended time, then rinse off before applying your foam.
The Correct Washing Order
Always wash from top to bottom. The top of your car is typically the cleanest, while the bottom panels are the dirtiest. Starting at the top ensures you don’t drag heavy contamination from dirty areas across cleaner sections.
Begin with the roof, then move to the upper portions of the doors, hood, and trunk. Work your way down to the middle sections, saving the dirtiest areas like the lower doors, rockers, and bumpers for last.
Wash in straight lines rather than circles. If you do create a scratch, a straight line is less noticeable than circular swirl marks. Work in small sections, about 2×2 feet, and keep the surface wet at all times.
Rinse your mitt frequently, especially when moving between panels. Don’t try to wash your entire car with one dip in the bucket. The more you rinse that mitt, the safer your paint will be.
Proper Washing Technique
Use light pressure and let the mitt do the work. You shouldn’t need to scrub hard if you’ve done your pre-wash properly. The soap and lubrication should allow the mitt to glide smoothly across the paint.
Work in the shade whenever possible. Hot surfaces cause soap to dry too quickly, leaving spots and making washing more difficult. Early morning or late afternoon are ideal times.
Keep the surface you’re working on wet. If soap starts drying on the paint, rinse immediately and reapply. Dried soap can be difficult to remove and may leave residue.
Use separate mitts for different areas. Your wheel mitt should never touch your paint. Many detailers use different colored mitts to avoid mix-ups.
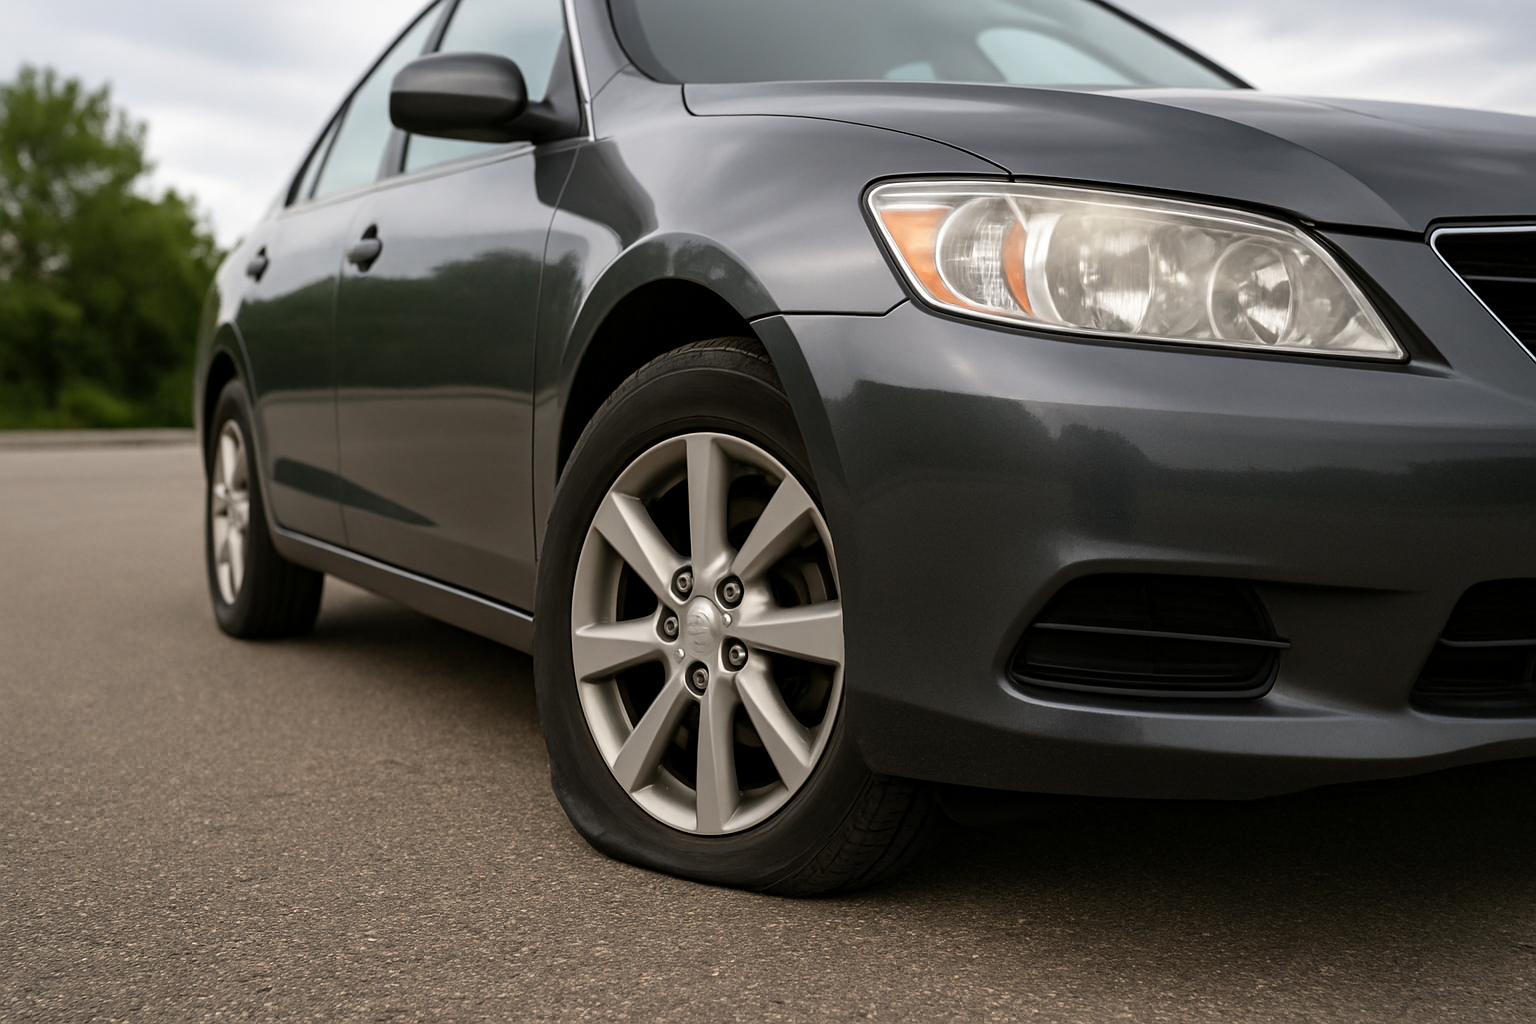
Wheels and Tires First
Some people prefer washing wheels first since they’re typically the dirtiest part of your car. This prevents contaminating your paint washing water with brake dust and road grime.
Use a separate bucket and mitt for wheels, or wash them completely before setting up your two-bucket system for the paint. Wheel cleaners are usually more aggressive than car soap, so keep them away from your paint.
Don’t forget the wheel wells and inner barrel of the wheels. These areas collect heavy contamination that can spray back onto your clean car during driving.
Drying Without Scratching
How you dry your car is just as important as how you wash it. Traditional chamois leather can trap dirt and scratch your paint. Even if it looks clean, microscopic particles can cause damage.
Microfiber drying towels are safer than chamois. Look for towels specifically designed for drying with deep, plush fibers that absorb water without dragging across the surface. Use the blotting method rather than dragging the towel.
The safest drying method is using a car dryer or leaf blower. These blow water off your car without any physical contact. Professional detailers often use this method for the most delicate finishes. You can achieve similar results with a quality leaf blower.
If you must use towels, work from top to bottom just like washing. Use multiple towels so you’re not trying to dry your entire car with one saturated towel.
Water Quality Matters
Hard water can leave mineral spots on your paint that are difficult to remove. If you have hard water, consider using distilled water for your final rinse, or install a water softening system for your wash area.
Alternatively, work in smaller sections and dry immediately to prevent water spots from forming. Don’t let water sit on your paint in direct sunlight.
Common Mistakes to Avoid
Never wash in direct sunlight or on hot surfaces. The heat causes soap to dry too quickly and makes water spots more likely. Your soap becomes less effective and harder to rinse off.
Don’t use household cleaners like dish soap or laundry detergent. These are designed to strip away oils and will remove your car’s protective wax coating. Stick to pH-balanced car wash soaps.
Avoid washing a hot car that’s been sitting in the sun or was recently driven hard. Let it cool down first. Hot metal and soap don’t mix well.
Don’t skimp on rinse water. That second bucket is crucial for keeping your mitt clean. Change it out if it gets too dirty.
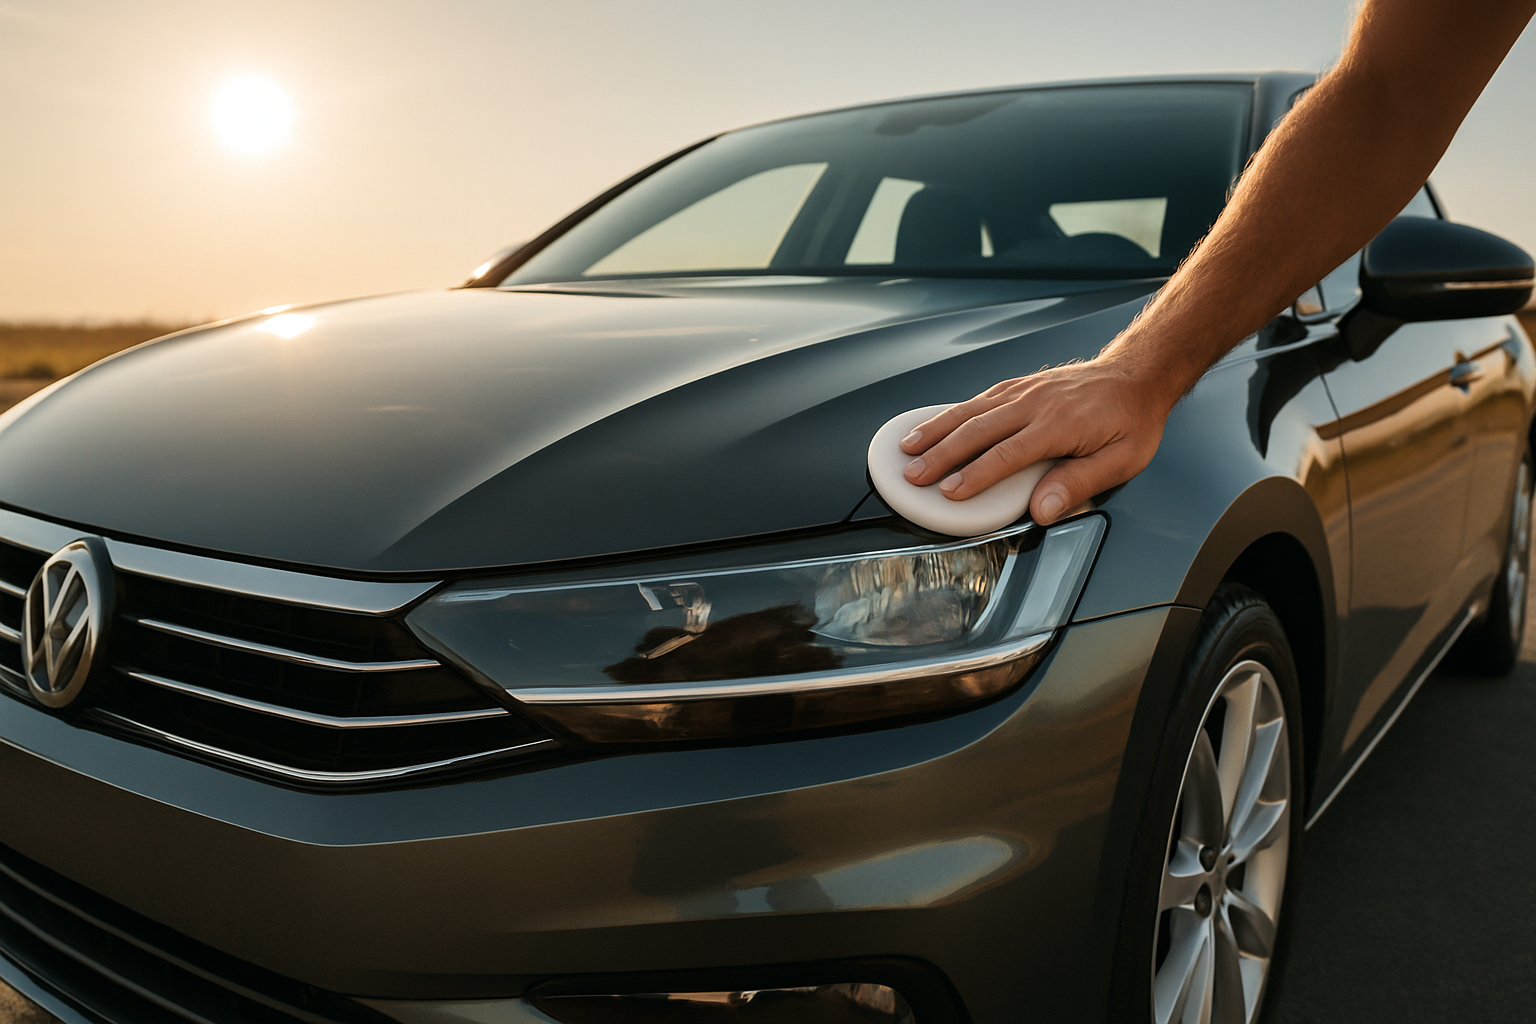
Protecting Your Finish
Even perfect washing technique will eventually wear down your car’s protective clear coat. Regular waxing or paint sealant application provides an additional barrier and makes future washing easier.
A well-waxed car sheds water and dirt more effectively. Contaminants have a harder time bonding to the smooth, protected surface. This makes your washing more effective and safer.
Consider applying wax or sealant every 3-6 months depending on your climate and how often you drive. Cars in harsh conditions need more frequent protection.
Professional vs. DIY Results
Professional detailers have access to commercial-grade equipment and products, but you can achieve excellent results at home with the right technique and patience. The key is consistency and using proper methods every time.
Take your time and don’t rush. A proper hand wash should take 45-60 minutes including drying time. Rushing leads to mistakes and potentially damaged paint.
Document your process with photos. You’ll be surprised at the difference proper technique makes, especially on darker colored cars where swirl marks are most visible.
Frequently Asked Questions
How often should I wash my car?
Most cars benefit from washing every 2-3 weeks under normal conditions. Cars exposed to harsh environments like salt air, construction dust, or heavy pollution may need weekly washing. Don’t let dirt and contaminants sit on your paint for extended periods.
Can I use a pressure washer for the entire washing process?
Pressure washers are excellent for rinsing and foam application, but you still need physical contact with a mitt to remove bonded contaminants. Use moderate pressure settings and keep the nozzle at least 12 inches from your paint to avoid damage.
What if I don’t have access to a foam cannon?
You can still wash safely without a foam cannon. Focus on thorough rinsing and use plenty of soap in your wash bucket. Work in smaller sections and rinse your mitt more frequently. A foam gun that attaches to your garden hose is a good middle-ground option.
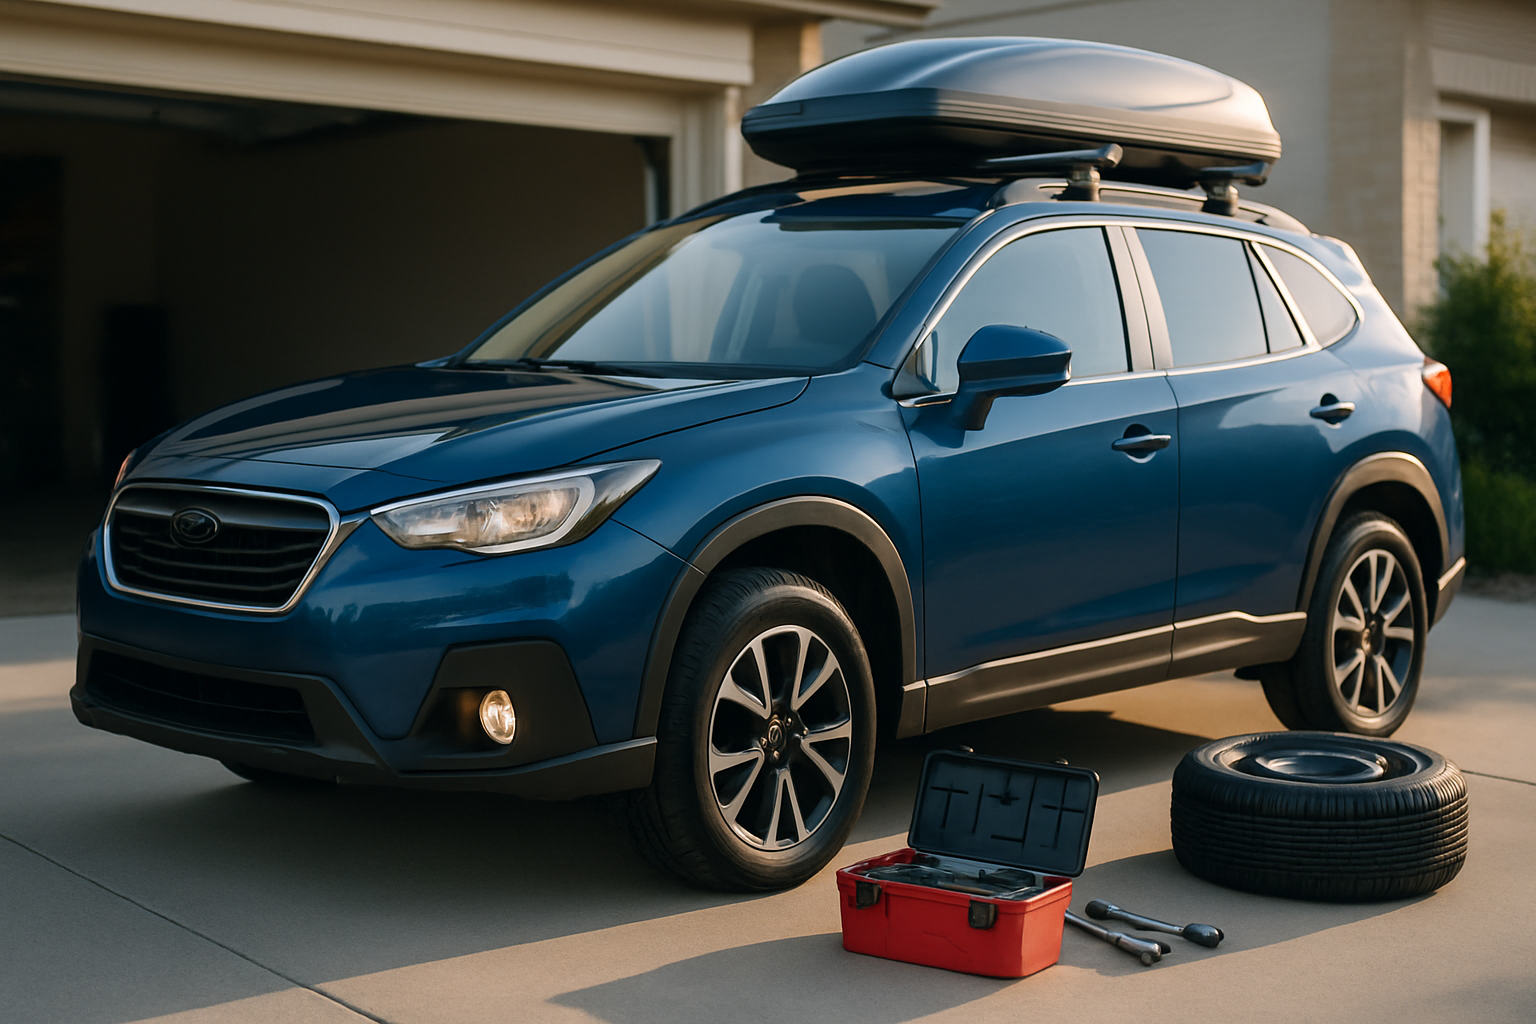
Is it better to wash in my garage or outside?
Washing in shade is ideal, so a garage can work well if you have adequate drainage and ventilation. Make sure you have enough space to work around your entire car and access to water. Proper lighting helps you see what you’re doing and spot any areas you might have missed.
This article contains affiliate links. If you purchase through these links, we may earn a small commission at no extra cost to you.

Leave a Reply