Keeping your vehicle’s cooling system in top condition prevents overheating, extends engine life, and saves you from costly repairs down the road. Flushing your cooling system removes old coolant, rust, scale deposits, and debris that accumulate over time, ensuring your engine runs at the proper temperature year-round.
Understanding Your Cooling System
Your cooling system circulates coolant through the engine block, cylinder heads, radiator, and heater core to regulate engine temperature. Over time, coolant breaks down and becomes acidic, losing its ability to prevent corrosion and maintain proper heat transfer. Old coolant can also form sludge that clogs passages and reduces cooling efficiency.
Most manufacturers recommend flushing the cooling system every 30,000 to 60,000 miles, depending on your vehicle and driving conditions. Check your owner’s manual for specific intervals, as some newer vehicles with long-life coolant can go up to 100,000 miles between flushes.
When Your Cooling System Needs Attention
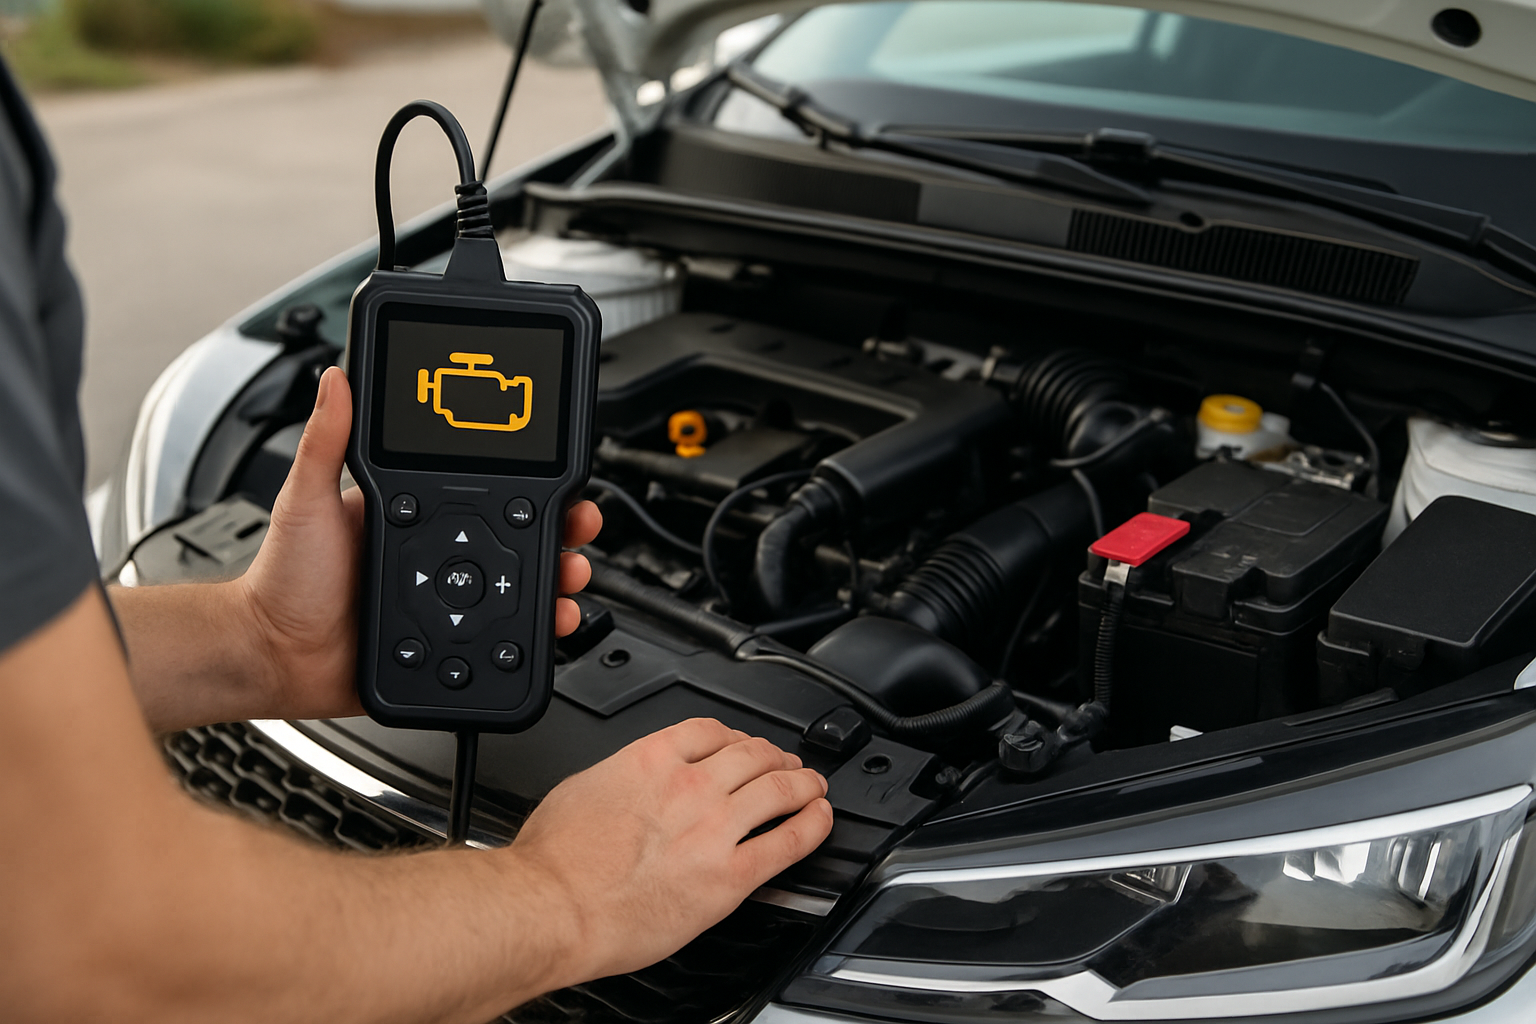
Several signs indicate your cooling system needs flushing. If your coolant appears rusty, muddy, or has floating particles, it’s time for a change. Sweet smells from the engine bay, frequent overheating, or white exhaust smoke also signal cooling system problems.
Temperature fluctuations on your gauge, poor heater performance, or visible corrosion around cooling system components suggest contaminated coolant. Don’t wait for these symptoms to worsen, as cooling system damage can lead to expensive engine repairs.
Choosing the Right Coolant
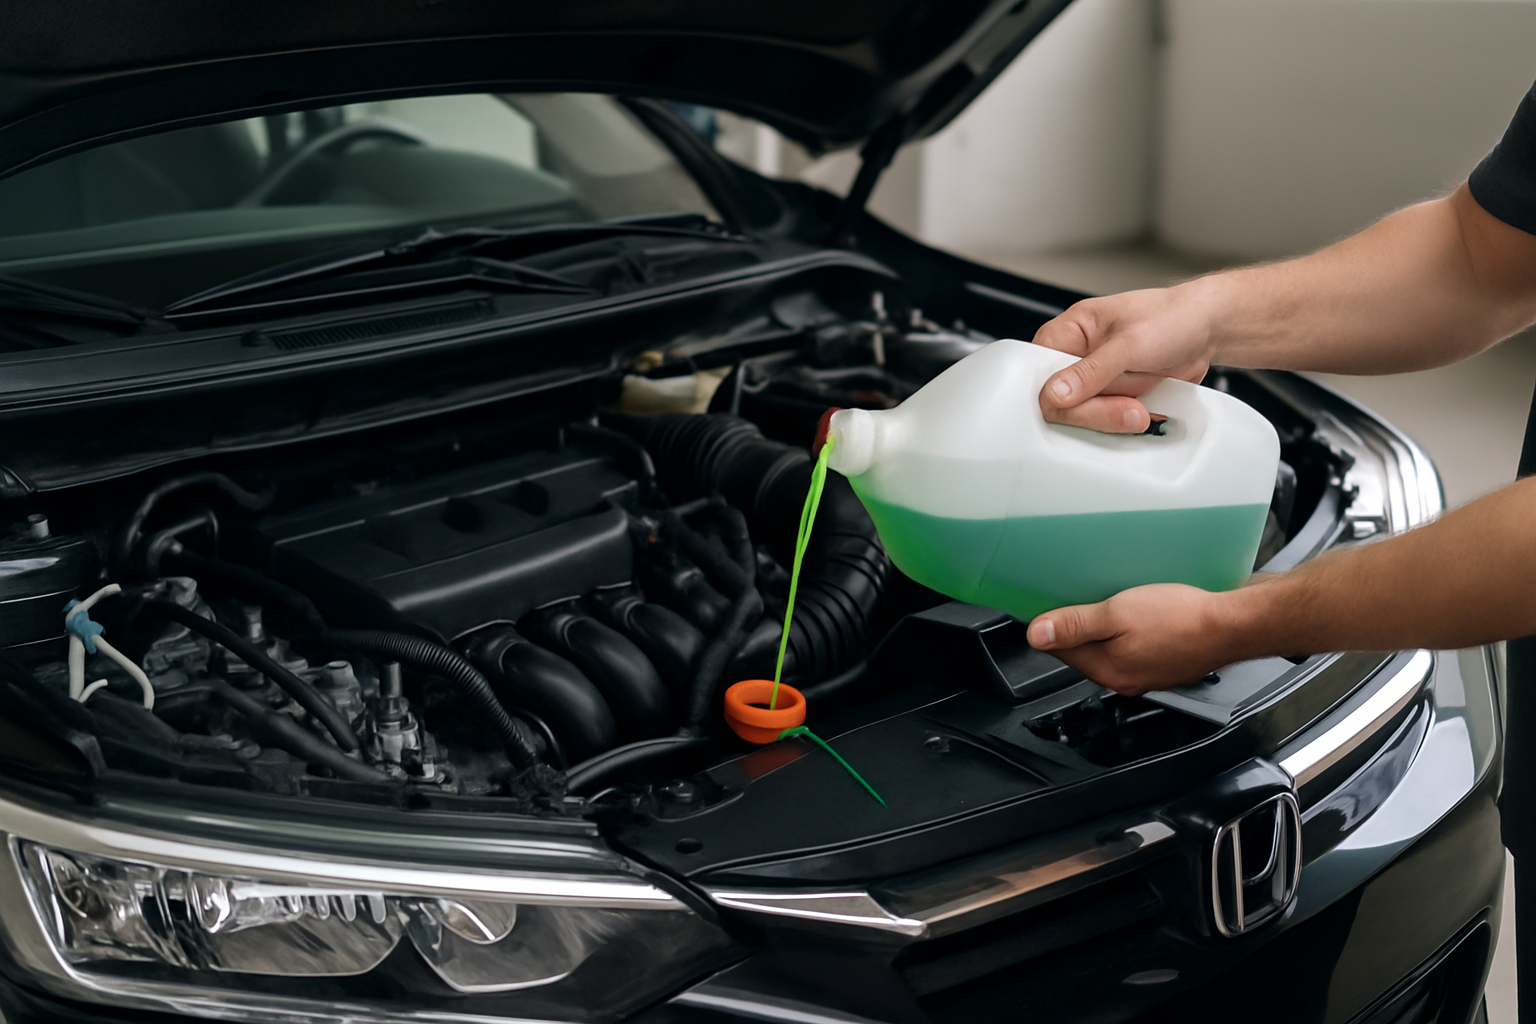
Using the correct coolant type is crucial for your engine’s protection. Manufacturers specify different formulations based on your vehicle’s materials and design requirements.
GM vehicles typically use Dex-Cool (orange), while Ford recommends Motorcraft coolant (yellow or orange depending on the year). Toyota and Lexus use their own red formulation, and most European manufacturers specify specific colors and additives. Never mix different coolant types, as they can react and form gel-like substances that clog your system.
Always check your owner’s manual or coolant reservoir cap for the exact specification. Using universal coolant might seem convenient, but manufacturer-specific formulations provide the best protection for your particular engine.
Tools and Materials You’ll Need
Before starting, gather these essential items: a drain pan capable of holding at least two gallons, basic hand tools, a funnel, garden hose, and safety equipment including gloves and eye protection. You’ll also need the correct amount of coolant concentrate and distilled water.
A cooling system flush kit makes the job easier and more thorough. These radiator flush kits include everything needed to properly clean your cooling system, including T-fittings that connect to your heater hoses for reverse-flow flushing.
Quality kits from brands like Prestone, BlueDevil, and Liqui Moly include detailed instructions and all necessary hardware. The T-fitting method allows you to flush in both directions, removing more debris than simple drain-and-fill procedures.
Safety First
Never work on a hot cooling system. Allow your engine to cool for at least two hours after driving before beginning work. Hot coolant can cause severe burns, and the system operates under pressure when warm.
Work in a well-ventilated area and wear safety glasses and chemical-resistant gloves. Ethylene glycol coolant is toxic to humans and animals, so keep pets and children away from your work area. Clean up any spills immediately.
Step-by-Step Flushing Process
Start by removing the radiator cap and inspecting the coolant condition. If it’s extremely contaminated, consider having the system professionally cleaned to avoid pushing debris into hard-to-reach areas.
Locate the radiator drain plug, usually found at the bottom corner of the radiator. Place your drain pan underneath and slowly open the drain. Some vehicles have a petcock valve you can turn by hand, while others require a wrench or socket.
While the system drains, remove the thermostat housing and take out the thermostat. This allows better flow during flushing and lets you inspect the thermostat for proper operation. Clean the thermostat housing surfaces and install a new gasket when reassembling.
The Flush Process
Once drained, close the drain plug and fill the system with water. Run the engine until it reaches operating temperature, then shut it off and allow it to cool. Drain the water and repeat this process until the water runs clear.
For heavily contaminated systems, use a commercial cooling system cleaner according to the manufacturer’s instructions. These products dissolve scale and rust deposits that water alone cannot remove.
If using a flush kit with T-fittings, install the fittings in your heater hoses according to the kit instructions. Connect your garden hose and flush water through the system in both directions until it runs completely clear.
Refilling the System
After flushing, reinstall the thermostat and close all drains. Mix your coolant according to the manufacturer’s specifications, typically 50/50 with distilled water. Some coolants come pre-mixed, which eliminates guesswork.
Fill the system slowly through the radiator opening or coolant reservoir, depending on your vehicle’s design. Many modern vehicles don’t have removable radiator caps and must be filled through the reservoir.
Eliminating Air Pockets
Air pockets in the cooling system can cause overheating and poor heater performance. Proper burping removes trapped air and ensures complete system filling.
Many vehicles have bleeder screws or air purge valves at high points in the system. Open these valves while filling to allow air to escape. Close them when coolant begins flowing out.
For systems without bleeder valves, run the engine with the radiator cap off until the thermostat opens. You’ll see the coolant level drop as air escapes and the thermostat allows circulation. Add coolant as needed to maintain proper levels.
Some vehicles require specific procedures for air removal. European cars often need special tools or scan tools to activate electric coolant pumps for proper bleeding. Check online forums or repair manuals for model-specific procedures.
Final System Check
After burping the system, install the radiator cap and run the engine through several heat cycles. Check for leaks, monitor the temperature gauge, and verify that the heater produces hot air.
Let the engine cool completely, then check coolant levels again. The level may drop as remaining air works its way out of the system. Top off as necessary and check levels again after a few days of driving.
Proper Disposal of Old Coolant
Never dump old coolant down drains, on the ground, or in storm sewers. Ethylene glycol is highly toxic and harmful to the environment. Most auto parts stores, quick-lube shops, and municipal recycling centers accept used coolant for proper disposal.
Store old coolant in clean, sealed containers and label them clearly. Many recycling facilities can process old coolant into new products, making proper disposal an environmentally responsible choice.
Maintenance Tips for Longevity
Regular maintenance extends cooling system life and prevents major problems. Check coolant levels monthly and inspect for leaks or corrosion. Replace worn hoses and clamps before they fail.
Test your coolant’s freeze and boil protection annually using an inexpensive tester. These tools measure the coolant’s specific gravity to determine its protective capabilities. Replace coolant when protection drops below acceptable levels.
Keep detailed records of cooling system maintenance, including dates, mileage, and products used. This information helps with warranty claims and provides valuable maintenance history for future owners.
Frequently Asked Questions
How often should I flush my cooling system?
Follow your manufacturer’s recommendations, typically every 30,000 to 60,000 miles for conventional coolant. Long-life coolants may last up to 100,000 miles, but severe driving conditions may require more frequent changes. Check your owner’s manual for specific intervals.
Can I use tap water instead of distilled water?
Distilled water is preferred because it lacks minerals that can cause scale buildup and corrosion. Tap water contains minerals, chlorine, and other chemicals that can damage your cooling system over time. The small extra cost of distilled water is worth the protection.
What happens if I mix different coolant types?
Mixing incompatible coolants can cause chemical reactions that form gel-like substances, potentially clogging your cooling system. Always drain the system completely and use only the manufacturer-specified coolant type. When in doubt, consult your owner’s manual or a qualified technician.
Why is my heater not working after flushing?
Air pockets in the system are the most common cause of poor heater performance after flushing. The heater core sits at a high point in most vehicles and traps air easily. Follow proper bleeding procedures and ensure all air is removed from the system.
This article contains affiliate links. If you purchase through these links, we may earn a small commission at no extra cost to you.

Leave a Reply