Replacing your own brake pads and rotors can save you $300 or more compared to shop prices, and it’s a repair most DIY mechanics can handle with the right tools and knowledge. You’ll need a weekend afternoon and some basic mechanical skills, but the satisfaction of doing this critical maintenance yourself makes it worthwhile.
Understanding When Your Brakes Need Replacement
Your brake system works by pressing friction material (brake pads) against metal discs (rotors) to stop your vehicle. Over time, both components wear down from the heat and friction generated during braking.
Most brake pads have wear indicators that create a squealing noise when the pad material gets thin. You might also notice longer stopping distances, vibration in the brake pedal, or grinding sounds if the pads are completely worn.
Rotors typically need replacement when they’re warped, deeply grooved, or worn below the minimum thickness specification stamped on the rotor itself. Many shops will tell you rotors need replacement even when they could be resurfaced, so doing the work yourself gives you more control over these decisions.
Essential Tools and Materials You’ll Need
Having the right tools makes this job much easier and safer. Don’t try to improvise with inadequate equipment when working on your brakes.
Required tools:
- Floor jack and jack stands (never use just a jack)
- Lug wrench or impact gun
- Socket set with ratchet
- C-clamp or brake piston compression tool
- Wire brush
- Brake cleaner spray
- Anti-seize compound
- Torque wrench
Materials needed:
- New brake pads (ceramic or semi-metallic)
- New rotors
- Brake cleaner
- High-temperature brake grease
You can find complete brake pad and rotor replacement kits that include everything you need for your specific vehicle. These kits often cost less than buying components separately and ensure all parts are compatible.
Safety Warnings and Precautions
Brake work involves serious safety considerations. Your brakes are literally what keeps you from crashing, so there’s no room for mistakes or shortcuts.
Always use proper jack stands, never just a floor jack. The vehicle could fall and kill you if the jack fails. Double-check that the vehicle is stable before putting any part of your body underneath.
Wear safety glasses when using brake cleaner or compressed air. Brake dust contains particles that you don’t want in your eyes or lungs, especially on older vehicles that might have asbestos-containing brake materials.
Never compress brake pistons on vehicles with ABS without first opening the brake fluid reservoir cap. The fluid needs somewhere to go as you push the piston back into the caliper.
Step-by-Step Brake Pad and Rotor Replacement
Preparation and Vehicle Setup
Start by parking on level ground and setting the parking brake. Loosen the lug nuts on the wheels you’re working on, but don’t remove them completely yet.
Jack up the vehicle and secure it with jack stands. Remove the wheels completely and set them aside. You’ll have much better access to the brake components with the wheels off.
Spray the entire brake assembly with brake cleaner to remove dust and debris. This makes the job cleaner and lets you see what you’re working with.
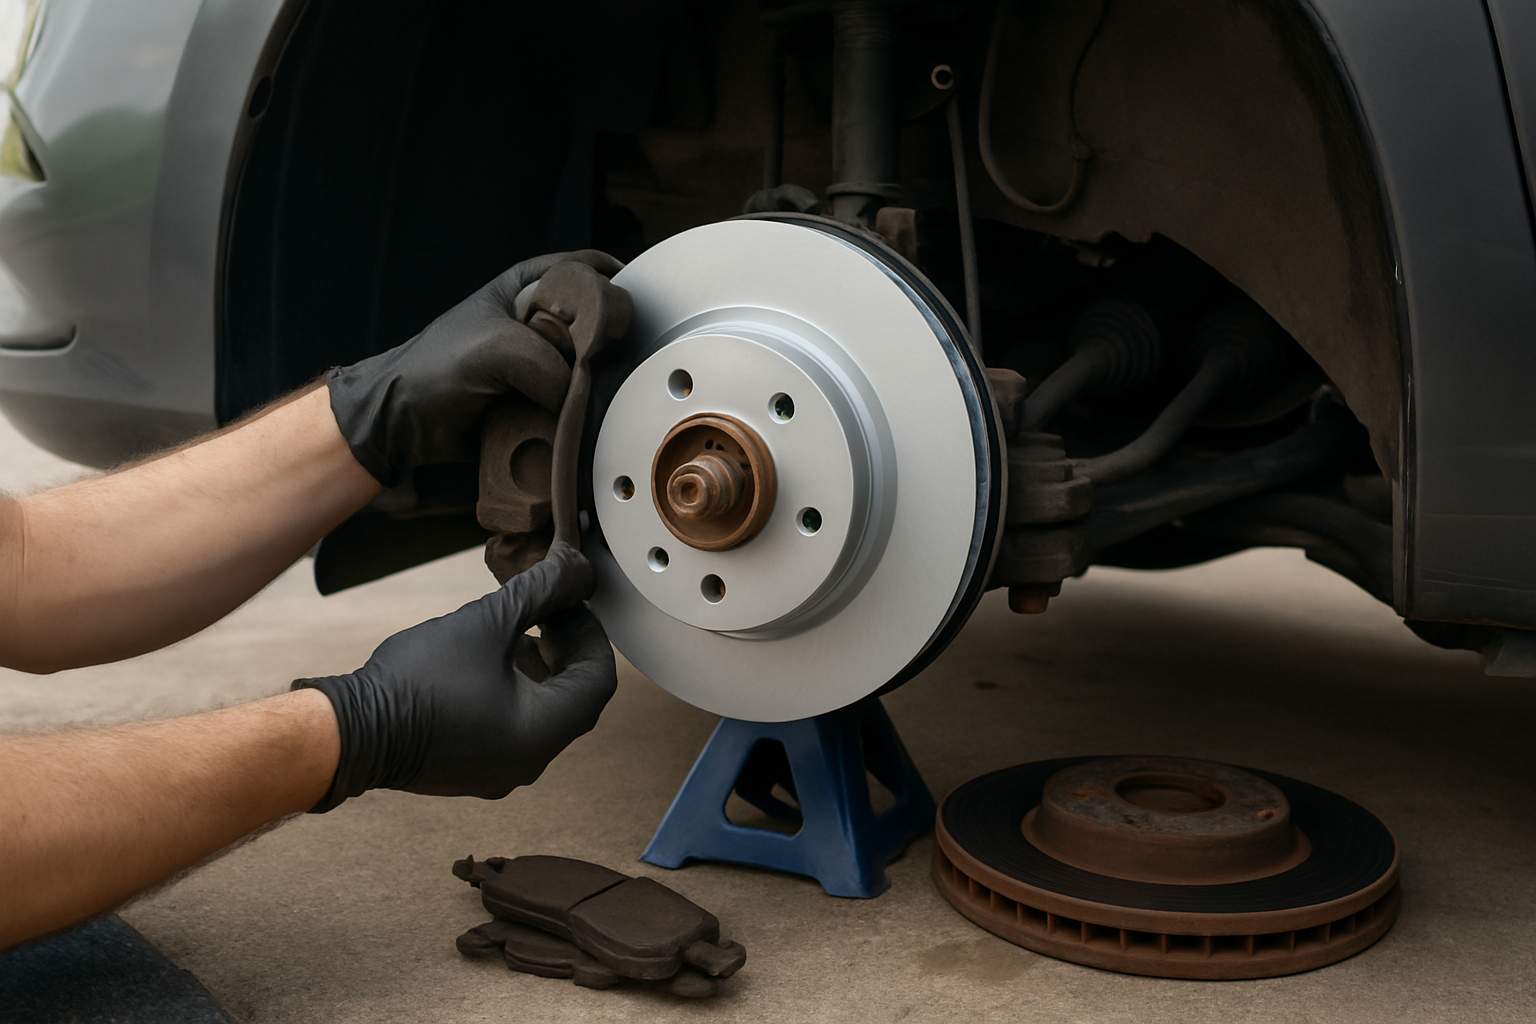
Removing the Old Brake Pads
Locate the brake caliper, which looks like a clamp holding the brake pads against the rotor. Most calipers are held in place by two bolts on the back side.
Remove the lower caliper bolt first, which allows the caliper to swing up like a hinge. This gives you access to the brake pads without completely removing the caliper.
Pull out the old brake pads and note how they’re positioned. Take a photo with your phone if you’re not sure how they go back together. Some pads have wear sensors or clips that need to transfer to the new pads.
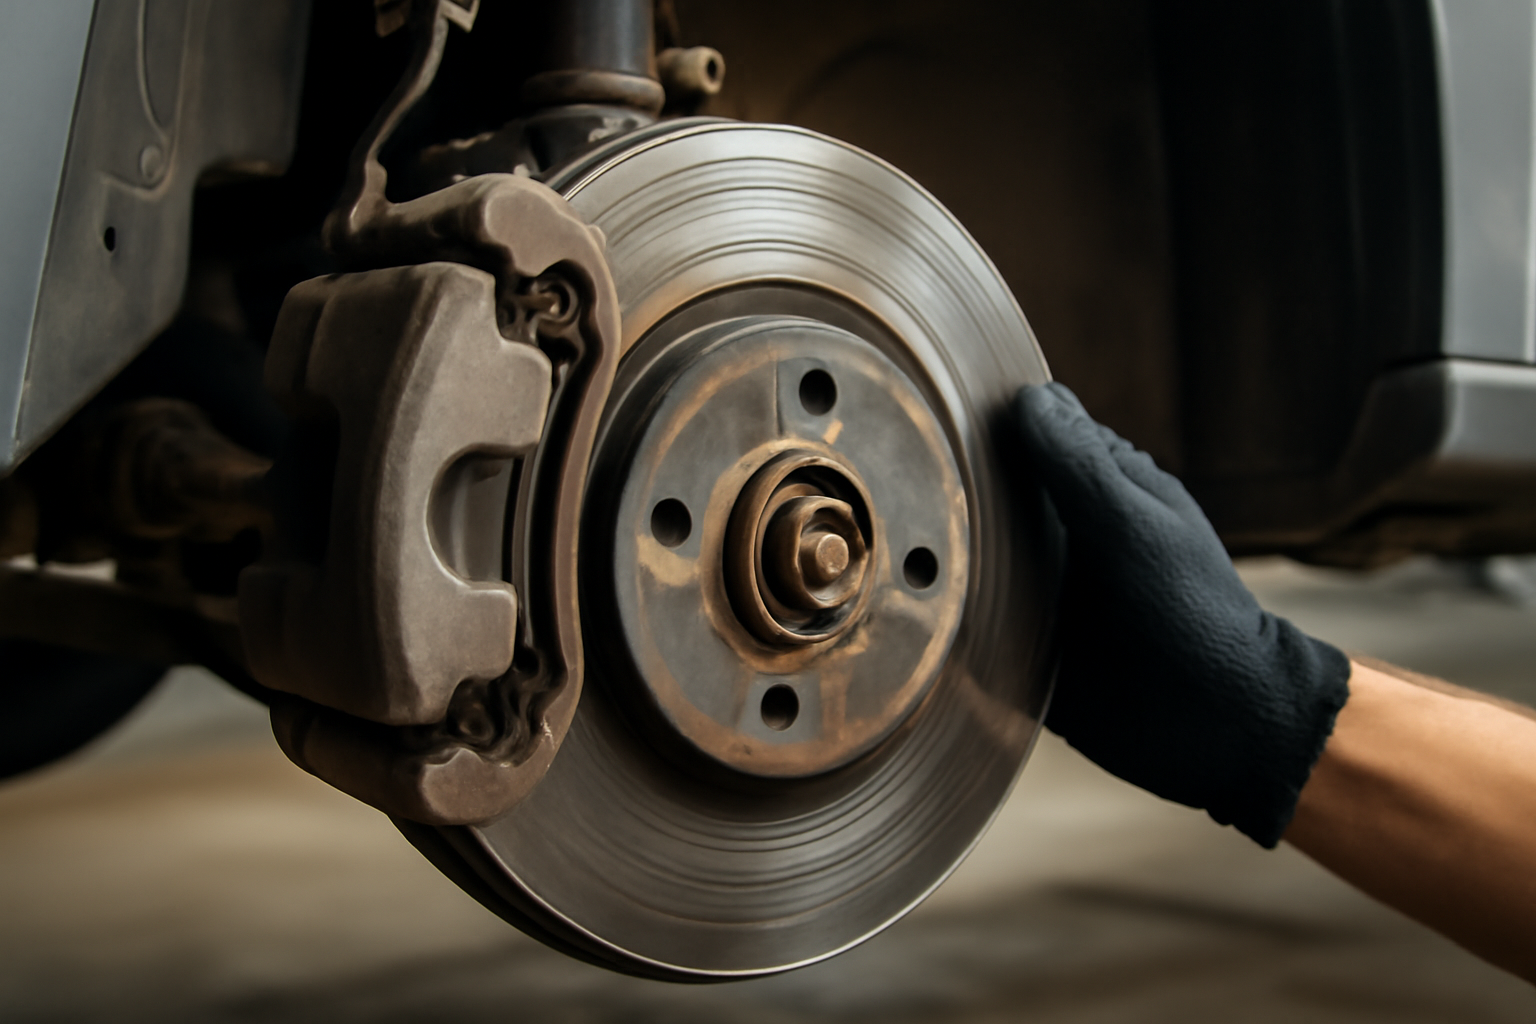
Removing the Old Rotors
To remove the rotors, you’ll need to take off the caliper bracket. This requires removing the caliper bracket bolts, which are usually larger and require more torque than the caliper bolts.
These bolts can be very tight, sometimes requiring a breaker bar or impact gun. Apply penetrating oil if they’re stuck, but be careful not to round off the bolt heads.
Once the bracket is off, the rotor should slide off the hub. Some rotors are held by small screws that you can remove, while others might be stuck due to rust. A few taps with a dead blow hammer usually frees stuck rotors.
Installing New Rotors and Pads
Clean the hub surface with a wire brush to remove any rust or debris. Apply a thin coat of anti-seize compound to prevent the new rotor from sticking in the future.
Install the new rotor and replace the caliper bracket. Torque the bracket bolts to specification, which is typically between 70-90 ft-lbs for most vehicles, but check your service manual for exact values.
Before installing new pads, you need to compress the brake caliper piston. Use a C-clamp or brake piston tool to slowly push the piston back into the caliper. This makes room for the thicker new pads.
Install the new brake pads in the same position as the old ones. Apply a thin layer of high-temperature grease to the pad backing plates where they contact the caliper, but keep grease away from the friction surface.
Final Assembly and Testing
Swing the caliper back down over the new pads and install the caliper bolt. Torque this bolt to specification, typically 25-35 ft-lbs.
Reinstall the wheels and lower the vehicle. Before driving, pump the brake pedal several times to seat the pads against the rotors. The pedal should feel firm and normal.
Check the brake fluid level in the master cylinder reservoir. Adding fluid might be necessary since you compressed the pistons back into the calipers.
Bedding In Your New Brake Pads
New brake pads need a bedding-in process to achieve maximum stopping power. This involves a series of controlled stops that transfer a layer of pad material onto the rotor surface.
Start with gentle stops from 30-35 mph, allowing the brakes to cool between applications. Gradually work up to more aggressive stops from 45-50 mph. Avoid coming to a complete stop during this process when possible.
The bedding process typically takes 10-15 stops and should be done on a safe road with minimal traffic. Your brakes might smell slightly during this process, which is normal.
Avoid heavy braking for the first 200-300 miles unless it’s an emergency. This allows the pads and rotors to fully mate and develop their full friction potential.
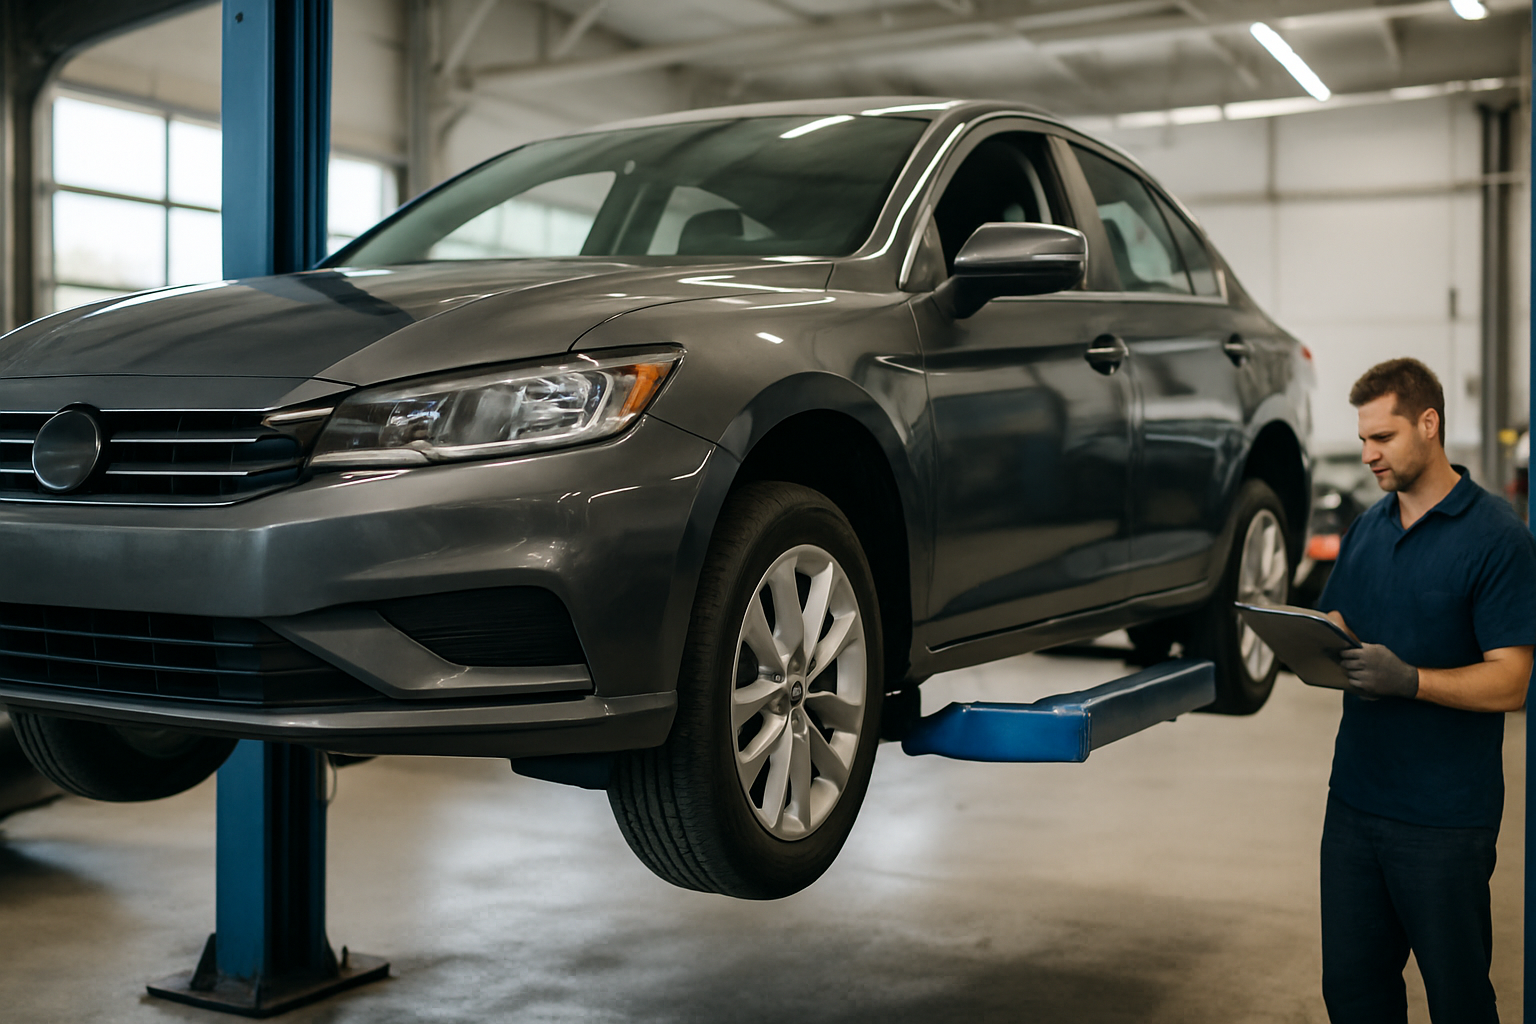
When NOT to DIY Brake Repairs
While brake pad and rotor replacement is within reach of most DIY mechanics, certain situations require professional attention. Don’t attempt this work if you’re not completely confident in your abilities.
ABS-related issues require diagnostic equipment and expertise most home mechanics don’t have. If you’re experiencing ABS warning lights, pulsing brake pedals, or other electronic brake system problems, take your vehicle to a qualified shop.
Brake line leaks, master cylinder problems, or brake fluid contamination also require professional attention. These issues affect the entire brake system and can be dangerous if not properly diagnosed and repaired.
If your brake pedal goes to the floor, makes unusual noises beyond normal pad wear indicators, or if you’re simply not comfortable with the complexity of the job, don’t risk it. Professional brake service is worth the cost when safety is at stake.
Cost Breakdown and Savings
A typical brake shop charges $400-600 for front brake pads and rotors, depending on your vehicle and location. The same job done at home typically costs $150-250 in parts, creating substantial savings.
High-quality ceramic brake pads cost $50-80 per axle, while rotors run $40-70 each for most passenger vehicles. Performance or luxury vehicles will cost more, but the percentage savings remain similar.
The tools you buy for this job will pay for themselves after just one brake service, and you’ll have them for future maintenance. A good floor jack, stands, and basic tools are investments in long-term vehicle maintenance.
Frequently Asked Questions
How often should brake pads and rotors be replaced?
Brake pads typically last 25,000-60,000 miles depending on driving conditions and pad material. Rotors often last through two sets of pads, or about 50,000-80,000 miles. City driving, mountainous terrain, and aggressive braking reduce these intervals significantly.
Can I replace just the pads without replacing rotors?
Yes, if the rotors are still within thickness specifications and aren’t warped or damaged. However, new pads on old rotors take longer to bed in and might not provide optimal performance. When in doubt, replacing both components together ensures the best results.
Do I need to replace brake pads on both sides of the axle?
Always replace brake pads in axle sets, never just one side. Different friction levels between left and right sides can cause the vehicle to pull during braking, creating dangerous handling characteristics.
What’s the difference between ceramic and semi-metallic brake pads?
Ceramic pads run quieter, produce less dust, and last longer, but cost more initially. Semi-metallic pads offer better performance in extreme conditions and cost less, but create more dust and noise. For most daily drivers, ceramic pads provide the best overall experience.
This article contains affiliate links. If you purchase through these links, we may earn a small commission at no extra cost to you.

Leave a Reply