
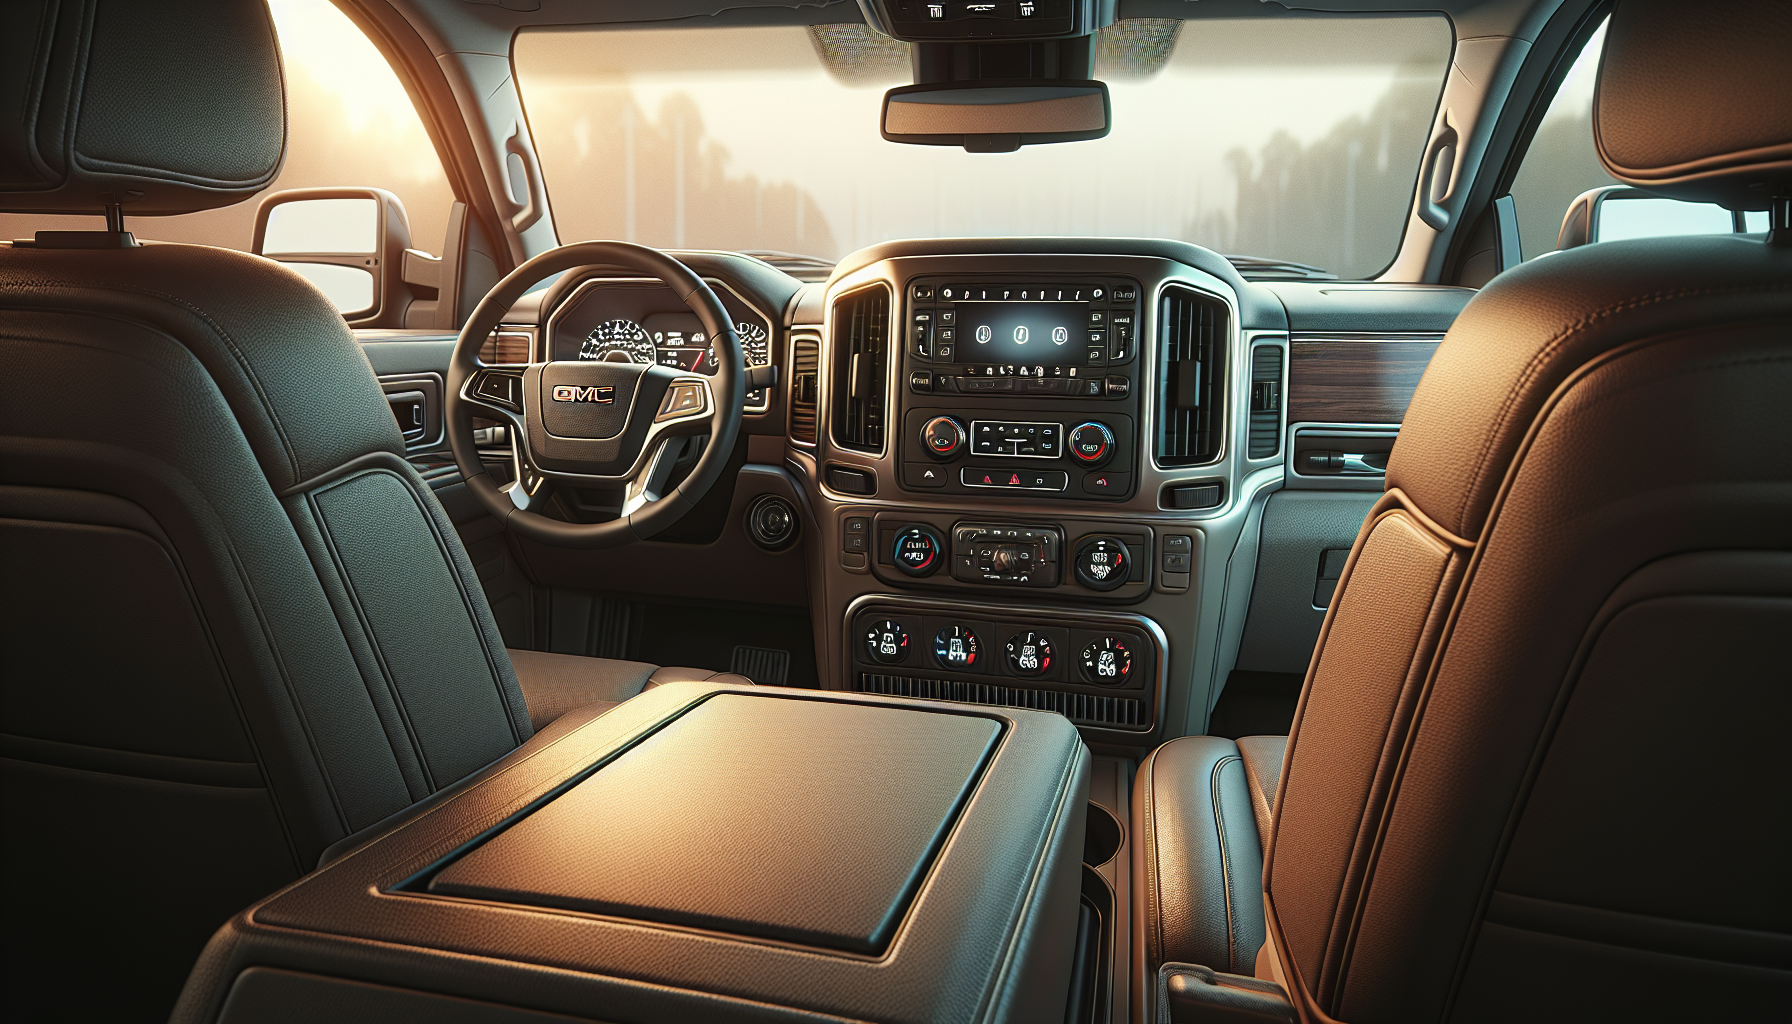
There’s nothing worse than happy kids in the back seat on a road trip suddenly complaining that the rear AC is blowing hot air while you’re freezing up front. It’s a frustrating problem that hits a lot of GMC Yukon owners, especially on models from the early 2000s through the mid-2010s. The rear climate control system in these SUVs has its own components, and when something fails back there, the front AC can work perfectly fine while your passengers roast.
Most of the time, this issue comes down to a few specific parts that either wear out or get stuck. The good news is that many of these fixes are doable in your driveway without special tools. Let’s walk through what’s probably going wrong and how to get cold air flowing to the back again.
Common Causes
The rear AC system in your Yukon operates semi-independently from the front, which means it has its own set of potential failure points. Here’s what usually goes wrong:
Rear AC Blend Door Actuator Failure
This is the most common culprit. The blend door actuator controls whether hot or cold air flows through the rear vents. When it fails or gets stuck, it might default to the heat position even when you’re asking for cold air. These plastic gears wear out over time, and you might even hear a clicking or ticking noise from under the rear console when it’s trying to move.
Rear Blower Motor Issues
If there’s no airflow at all from the rear vents, the blower motor itself might be dead. These motors can burn out, especially if they’ve been working hard for years. Sometimes it’s not the motor but the blower motor resistor that controls fan speeds.
Low Refrigerant
Your Yukon has one AC compressor that serves both front and rear systems, but the refrigerant needs to reach the rear evaporator. If you’re low on refrigerant, the rear system often suffers first because it’s farther from the compressor. A leak anywhere in the system can cause this.
Clogged Rear Expansion Valve or Evaporator
The rear AC has its own expansion valve and evaporator core. Debris or moisture in the system can clog the expansion valve, restricting refrigerant flow. This is less common but definitely happens, especially in older vehicles.
Failed Rear Temperature Sensor
The rear climate control system uses a temperature sensor to know when to adjust the blend door. If this sensor gives bad readings, the system might think it’s cold back there when it’s actually blazing hot.
How to Diagnose the Problem
Before you start throwing parts at the problem, spend some time figuring out what’s actually broken. Here’s how to narrow it down:
Step 1: Check for Airflow
Turn on the rear AC and make sure air is actually coming out of the vents. If there’s no airflow at all, you’re likely dealing with a blower motor or resistor problem. If air is flowing but it’s hot, keep going.
Step 2: Listen for the Actuator
With the engine running and the rear AC on, switch the rear temperature settings from cold to hot and back. Put your ear near the rear console or under the second-row seats. If you hear a clicking, grinding, or ticking noise, that’s your blend door actuator struggling or stuck.
Step 3: Compare Front and Rear Temperatures
Set both front and rear AC to the coldest setting and full fan speed. Use a thermometer to measure the vent temperature at both locations. If the front is blowing 40-45°F and the rear is significantly warmer (60°F or more), you either have a refrigerant issue or a problem with the rear evaporator system.
This video shows how to diagnose rear AC problems on GM SUVs like yours:
Step 4: Check for Diagnostic Codes
If your Yukon has rear climate controls, it might store fault codes. Common codes like B0433 or B3782 point to actuator problems. You can access these with a scan tool that reads body control module codes, not just engine codes.
Step 5: Feel the Rear AC Lines
Pop the hood and find the AC lines that run toward the back of the vehicle (usually along the passenger side). With the AC running, these lines should be cold. If they’re warm or only slightly cool, you’ve got a refrigerant issue.
How to Fix It
Once you know what’s wrong, here are the most common fixes you can tackle yourself:
Replacing the Rear Blend Door Actuator
This is the fix most Yukon owners end up doing. The actuator is usually located under or behind the center console area, accessible from the second row. You’ll need to remove some trim panels and possibly lower the rear HVAC housing slightly. The actuator itself is held in by a few screws or clips.
Disconnect the battery first to avoid electrical issues. Once you locate the actuator (it’s a small plastic box with a wiring connector), unplug it and remove the mounting screws. The new one slides right in. Make sure you get the right part number for your year—there are differences between model years.
Replacing the Rear Blower Motor or Resistor
If you have no airflow, you’ll need to replace either the blower motor or its resistor. The blower motor is typically located under the passenger side of the rear cargo area, behind a panel. The resistor is usually nearby or integrated with the motor assembly.
Remove the panel (usually held by plastic clips and a few screws), disconnect the wiring harness, and unbolt the old motor. Installation is just the reverse. These motors aren’t cheap, but they’re not complicated to swap.
Recharging the AC System
If your front AC is also weak and you’ve confirmed low refrigerant, you can recharge the system yourself with a DIY kit. Park in a shaded area, start the engine, and turn the AC to max. Connect the recharge kit to the low-pressure port (it’s on the larger of the two AC lines) and follow the kit instructions. Don’t overfill—too much refrigerant is as bad as too little.
That said, if you’re losing refrigerant, you have a leak that needs fixing. Recharging is a temporary band-aid unless you find and repair the leak.
Cleaning or Replacing the Expansion Valve
This is trickier because it requires evacuating the AC system first. If you’re comfortable with AC work, you can access the rear expansion valve near the rear evaporator. You’ll need to recover the refrigerant properly (don’t just vent it), replace the valve, and then vacuum and recharge the system. If you’re not set up for this, skip to the mechanic section below.
When to See a Mechanic
Some rear AC problems are best left to the pros. Here’s when to throw in the towel on DIY:
If you’ve replaced the actuator and motor but still have hot air, the problem likely lies in the refrigerant circuit—the rear evaporator, expansion valve, or a leak that needs professional detection and repair. Finding AC leaks requires special equipment like UV dye and leak detectors.
If your system needs a full refrigerant recovery and recharge, most DIYers don’t have the vacuum pump and gauges required to do it correctly. Shops have the proper equipment to evacuate moisture and air from the system before recharging.
When the rear evaporator itself is leaking or clogged, replacement is a major job. The entire rear HVAC housing has to come out, which means removing seats and a lot of interior trim. This can easily turn into an all-day job even for experienced mechanics.
Estimated Repair Costs
Here’s what you can expect to pay for common repairs, both DIY and at a shop:
| Repair | DIY Cost | Shop Cost |
|---|---|---|
| Rear Blend Door Actuator | $50-$120 (parts) | $200-$400 |
| Rear Blower Motor | $80-$150 (parts) | $250-$450 |
| Blower Motor Resistor | $30-$60 (parts) | $150-$250 |
| AC Recharge (DIY kit) | $40-$60 | $150-$250 |
| Rear Expansion Valve | $50-$100 (parts only) | $400-$700 |
| Rear Evaporator Replacement | $200-$400 (parts) | $1,000-$1,800 |
| AC Leak Repair | Varies widely | $300-$800+ |
Labor costs vary a lot by region, so these are ballpark numbers. Dealer prices run higher than independent shops.
Prevention Tips
You can’t prevent every AC failure, but a few habits will help your rear system last longer:
Run your rear AC regularly, even in winter. Running it for a few minutes every couple of weeks keeps the seals lubricated and prevents the actuators from seizing up. Just flip it on while you’re driving.
Replace your cabin air filter on schedule. A clogged filter makes the blower motor work harder, shortening its life. Most Yukons have two filters—one for the front system and one for the rear.
Address refrigerant leaks quickly. When your system runs low on refrigerant, the compressor has to work harder and can fail prematurely. Plus, low refrigerant means your rear system gets even less cooling capacity.
Watch for early warning signs like weak airflow or temperature inconsistencies. Catching a failing actuator before it completely dies can save you from dealing with no AC on a hot summer day.
Wrapping Up
A GMC Yukon with non-functioning rear AC is frustrating but usually fixable without breaking the bank. Most owners end up replacing the blend door actuator, and that solves the problem. If you’re comfortable working on your vehicle, you can knock out the most common repairs in a few hours with basic tools. Just take your time diagnosing before you start buying parts, because throwing a $100 actuator at a $40 resistor problem is an expensive mistake. And if the issue turns out to be deep in the refrigerant system, don’t hesitate to get a shop involved—some jobs just aren’t worth the headache.



Leave a Reply