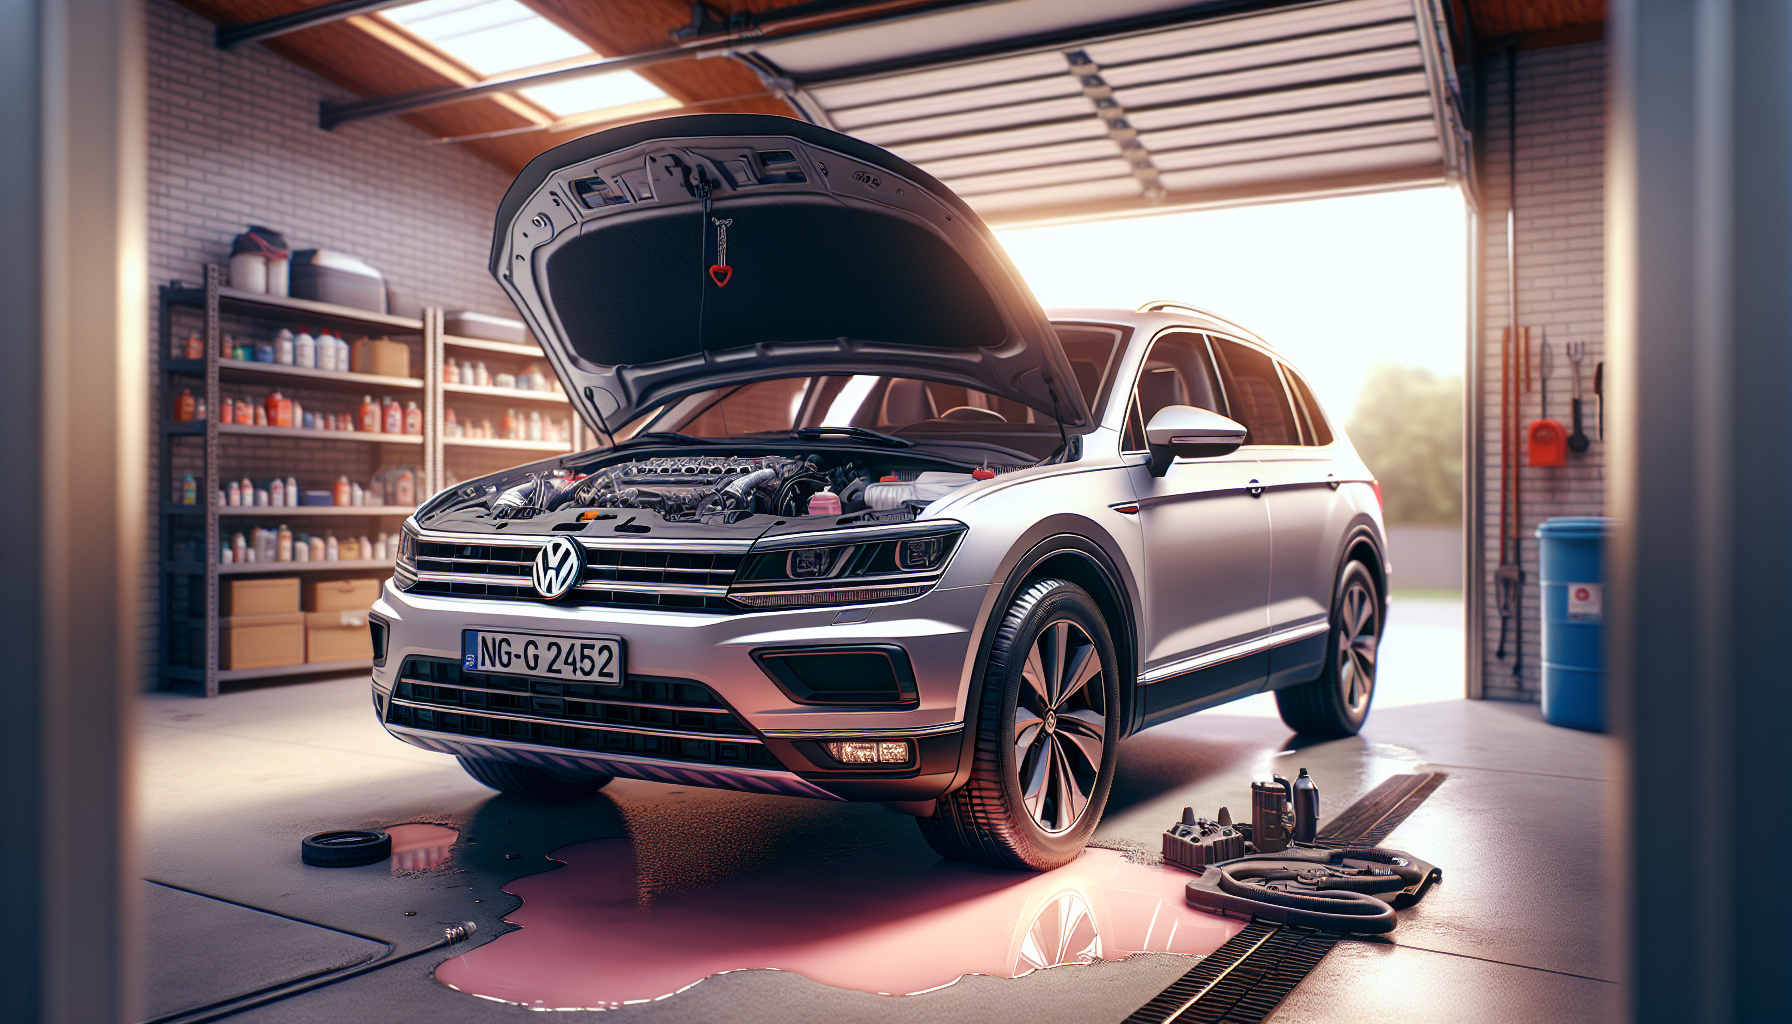
If you’ve noticed a puddle of coolant under your Volkswagen Tiguan or caught a whiff of that sweet antifreeze smell, there’s a good chance your water pump is the culprit. The water pump on VW’s 2.0 TSI engine is a known weak point, especially on models from 2009 through 2018. The plastic housing tends to crack over time from heat cycles and vibration, leading to coolant leaks that range from minor seepage to full-blown gushers.
What makes this particularly frustrating is that the water pump on these engines is integrated into the thermostat housing assembly. You can’t just replace a gasket and call it a day. When it fails, you’re looking at replacing the entire unit. But before you panic about the repair bill, let me walk you through what causes this, how to confirm it’s actually the water pump, and what your options are for fixing it.
Common Causes
The VW Tiguan water pump doesn’t fail randomly. There are specific reasons why these units crack and leak, and understanding them helps you spot the problem early.
Plastic Housing Deterioration
Volkswagen used a plastic composite material for the water pump housing to save weight and cost. Over time, the constant heating and cooling cycles cause this plastic to become brittle. Small stress cracks develop around the mounting points and sealing surfaces. I’ve seen housings that looked fine externally but had hairline cracks letting coolant seep through. The 2.0 TSI engines run hot, and that accelerates the degradation process.
Coolant Contamination
Using the wrong coolant or mixing different types creates chemical reactions that eat away at gaskets and seals. VW specifies G13 coolant for a reason. If someone topped off your system with generic green coolant at some point, you might see premature failure of seals and o-rings in the water pump assembly.
Age and Mileage
Most Tiguan water pumps start showing problems between 60,000 and 100,000 miles. It’s not really a question of if, but when. The original equipment pumps from the factory seem to have a built-in expiration date. Replacement units with improved materials tend to last longer, but the first one rarely makes it past 100k.
Improper Installation
If your water pump was replaced before and it’s leaking again quickly, there’s a decent chance it wasn’t installed correctly. The torque specs on those mounting bolts matter. Too tight and you crack the housing. Too loose and coolant seeps past the gasket. There’s also a specific bolt tightening sequence that prevents warping the housing.
How to Diagnose the Problem
Before you start ordering parts, confirm that you actually have a water pump leak. Coolant can travel along hoses and drip from lower points, making it tricky to identify the real source.
Visual Inspection
Pop the hood and look at the front right side of the engine (passenger side). The water pump housing is mounted low on the engine block, just above the serpentine belt. You’re looking for fresh coolant residue, which appears as pink or orange crusty deposits. Use a flashlight and check all around the housing perimeter. Pay special attention to where the housing meets the engine block and around the coolant hoses connecting to it.
Remove the plastic engine cover if your model has one. Sometimes coolant pools on top of it, hiding the actual leak source. Check the area below the throttle body and around the thermostat housing. If everything’s wet with coolant in that region, you’re probably dealing with a water pump leak.
Pressure Test
A cooling system pressure test removes all guesswork. Most auto parts stores loan these tools for free. With the engine cold, remove the radiator cap and attach the pressure tester. Pump it up to the pressure rating shown on your radiator cap (usually around 15-16 PSI for the Tiguan). Watch the gauge for pressure drop, and inspect the water pump housing while the system is pressurized. Active leaks become immediately obvious.
Sometimes you’ll see coolant weeping from the housing seam or from around the thermostat. That’s your confirmation. The gauge dropping over 5-10 minutes also tells you there’s a leak somewhere, even if you can’t see it yet.
Check Your Coolant Level
If you’re constantly topping off coolant but don’t see puddles under the car, you might have a small leak that’s evaporating off the hot engine before it drips. Check the expansion tank when the engine is cold. If it’s consistently low and you see no external puddles, the water pump is leaking slowly onto hot engine components.
This video shows the water pump housing removal process and what a failed unit looks like:
How to Fix It
Replacing the water pump on a VW Tiguan is moderately difficult. You need basic hand tools, some patience, and about 3-4 hours if it’s your first time. The job itself isn’t complex, but access is tight and you need to be methodical.
What You’ll Need
- New water pump/thermostat housing assembly (OEM or quality aftermarket)
- Fresh VW G13 coolant (about 2 gallons)
- New o-rings and gaskets (usually included with the pump)
- Socket set (10mm, 13mm sockets get used most)
- Torx bits (T25, T30)
- Drain pan
- Torque wrench
- Coolant funnel or spill-free filling tool
Step-by-Step Replacement Process
1. Drain the Coolant
With the engine completely cold, open the expansion tank cap to release pressure. There’s a drain plug on the bottom of the radiator, but I usually just pull the lower radiator hose at the radiator for faster draining. Have your drain pan ready because coolant comes out fast. Collect it properly and recycle it at any auto parts store.
2. Remove the Serpentine Belt
Use a 16mm wrench on the tensioner pulley to release belt tension and slide the belt off. Take a photo of the belt routing before removal. Trust me on this one.
3. Disconnect the Electrical Connector
The thermostat has a small electrical connector on top. Press the tab and pull it straight off. Don’t yank on the wires.
4. Remove Coolant Hoses
There are typically three hoses connected to the water pump housing. Use hose clamp pliers or a regular screwdriver to loosen the spring clamps. Twist the hoses as you pull them off. If they’re stuck (they often are), carefully work a small flat screwdriver between the hose and housing to break the seal.
5. Unbolt the Housing
The housing is held on by six bolts. Most are 10mm or 13mm. One or two might be Torx bolts depending on your model year. Remove them all and keep them organized. The housing will be stuck to the engine block with a gasket. Gently pry it loose with a plastic scraper. Don’t use metal tools that could gouge the sealing surface on the block.
6. Clean the Mating Surface
This step matters. Use a plastic scraper to remove all old gasket material from the engine block surface. Any debris or old gasket left behind will cause a leak with the new pump. Wipe it clean with a lint-free cloth and some brake cleaner.
7. Install the New Pump
Install the new o-rings and gasket that came with your replacement pump. A thin film of coolant on the o-rings helps them seat properly. Position the new housing and start all the bolts by hand. Tighten them in a crisscross pattern to the specified torque (usually around 10 Nm or 7 lb-ft). Don’t overtighten these. Cracking the new housing on installation is embarrassingly common.
8. Reconnect Everything
Attach the coolant hoses and tighten the clamps. Plug in the electrical connector. Reinstall the serpentine belt following your reference photo.
9. Refill and Bleed the System
This is where people screw up. You can’t just dump coolant in the expansion tank and call it done. Air pockets will cause overheating. Fill the system slowly through the expansion tank. Start the engine with the cap off and let it run until the thermostat opens (you’ll see coolant start flowing in the tank). Keep adding coolant to maintain level. Run the heater on full blast to help purge air. Once the cooling fans cycle on, you’re getting close. Let it cool down and top off again.
This video demonstrates the full removal and replacement process:
When to See a Mechanic
Some situations call for professional help, and there’s no shame in that.
If you don’t feel comfortable working with coolant systems, take it to a shop. An improperly bled cooling system will cause your engine to overheat, potentially warping the cylinder head. That turns a $300 repair into a $3,000 nightmare.
Timing chain access can complicate things on certain model years. The water pump sits close enough to timing components that you might need to support the engine or remove the motor mount to get adequate clearance. If you don’t have an engine support bar or experience with that process, let a mechanic handle it.
If your Tiguan has already overheated from the water pump leak, have a professional assess potential engine damage before you just replace the pump. Overheating can damage head gaskets, warp heads, or worse. A compression test and leak-down test will tell you if additional damage occurred.
Estimated Repair Costs
Here’s what you’re looking at financially, depending on whether you DIY or hire it out.
| Repair Type | Cost Range | Notes |
|---|---|---|
| DIY Parts (aftermarket) | $120-$200 | Includes pump assembly and coolant |
| DIY Parts (OEM) | $250-$350 | Genuine VW parts cost more but fit better |
| Independent Shop Labor | $400-$600 | 2-3 hours labor plus parts |
| VW Dealership | $700-$1,100 | Highest cost but warranty coverage |
Labor rates vary significantly by location. Urban areas with high cost of living will be at the top of these ranges. Rural independent shops might come in cheaper.
One thing worth considering: if your Tiguan has high mileage, ask the mechanic about replacing the serpentine belt and tensioner while they’re in there. You’re already paying for access to that area, and belts typically need replacement around the same mileage as water pumps. Adding it to the job only adds about $50-75 in parts but saves you another $200 in labor later.
Prevention Tips
You can’t prevent water pump failure entirely on these engines, but you can extend the life of a new one and catch problems early.
Use the Correct Coolant
Only use VW G13 specification coolant in your Tiguan. Period. Don’t let a quick-lube place talk you into their universal coolant. The wrong stuff degrades seals and gaskets faster. When you need a top-off, buy the real deal or at minimum verify that the coolant meets VW G13 specs on the bottle.
Check Coolant Level Monthly
Pop the hood once a month and glance at the expansion tank. The level should be between the min and max marks when cold. If you’re adding coolant more than once every few months, you have a leak developing. Catching it early means fixing it before you’re stranded with an overheated engine.
Flush the System
Replace your coolant every 5 years or 60,000 miles, whichever comes first. Old coolant loses its corrosion inhibitors and becomes acidic, eating away at aluminum and plastic components. A flush costs maybe $150 at a shop but can add years to your water pump life.
Address Overheating Immediately
If your temperature gauge climbs above normal, pull over and shut down the engine. Running hot even briefly accelerates water pump housing degradation. Find out why it overheated and fix that problem before driving regularly again.
Upgrade When Replacing
When your water pump does fail, consider an upgraded unit with an aluminum housing if available for your engine variant. Some aftermarket manufacturers addressed VW’s design shortcomings with more durable materials. They cost a bit more but outlast OEM replacements.
Final Thoughts
A leaking water pump on your Tiguan is annoying but fixable. The job isn’t as intimidating as it looks once you get into it, and doing it yourself saves serious money. If you’re even moderately handy with tools, this is absolutely within your capability.
The key is acting quickly once you notice coolant loss. A small leak becomes a big leak, which becomes an overheated engine and potential catastrophic damage. Check that expansion tank regularly, keep an eye out for coolant puddles, and don’t ignore the sweet smell of antifreeze in your garage.
Whatever route you choose, just get it fixed. These water pumps don’t heal themselves, and driving around with a cooling system leak is gambling with your engine’s life.


Leave a Reply