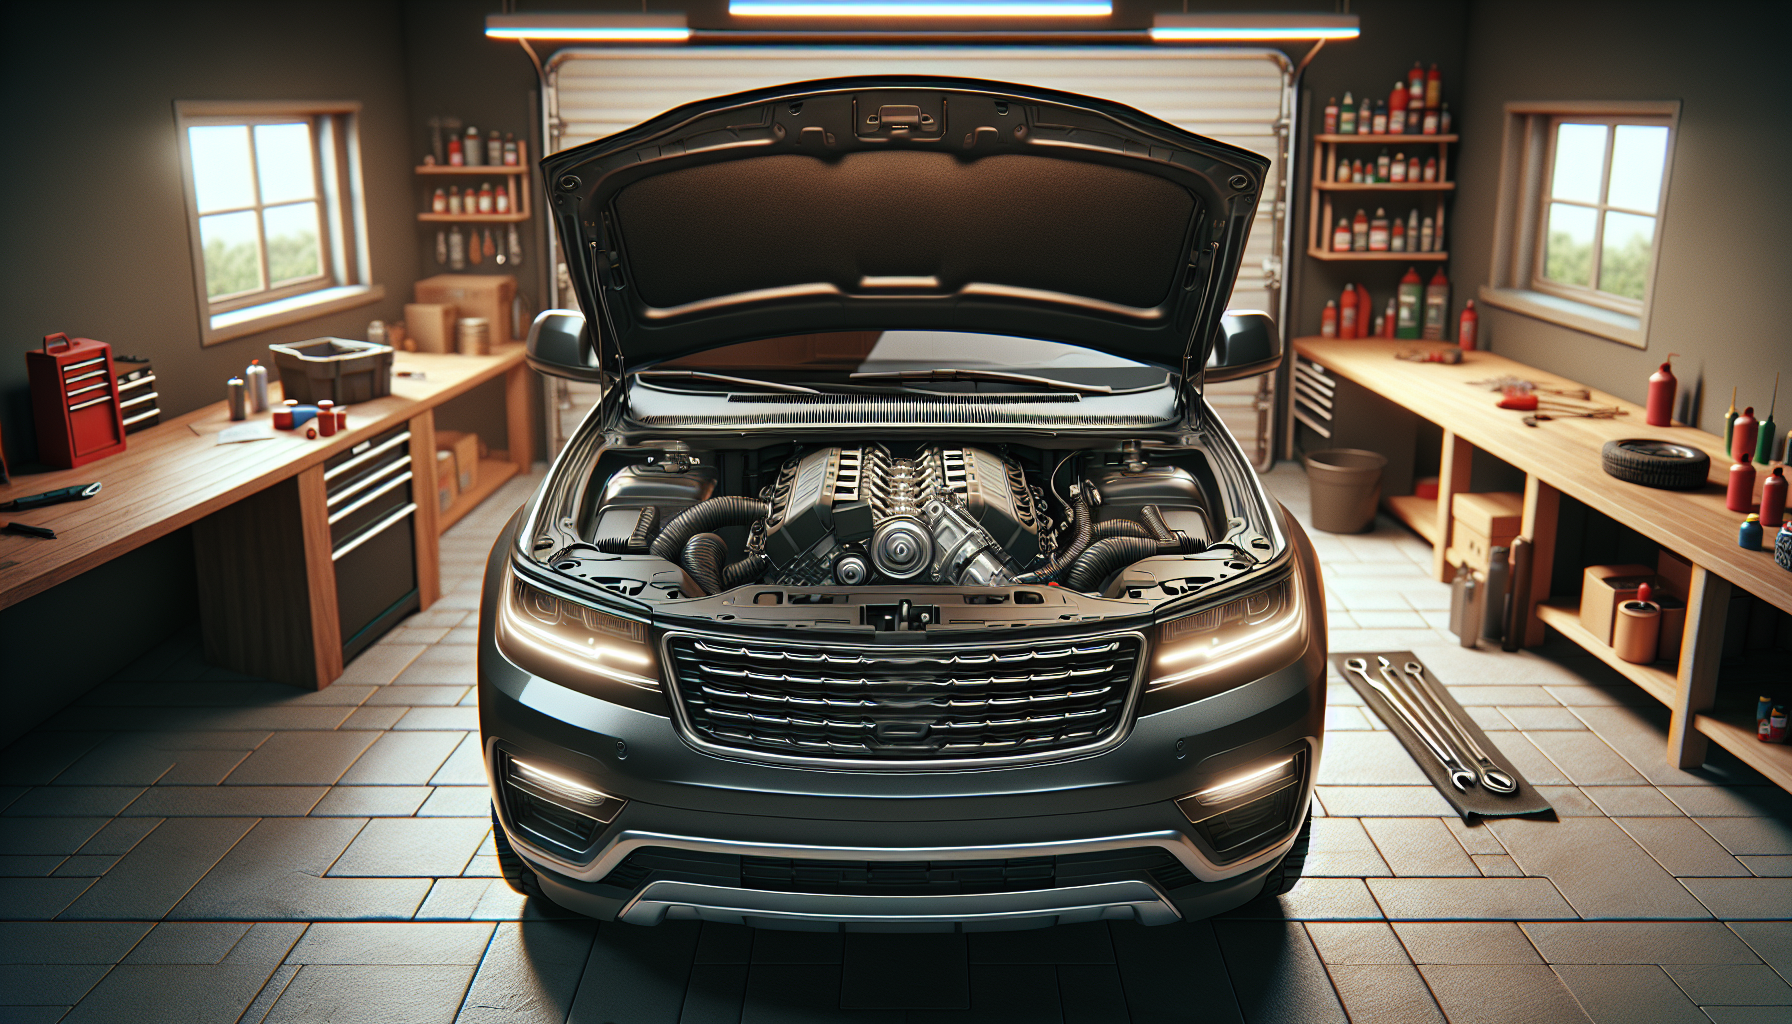
If you’ve noticed oil pooling on top of your BMW X5’s engine or caught a whiff of burning oil while driving, there’s a good chance your valve cover gasket is calling it quits. This is one of those repairs that sounds intimidating but is actually pretty manageable if you’ve got a weekend and some basic tools. The valve cover gasket seals the top of your engine where the valve cover meets the cylinder head, and when it fails, oil seeps out and makes a mess of everything.
BMW X5 models, especially the E53 generation (2000-2006) and later models with the N55 or B58 engines, are particularly prone to valve cover gasket leaks as they age. The gaskets get brittle from constant heat cycling, and before you know it, you’re looking at oil residue around the engine bay and possibly even an oil smell in the cabin when the heater’s running.
Common Causes
Valve cover gaskets don’t last forever, and on BMW X5s, they typically fail for a few predictable reasons.
Heat is the main culprit. These engines run hot, and the constant expansion and contraction of the gasket material eventually takes its toll. BMW uses a rubber-composite gasket that becomes hard and brittle over time. Once it loses its flexibility, it can’t maintain a proper seal anymore.
Age and mileage matter more than anything else. Most valve cover gaskets on the X5 start showing signs of failure between 60,000 and 100,000 miles. If your X5 has never had this gasket replaced and it’s past that mileage range, you’re living on borrowed time.
Improper installation from a previous repair can also cause premature failure. If someone overtightened the bolts or didn’t clean the mating surfaces properly, the new gasket won’t seal correctly. I’ve seen plenty of “new” gaskets leak within months because someone rushed the job.
Oil that hasn’t been changed regularly can accelerate gasket deterioration too. Old, sludgy oil breaks down gasket materials faster than fresh oil does.
How to Diagnose the Problem
Before you start ordering parts, make sure you’ve actually got a valve cover gasket leak and not something else.
Pop the hood and look at the top of the engine. Oil residue along the edges where the valve cover meets the cylinder head is a dead giveaway. You might see fresh oil that’s still wet, or you might see dried, crusty buildup if the leak has been going on for a while.
Check underneath the car too. Oil from a valve cover leak can drip down onto the exhaust manifold and other components, creating that burning oil smell. If you see oil on the sides of the engine block or on parts below the valve cover, trace it upward to find the source.
Clean the area thoroughly with brake cleaner and a rag, then run the engine for a few minutes. Sometimes oil from other leaks (like the oil filter housing gasket, which is also common on X5s) can migrate and make you think the valve cover is leaking when it’s not. After cleaning and running the engine, fresh oil appearing along the valve cover seam confirms your diagnosis.
Look for oil in the spark plug wells too. If the gasket has failed badly, oil can pool around the spark plugs. You’ll need to remove the ignition coils to check this properly.
How to Fix It
Replacing the valve cover gasket on a BMW X5 isn’t rocket science, but it does require patience and attention to detail. You’ll need a new valve cover gasket kit (which should include the main gasket, spark plug tube seals, and any necessary grommets), a socket set, torque wrench, gasket scraper or plastic scraper, brake cleaner, and a few hours of your time.
This video shows the complete replacement process on an X5 E53:
Start by disconnecting the battery. Safety first, and you don’t want any electrical gremlins while you’re working.
Remove the engine cover if your X5 has one. Most just pull straight up after releasing a few clips. Then disconnect any wiring harnesses, vacuum lines, or breather hoses attached to the valve cover. Take photos with your phone as you go so you remember where everything connects.
Pull out the ignition coils. They’re held in with a single bolt each. Be gentle with them because they’re expensive to replace if you crack one.
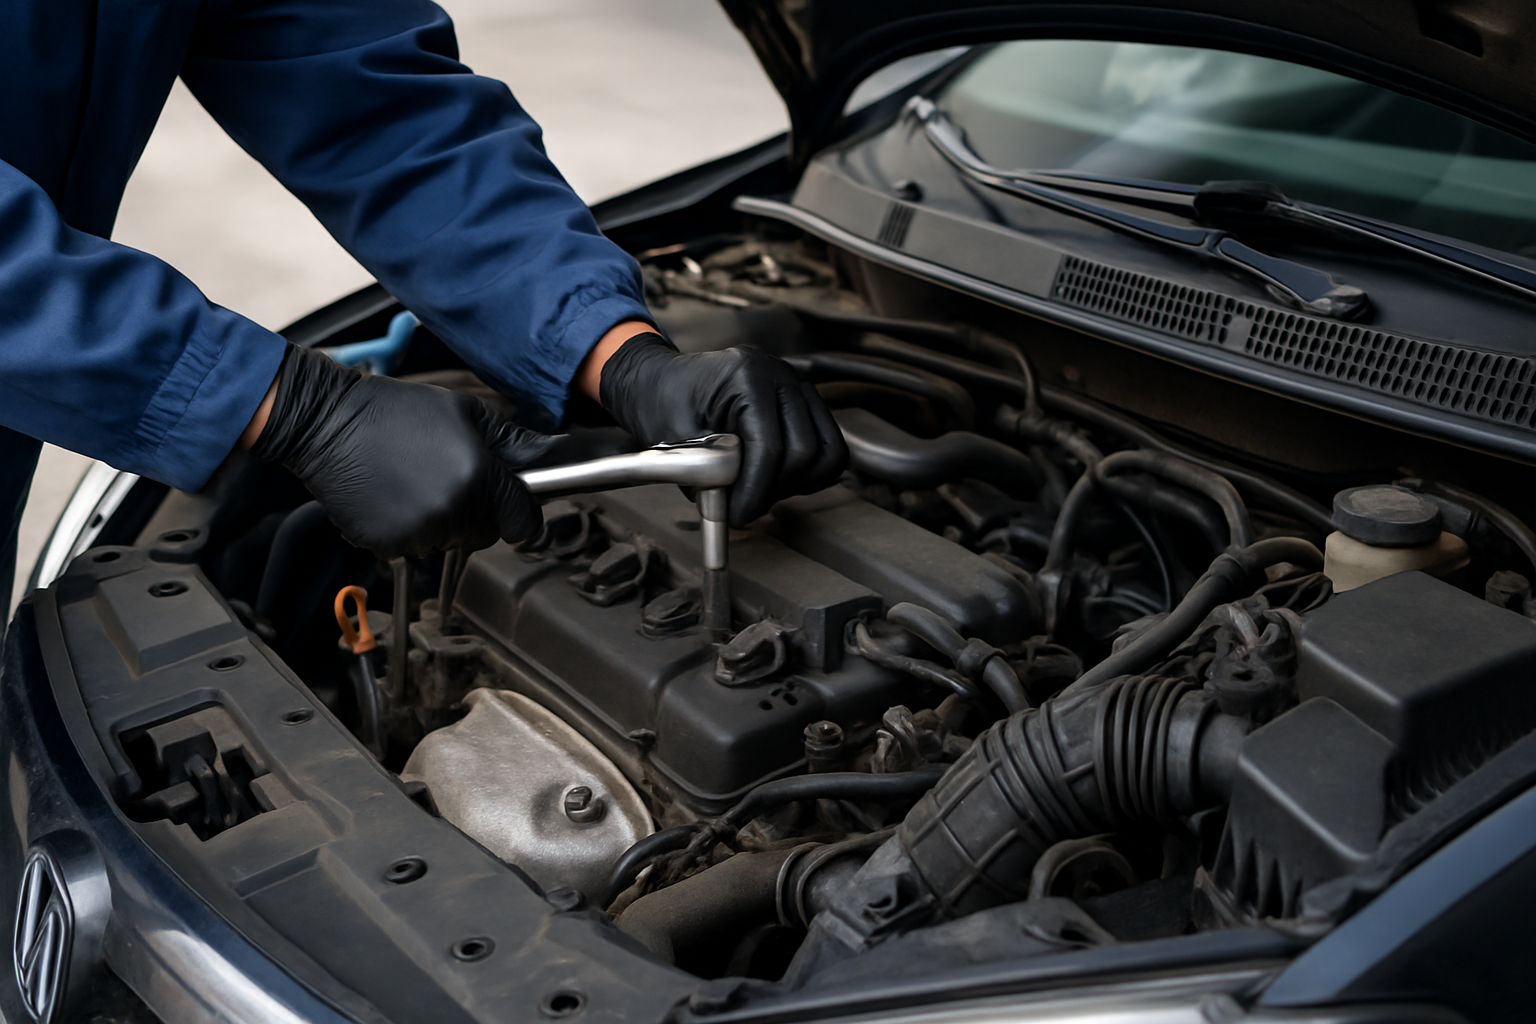
Now unbolt the valve cover itself. The bolts typically need to be removed in a specific sequence to avoid warping anything, but for removal, you can just take them all out. There are usually 10-12 bolts depending on your engine. Lift the valve cover off carefully. It might be stuck from years of heat and oil, so you may need to gently tap it with a rubber mallet.
Here’s where people mess up: surface preparation. You need to remove every trace of the old gasket material from both the valve cover and the cylinder head mating surface. Use a plastic scraper (not metal, which can gouge the aluminum) and lots of brake cleaner. Any old gasket material left behind will cause a leak. This step takes time, but it’s critical.
Inspect the valve cover itself for cracks or warping. If it’s damaged, you’ll need a new one. Check the bolt grommets too. If they’re deteriorated, replace them.
Install the new gasket onto the valve cover. Most BMW gaskets have locating tabs that click into place. Don’t use any sealant unless the instructions specifically call for it. Modern BMW gaskets are designed to seal without RTV or other goop.
Carefully set the valve cover back onto the engine, making sure the gasket stays in position. Start all the bolts by hand to avoid cross-threading.
Now comes the crucial part: torque sequence and specification. BMW valve cover bolts typically torque to around 8-10 Nm (about 6-7 ft-lbs), which is surprisingly light. Check your repair manual for the exact spec and follow the proper torque sequence, which usually starts in the middle and works outward in a crisscross pattern. This is where a lot of DIYers go wrong.
This video explains why valve covers keep leaking even after gasket replacement and what you might be missing:
https://www.youtube.com/watch?v=ICLodkzTKw0
Reinstall the ignition coils, reconnect all hoses and wiring, and put the engine cover back on. Reconnect the battery, start the engine, and let it run for a few minutes while you watch for leaks.
When to See a Mechanic
This repair is doable for someone with moderate mechanical skills, but there are situations where professional help makes more sense.
If you’ve never done engine work before, this might not be the best first project. While it’s not complicated, there are plenty of small parts and connectors that need to go back together correctly. One forgotten vacuum line can cause drivability issues that are frustrating to diagnose.
Some X5 models have more complex valve cover configurations. The N63 V8 engine, for example, has two valve covers and requires removing a lot more components to access them. If you’re not confident in your abilities or don’t have the time, let a shop handle it.
If you discover other issues while you’re in there, like worn cam followers or excessive sludge buildup, you’ll want a mechanic’s assessment. These can indicate bigger problems that need professional attention.
Also, if your valve cover itself is cracked or warped, you’ll need to replace it, which adds cost and complexity. A shop might have access to better pricing on OEM or quality aftermarket valve covers than you can find retail.
Estimated Repair Costs
The cost varies depending on whether you DIY or pay a shop, and which engine your X5 has.
| Repair Type | Parts Cost | Labor Cost | Total Cost |
|---|---|---|---|
| DIY Repair | $80-$150 | $0 | $80-$150 |
| Independent Shop | $100-$200 | $300-$500 | $400-$700 |
| BMW Dealership | $150-$300 | $500-$800 | $650-$1,100 |
| V8 Engine (both covers) | $200-$400 | $800-$1,500 | $1,000-$1,900 |
These numbers assume you’re just replacing the gasket. If the valve cover itself needs replacement, add another $200-$600 depending on the part source. OEM BMW parts cost more but tend to fit better and last longer than cheap aftermarket options.
Labor times vary based on engine type and what else needs to be removed to access the valve cover. Inline-six engines are usually quicker than V8s.
Prevention Tips
You can’t prevent gasket failure forever, but you can extend the life of your valve cover gasket with some basic maintenance habits.
Change your oil on time. Fresh oil keeps everything cleaner and reduces the chemical breakdown of gasket materials. BMW’s recommended oil change intervals are longer than I’d personally run, especially if you do a lot of short trips or cold-weather driving. I’d stick to 7,500-mile intervals instead of pushing it to 10,000 or beyond.
Use quality oil that meets BMW’s specifications. This isn’t the place to cheap out with bargain-brand oil. Your engine runs hot, and the gaskets need oil that can handle it without breaking down.
Keep an eye on things. If you check your oil regularly (which you should be doing anyway), you’ll spot a developing leak before it becomes a mess. Catching it early means you can plan the repair on your schedule instead of dealing with an emergency.
When you do replace the gasket, use quality parts. OEM BMW gaskets or reputable brands like Elring or Victor Reinz are worth the extra money compared to no-name gaskets that might last half as long.
If you’re having the work done professionally, make sure they follow proper torque specs and sequences. Don’t be shy about asking your mechanic about their process. A good shop will appreciate that you care about the details.
Avoid overtightening bolts during any engine work. Those valve cover bolts don’t need to be cranked down hard. The proper torque spec exists for a reason, and exceeding it crushes the gasket and causes premature failure.
A valve cover gasket replacement is one of those maintenance items that’s going to come up if you keep your X5 long enough. It’s not a matter of if, but when. The good news is that once it’s done properly, you shouldn’t have to worry about it again for another 60,000-100,000 miles. If you’re handy with tools and follow the process carefully, you can save yourself several hundred dollars and get the satisfaction of knowing the job was done right.


Leave a Reply