That low growl coming from the back of your Impreza isn’t normal. When a rear wheel bearing starts to fail, it announces itself with a distinctive humming or grinding noise that gets louder as you speed up. The sound might remind you of aggressive tire noise, except it doesn’t go away when you change roads or check your tire pressure.
Wheel bearings are sealed units packed with grease that allow your wheels to spin freely with minimal friction. They take a beating from road impacts, water intrusion, and the constant stress of supporting your car’s weight while rotating thousands of times per mile. On Subarus, the rear bearings can develop play or lose their lubrication over time, especially if you’ve hit potholes hard or driven through deep water.
Common Causes
Rear wheel bearings don’t just fail randomly. Here’s what typically kills them:
Normal wear and tear is the most common culprit. Most wheel bearings last between 75,000 and 150,000 miles, though some go much longer. The constant rotation and load eventually breaks down the grease and wears the bearing surfaces. If your Impreza has high mileage, this is probably what you’re dealing with.
Impact damage accelerates failure significantly. Hit a pothole at speed? Slam into a curb while parking? That sudden shock can create small indentations in the bearing races called brinelling. Once that happens, the bearing develops a rough spot that creates noise and wears progressively worse.
Water contamination is sneaky. If you’ve been driving through deep puddles or your car sits outside in harsh weather, water can eventually work its way past the bearing seals. Once moisture gets inside, it contaminates the grease and causes rust on the bearing surfaces. This is particularly common on Subarus in snowy climates where road salt accelerates corrosion.
Improper installation from a previous repair can doom a bearing early. If someone overtightened the axle nut or damaged the seal during installation, a brand new bearing might only last a few thousand miles. This is why proper torque specs matter.
How to Diagnose the Problem
Before you start ordering parts, verify that you actually have a bad wheel bearing. The symptoms can mimic other issues.
Start with the listening test while driving. Find a smooth, quiet road and accelerate to about 40-50 mph. Listen carefully for a humming, growling, or grinding noise. Does it get louder as you speed up? Does it change pitch when you turn? A bad rear wheel bearing typically produces a constant drone that increases with speed. If the noise gets louder when you turn left, the right rear bearing is likely the problem, and vice versa. That’s because turning shifts weight to the outside wheel, loading the bearing more.
This video walks through the diagnostic process:
Next, do the jack and wiggle test. Park on a level surface, engage the parking brake, and safely lift the rear of the car so one wheel is off the ground. Grab the tire at 12 and 6 o’clock and try to rock it in and out. Any noticeable play or clunking indicates bearing wear. Now grab it at 3 and 9 o’clock and repeat. Some slight movement at 3 and 9 might just be suspension bushings, but movement at 12 and 6 is a clear sign of bearing problems.
While you’re under there, do the spin test. Rotate the wheel by hand. A good bearing will spin smoothly and quietly. A bad one will feel rough, make grinding noises, or have notchy spots where it catches. This test is particularly useful because you can compare both rear wheels side by side.
Check for heat buildup after driving. After a 15-20 minute drive, carefully feel the center of each rear wheel hub (not the brake rotor, which will be hot). A failing bearing generates excessive friction and will be noticeably warmer than the good side. This isn’t foolproof but it’s another data point.
Here’s a detailed look at common Subaru rear end noise issues:
Don’t confuse wheel bearing noise with tire noise, exhaust rattles, or rear differential issues. Tire noise usually changes significantly with road surface. Exhaust noise won’t change with turning. Differential problems typically make noise during acceleration and deceleration, not at constant speed.
How to Fix It
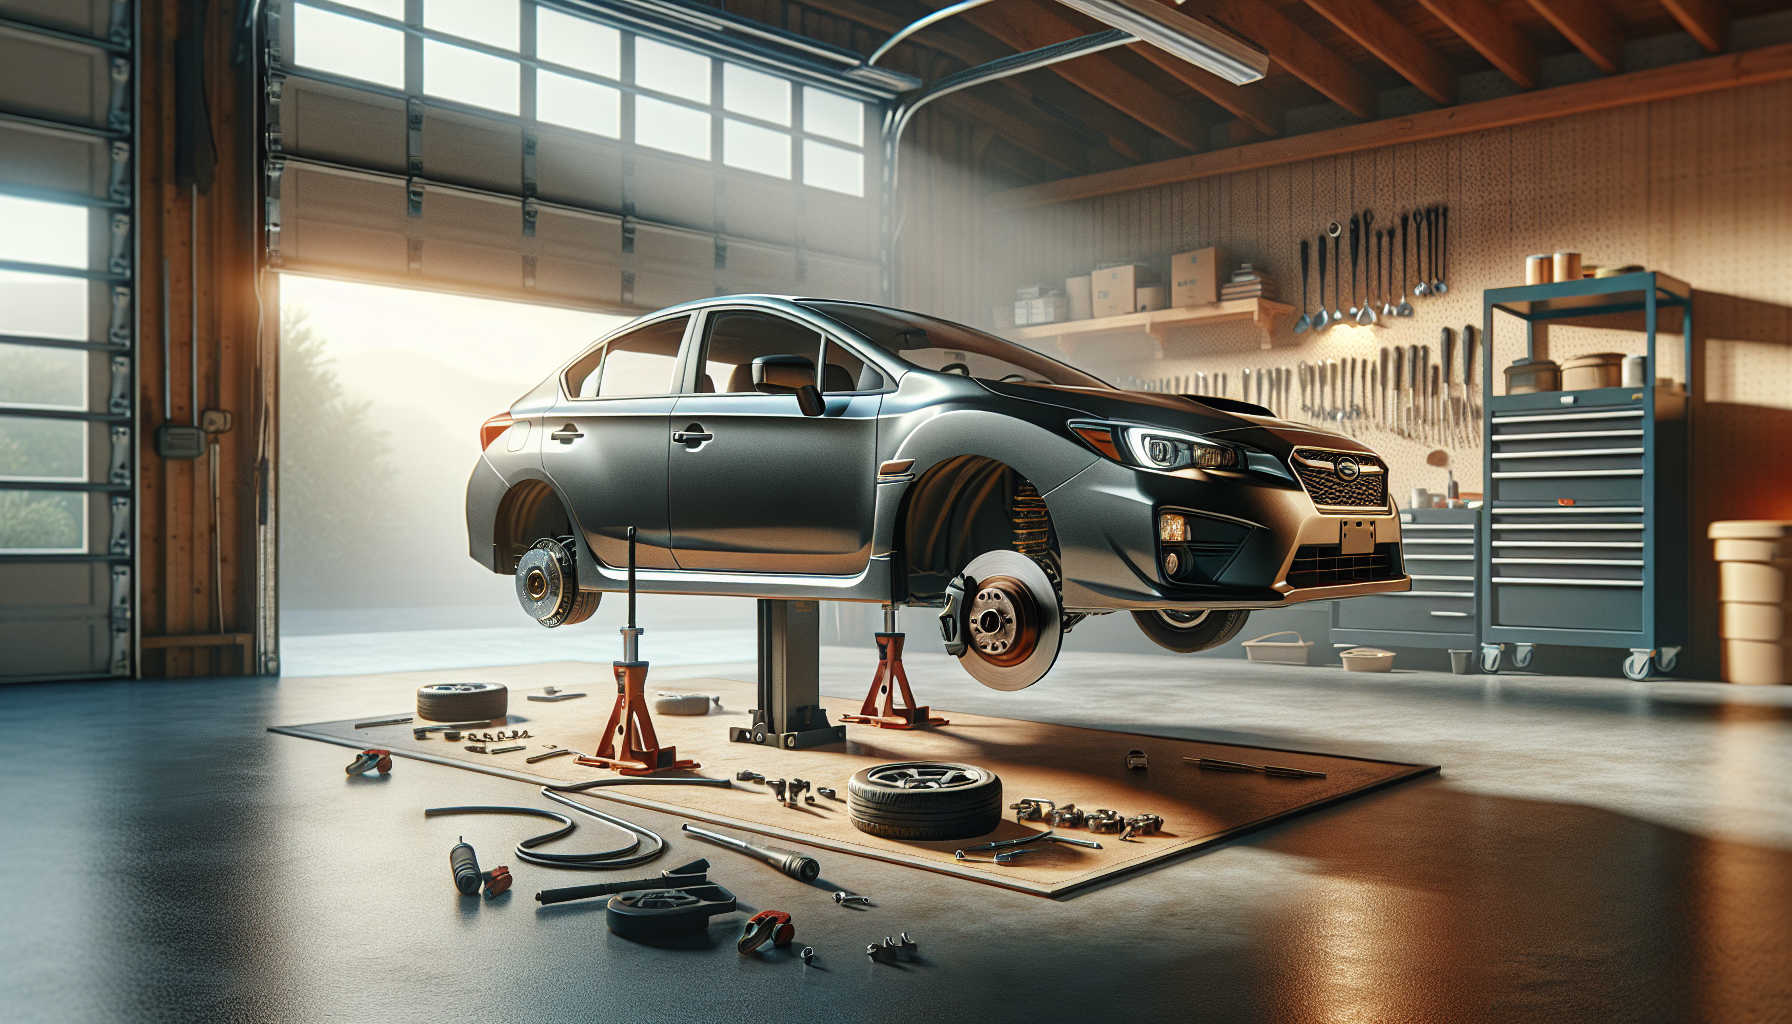
Replacing a rear wheel bearing on a Subaru Impreza is a moderate DIY job if you have the right tools. You’ll need a floor jack, jack stands, a torque wrench, basic hand tools, and ideally a breaker bar for the axle nut.
The rear wheel bearing on most Imprezas comes as a hub assembly, which simplifies the job considerably. You’re replacing the entire unit rather than pressing out the old bearing.
Start by loosening the axle nut while the car is still on the ground with the parking brake engaged. That nut is torqued to around 140 ft-lbs, so it won’t budge once the wheel is in the air. Don’t remove it yet, just break it loose.
Lift and secure the car on jack stands. Remove the wheel. You’ll see the brake caliper and rotor. Remove the caliper bracket bolts (usually two bolts on the back side) and hang the caliper with a wire or bungee cord. Don’t let it dangle by the brake line. Remove the rotor.
Now you can fully remove the axle nut. Behind the rotor, you’ll find four bolts securing the hub assembly to the knuckle. These are typically 14mm or 17mm. Remove all four bolts and pull the hub assembly off. Sometimes it’s stuck from corrosion, so you might need to tap it with a rubber mallet.
Clean the mounting surface on the knuckle thoroughly. Any debris or rust here will prevent proper seating of the new bearing. Install the new hub assembly, threading in the four bolts and torquing them to spec (check your service manual, but it’s usually around 45-50 ft-lbs).
Reinstall the rotor, caliper bracket, and wheel. Lower the car enough that the tire touches the ground, then torque the axle nut. This is critical: the spec is typically 140 ft-lbs for most Imprezas, but verify for your specific year. Too loose and the bearing will fail prematurely. Too tight and you can damage it.
Test drive and listen for the noise. It should be gone. If you still hear it, either you diagnosed the wrong wheel or there’s another issue at play.
When to See a Mechanic
Some situations call for professional help. If you don’t have the tools or workspace to safely support the car, don’t attempt this. Working under an improperly supported vehicle is dangerous.
If you’re not confident using a torque wrench, have a shop do it. The axle nut torque is critical to bearing life. Over or under-torquing will cause premature failure.
When you discover multiple problems during diagnosis, a mechanic can be more efficient. If the brakes are shot, suspension bushings are worn, and the bearing is bad, a shop with a lift can tackle everything at once.
If the noise persists after replacing what you thought was the bad bearing, something else is going on. Could be the differential, could be a front bearing that you misdiagnosed as rear. A mechanic with experience can pinpoint it faster than throwing parts at the problem.
Estimated Repair Costs
Here’s what you can expect to pay, depending on whether you DIY or hire it out:
| Repair Type | Cost Range |
|---|---|
| DIY Parts Only (hub assembly) | $80 – $150 per wheel |
| Shop Labor (per wheel) | $150 – $250 |
| Total Shop Cost (parts + labor, one wheel) | $230 – $400 |
| Both Rear Bearings at Shop | $400 – $750 |
Dealerships typically charge on the higher end of this range. Independent shops are usually cheaper but still competent. If one bearing is bad and the other has similar mileage, consider replacing both. You’ll save on labor since the mechanic is already back there.
Prevention Tips
You can’t prevent wheel bearing wear entirely, but you can extend their life.
Avoid potholes and rough roads when possible. Every major impact shortens bearing life. When you can’t avoid them, slow down. Hitting a pothole at 20 mph does less damage than at 40.
Don’t drive through deep water if you can help it. Water intrusion is a major killer of wheel bearings, especially salt water or water contaminated with road chemicals. If you must drive through standing water, go slowly to minimize the amount that splashes up into the wheel wells.
Keep up with your wheel alignments and tire rotations. Improper alignment puts uneven stress on bearings. Unbalanced or unevenly worn tires create vibrations that accelerate wear.
Listen to your car. The earlier you catch a failing bearing, the less likely it is to cause secondary damage. A bearing that’s just starting to make noise hasn’t destroyed its seals yet. One that’s been grinding for months might have damaged the hub, knuckle, or ABS sensor.
When you do replace a bearing, use quality parts. Cheap bearings from unknown brands might save you $30 upfront, but they often fail within 20,000 miles. Stick with reputable manufacturers like Timken, SKF, Moog, or NSK. OEM Subaru bearings are excellent but pricey.
Wrapping Up
Diagnosing a rear wheel bearing on your Impreza isn’t complicated. The noise signature is pretty distinctive, and the physical tests confirm it quickly. If you hear that characteristic hum that changes with speed and turning, you know what you’re dealing with.
The repair is manageable for someone with moderate mechanical skills and basic tools. The hardest part is usually just breaking loose that axle nut. Take your time, torque everything properly, and your new bearing should last another 100,000 miles.
Don’t ignore the noise. A bearing that’s making noise is already damaged and will only get worse. Left unchecked, it can seize, destroy the hub, damage the ABS sensor, or even cause the wheel to lock up. None of those scenarios are cheap or safe. Catch it early and fix it right.


Leave a Reply