
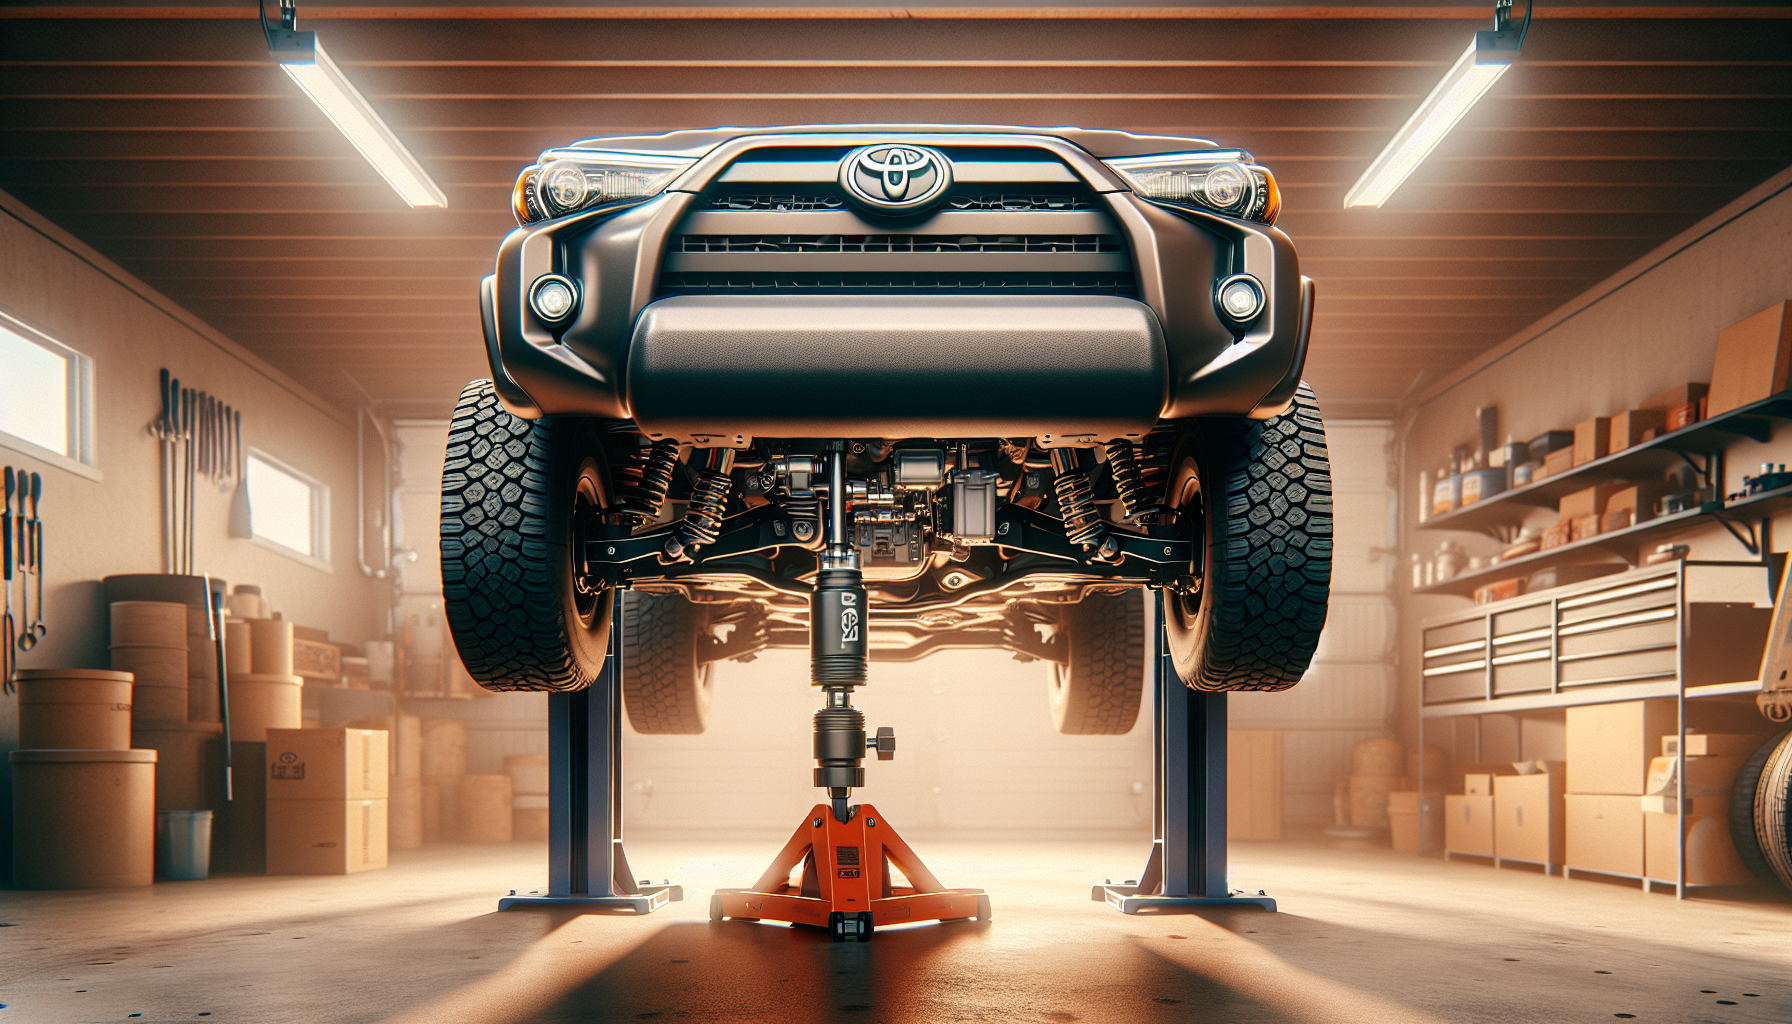
If you’ve noticed oily residue around your 4Runner’s suspension components or spotted puddles of hydraulic fluid under your truck, there’s a good chance your KDSS system is leaking. The Kinetic Dynamic Suspension System uses hydraulic pressure to control sway bars, and when seals or lines fail, that fluid has to go somewhere. These leaks typically start small but get worse over time, and ignoring them means you’ll eventually lose the adaptive suspension benefits you paid for.
KDSS leaks usually show up on higher-mileage 4Runners, especially those that see serious off-road use. The system works hard when you’re flexing over obstacles, and all those hydraulic connections are exposed to rocks, mud, and temperature swings. Most commonly, you’ll find leaks at the hydraulic rams on the sway bars themselves, though accumulators and hard lines can fail too.
Common Causes
The KDSS system is basically a network of hydraulic rams, lines, and accumulators that connects your front and rear sway bars. When you’re cornering on pavement, the system locks up to reduce body roll. Off-road, it allows the sway bars to disconnect so your suspension can articulate freely. All that switching back and forth puts stress on seals and fittings.
Worn Hydraulic Ram Seals
The rams attached to each sway bar contain internal seals that keep hydraulic fluid contained under pressure. After 100,000 miles or so, especially if you wheel your truck regularly, these seals start to harden and crack. You’ll see fluid seeping from the ram body, usually leaving a wet, oily coating on the component. Sometimes the leak is barely visible at first, just enough to attract dirt and create a grimy buildup.
Damaged Hydraulic Lines
The hard lines and rubber hoses that connect everything can get damaged by trail debris. A rock strike to an unprotected line can cause a slow weep or, in worse cases, a sudden spray of fluid. The rubber sections are particularly vulnerable as they age. They develop cracks from UV exposure and temperature cycling, then start weeping fluid once the outer layer deteriorates enough.
Failed Accumulator Seals
The KDSS accumulators store pressurized hydraulic fluid and nitrogen gas, separated by internal bladders or pistons. When these internal components fail, you might not see an external leak right away. Instead, the system loses pressure and stops working correctly. Sometimes the accumulator valve itself develops a leak where it threads into the body.
Fitting and Connection Leaks
Every connection point in the system is a potential leak spot. The banjo bolts and crush washers at hydraulic rams can weep if they weren’t torqued properly during previous service, or if the washers compressed and lost their seal over time. Thread sealant degrades, O-rings shrink, and what was tight five years ago might not be anymore.
How to Diagnose the Problem
Start with a visual inspection under good lighting. You’re looking for wet spots, oil residue, or crusty buildup that indicates an old leak. KDSS fluid is basically power steering fluid, so it’ll have that characteristic amber color when fresh and turn darker as it ages and collects dirt.
Clean off any suspect areas with brake cleaner and a rag, then take the truck for a drive. When you get back, check those same spots again. A fresh leak will show up quickly, and you’ll be able to trace it to its source. Pay special attention to the hydraulic rams on both sway bars. Look where the ram shaft enters the body, and check all the threaded connections.
Check the accumulator assembly near the frame rail on the driver’s side. There are two accumulators and a control valve. Look for fluid around the valve body and where the accumulators thread in. If everything looks dry on the outside but you’re still losing fluid, you might have an internal accumulator failure.
This technical breakdown explains how the KDSS system works and where leaks typically occur:
Inspect all visible hard lines running along the frame. They’re tucked up fairly well, but a good whack from a rock can dent or crack them. Rubber flex lines near the wheels are easier to damage. Flex the suspension by pushing down on the bumper and watch for fluid seeping from compressed areas.
If you’ve got a scan tool that reads ABS codes, check for any stored codes. While KDSS itself doesn’t throw codes, some related sensors might trigger warnings if the system isn’t functioning. Low fluid in the reservoir will affect power steering too, since they share fluid on many 4Runner models.
How to Fix It
Fixing KDSS leaks ranges from simple tightening to full component replacement. The difficulty depends entirely on what’s leaking and how accessible it is.
Tightening Connections and Replacing Crush Washers
If you’ve got seepage at a banjo bolt connection, this is your easiest fix. You’ll need new crush washers, which are cheap and available from Toyota or aftermarket suppliers. Don’t reuse the old ones. Remove the banjo bolt, replace both washers, and torque it back down properly. Toyota specifies around 30 ft-lbs for most KDSS banjo bolts, but verify this for your specific year.
You’ll lose some fluid when you crack these fittings open, so have a catch pan ready and plan to top off the system afterward. Use genuine Toyota KDSS fluid or a compatible power steering fluid. Check your owner’s manual for the exact spec.
Replacing Hydraulic Rams
Ram replacement is more involved but still manageable if you’re comfortable working under your truck. You’ll need to support the vehicle on jack stands and remove the skid plate for access. The rams are held on with bolts at each end. Before you start, mark the orientation of the ram and count the exposed threads on the adjusting rod so you can reinstall the new one in the same position.
Disconnect the hydraulic line at the ram using the appropriate wrench. Fluid will drain out, so have your catch pan positioned. Remove the mounting bolts and pull the old ram. Installation is the reverse, but make sure you use new crush washers at the hydraulic connection. Don’t overtighten the mounting bolts or you’ll bind the bushings.
After replacement, you’ll need to bleed the system. This involves cycling the steering wheel lock to lock multiple times with the engine running, then checking for leaks and topping off fluid. Some people recommend jacking up the front end to reduce load on the system while bleeding.
Replacing Accumulators or the Control Valve
Accumulator replacement is straightforward mechanically but requires bleeding afterward. The accumulators thread into the control valve body with large fittings. You’ll need a big wrench or adjustable wrench to break them loose. When installing new ones, use thread sealant rated for hydraulic systems. Some accumulators come pre-charged with nitrogen; others need to be charged separately.
This video shows the teardown and replacement process for KDSS accumulators:
If the control valve itself is leaking, replacement involves removing the entire assembly. This means disconnecting multiple hydraulic lines and dealing with a fair amount of fluid loss. Mark each line connection before removal so you can route everything correctly during reassembly.
Repairing or Replacing Hydraulic Lines
Hard line damage usually means replacement. You can sometimes find individual line sections from Toyota, but often you’re looking at buying a longer section than you need. Some people have had success with hydraulic shops fabricating custom lines, which can be cheaper than dealer parts.
Rubber flex lines are easier. Cut the old one off, measure it, and order a replacement. Make sure you get hose rated for the pressure. Regular fuel line or vacuum line won’t cut it. You’ll need proper hydraulic hose with the correct fittings crimped on.
When to See a Mechanic
If you’ve identified the leak but don’t feel comfortable working with hydraulic systems, take it to a shop. Hydraulic fluid under pressure can be dangerous, and a botched repair might leave you with a non-functional suspension system or worse, a catastrophic failure while driving.
Internal accumulator failures can be tricky to diagnose without proper pressure testing equipment. If you’re losing fluid but can’t find an external leak, a shop with KDSS experience can pressure test the system and pinpoint internal problems.
Any leak that’s spraying fluid rather than weeping needs immediate attention. A pressurized spray means something has failed significantly, and continuing to drive risks damaging other components or creating a safety hazard.
Shops that specialize in 4Runners or Toyota trucks will be more familiar with KDSS quirks than general repair shops. The system isn’t complicated, but it’s not common either, and experience matters when troubleshooting intermittent issues.
Estimated Repair Costs
| Repair Type | DIY Parts Cost | Shop Cost (Parts + Labor) |
|---|---|---|
| Tighten fittings and replace crush washers | Under $20 for washers and fluid | $100-$200 |
| Replace one hydraulic ram | Parts vary widely; check current pricing | $600-$1,200 |
| Replace accumulator | Parts vary; check pricing | $400-$800 |
| Replace control valve assembly | Parts vary; check pricing | $800-$1,500 |
| Replace damaged hydraulic lines | Parts vary depending on section | $300-$700 |
Labor costs vary by region and shop rates. Dealerships typically charge more than independent shops, but they’ll have more specific KDSS experience. If you’re doing the work yourself, budget extra for fluid since you’ll lose some during repairs and need to top off afterward.
Prevention Tips
Protecting your KDSS system starts with how you drive off-road. Yeah, the system is designed for articulation, but that doesn’t mean you should be clanging over boulders at speed. Pick your lines carefully and avoid direct impacts to suspension components.
Consider adding protection if you wheel regularly. Some aftermarket companies make skid plates specifically designed to protect KDSS lines and components. They’re not cheap, but they’re way less expensive than replacing damaged parts. At minimum, check that your factory skid plates are installed properly and not bent from previous impacts.
Inspect the system periodically. Every oil change, take five minutes to look at the rams, accumulators, and visible lines. Catch a weep early and you can address it before it becomes a leak. Let it go and you’ll be adding fluid every week until something fails completely.
Keep the system clean. Mud and grime hold moisture against seals and fittings, accelerating corrosion and wear. After particularly dirty trips, spray off the undercarriage. You don’t need to detail it, just knock off the packed mud and crud.
Use the right fluid and don’t let the reservoir run low. KDSS and power steering share fluid on most 4Runner models, so check that reservoir regularly. Running low puts air in the system and increases wear on the pump and all the hydraulic components.
Moving Forward
KDSS leaks are annoying but manageable if you catch them early. Most leak sources are accessible enough for DIY repair if you’re comfortable with basic hydraulic work. The system isn’t as complicated as it looks once you understand the layout, and parts availability has improved as these trucks age.
Start with a thorough inspection to pinpoint exactly where the leak is coming from. Clean everything up, drive the truck, and look again. Once you know what’s leaking, you can decide whether to tackle it yourself or hand it off to a shop. Just don’t ignore it. A small leak becomes a big problem fast, and KDSS components aren’t getting cheaper.
Leave a Reply